Getting started with scheduling
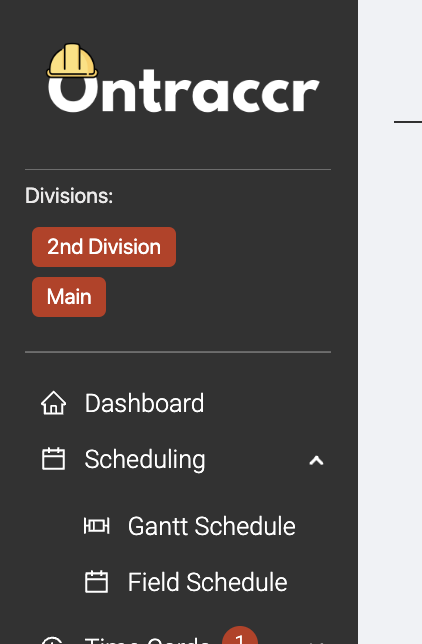
There are two types of schedules in Ontraccr: the field schedule and Gantt schedules. Both are available under the Scheduling section of the left menu.
Using the field schedule
Navigate to the Scheduling > Field Schedule page to open the field schedule.
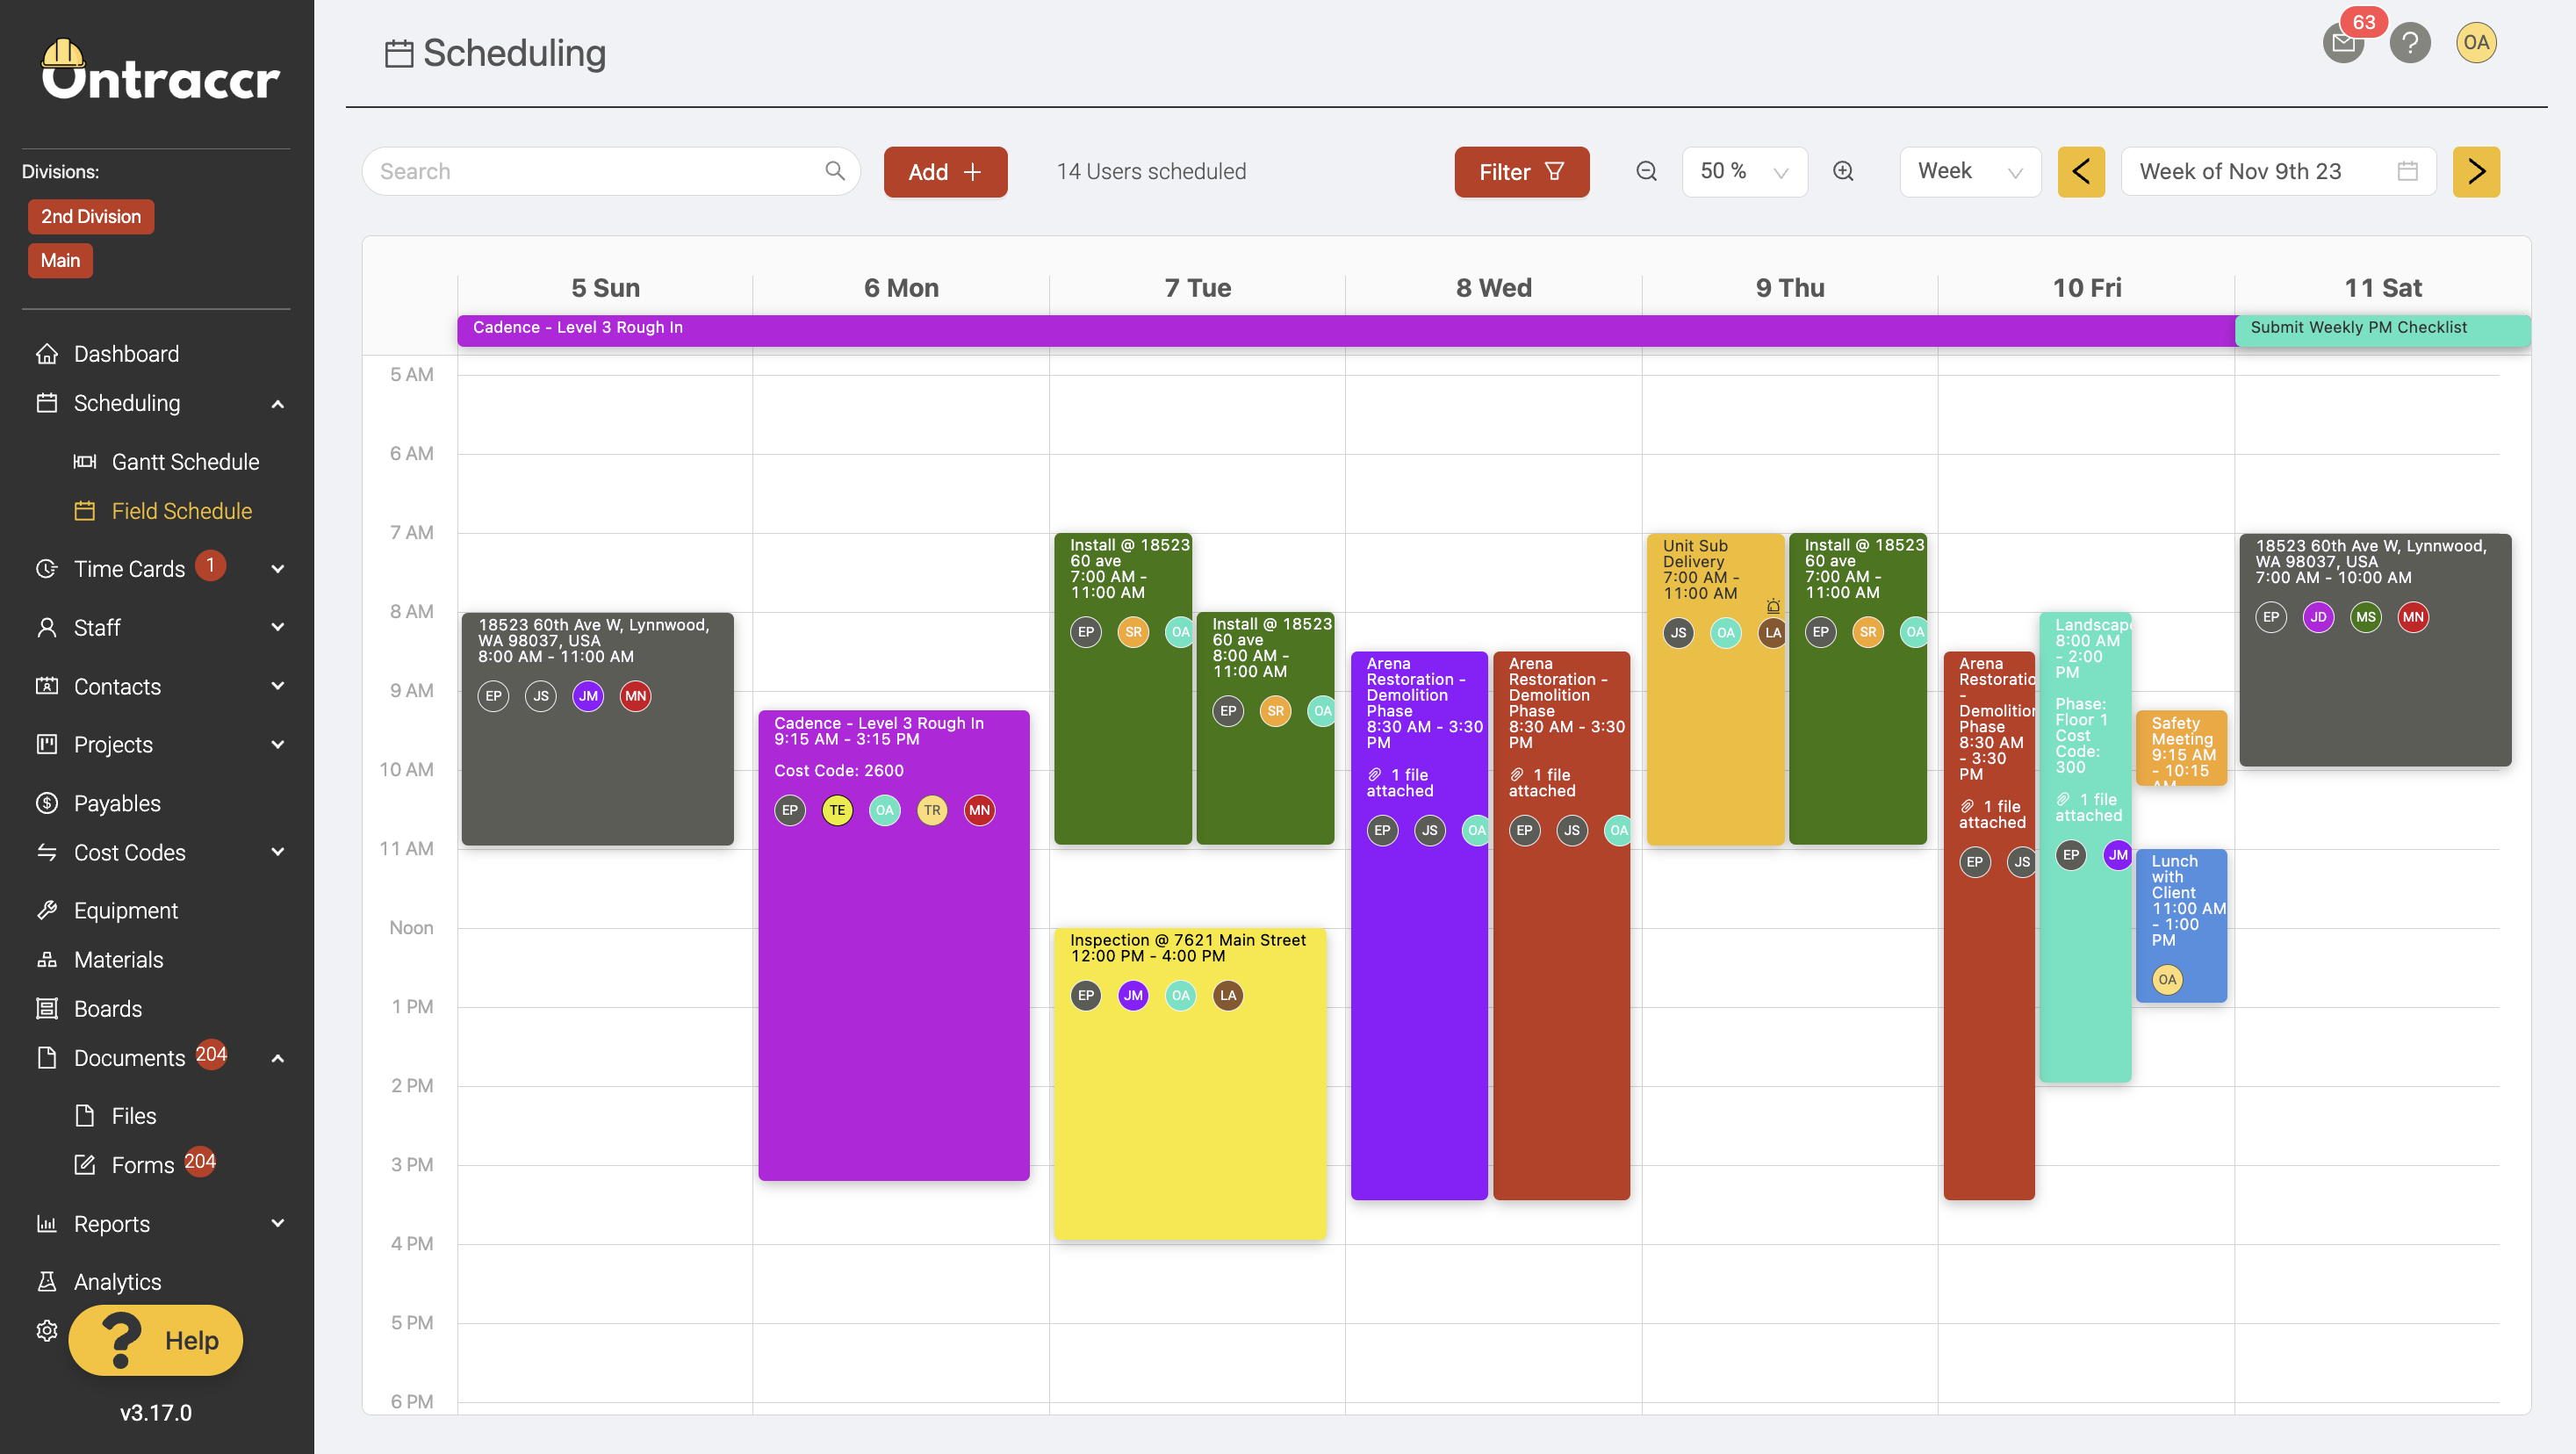
You can filter the schedule in many ways. You can search for specific shift details, filter by user shifts, and by time period or dates.

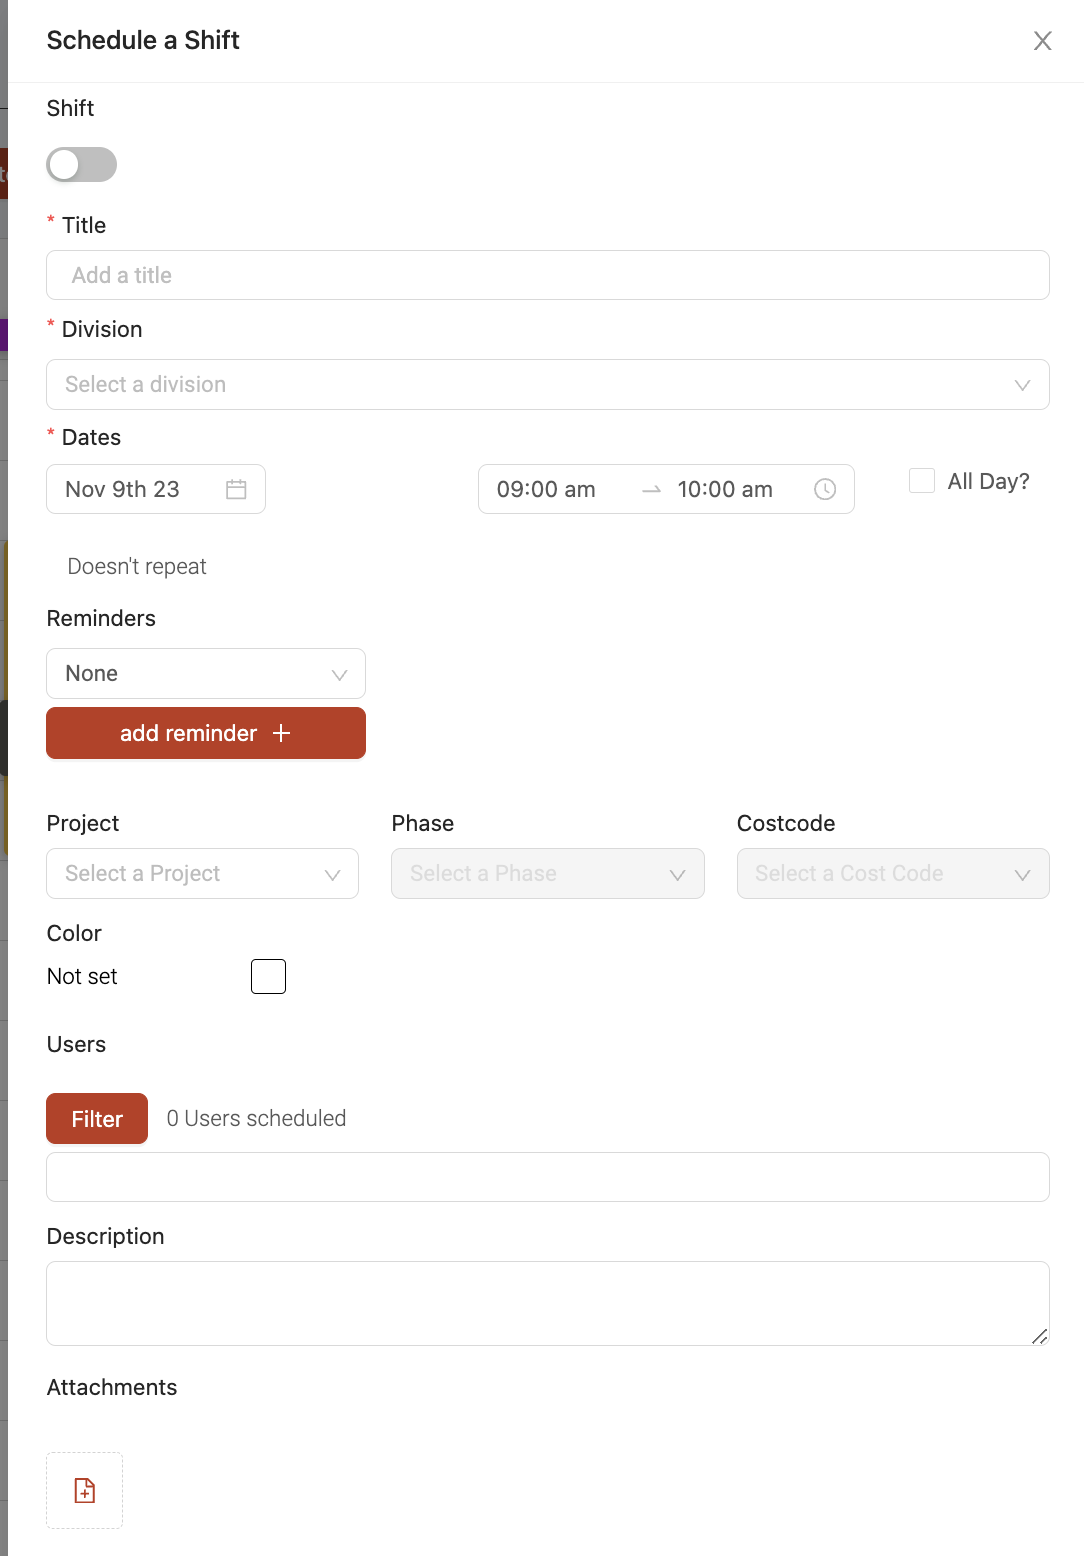
To add a shift into the schedule, click the 'Add' button at the top or simply click-and-drag into the schedule itself wherever you'd like to create a new shift. When creating a shift, you can configure the following fields (fields with * next to them are required):
- Title*
- Date(s)*
- When creating a shift for a single day, you can set the start and end times for the shift or you can also check the ‘All Day’ box for it to cover the whole day.
- When selecting ‘All Day’, you can also choose to have the shift run over the multiple days by selecting start and end dates.
- Reminders
- Project/Phase/CostCode
- You can also choose to associate the shift with a specific project, phase, and cost code. This will also allow mobile app users to quickly clock in to the shift right from their schedule page.
- Users
- Description
- Attachments
Shifts can also be created in the field schedule automatically through workflows. For example, if you have a dispatch form in your account, you can design the workflow to automatically create a shift in the schedule once the dispatch form is submitted or approved.
The field schedule also has many different views you can choose from. Simply toggle between views using the view drop-down at the top.

Using Gantt schedules
You can also use Ontraccr to create and manage classic Gantt schedules. Gantt schedules can either be accessed from the Scheduling > Gantt Schedule page or within a project profile's 'Gantt' tab. Every project created in Ontraccr will include an auto-generated Gantt schedule in case your team would like to use it.
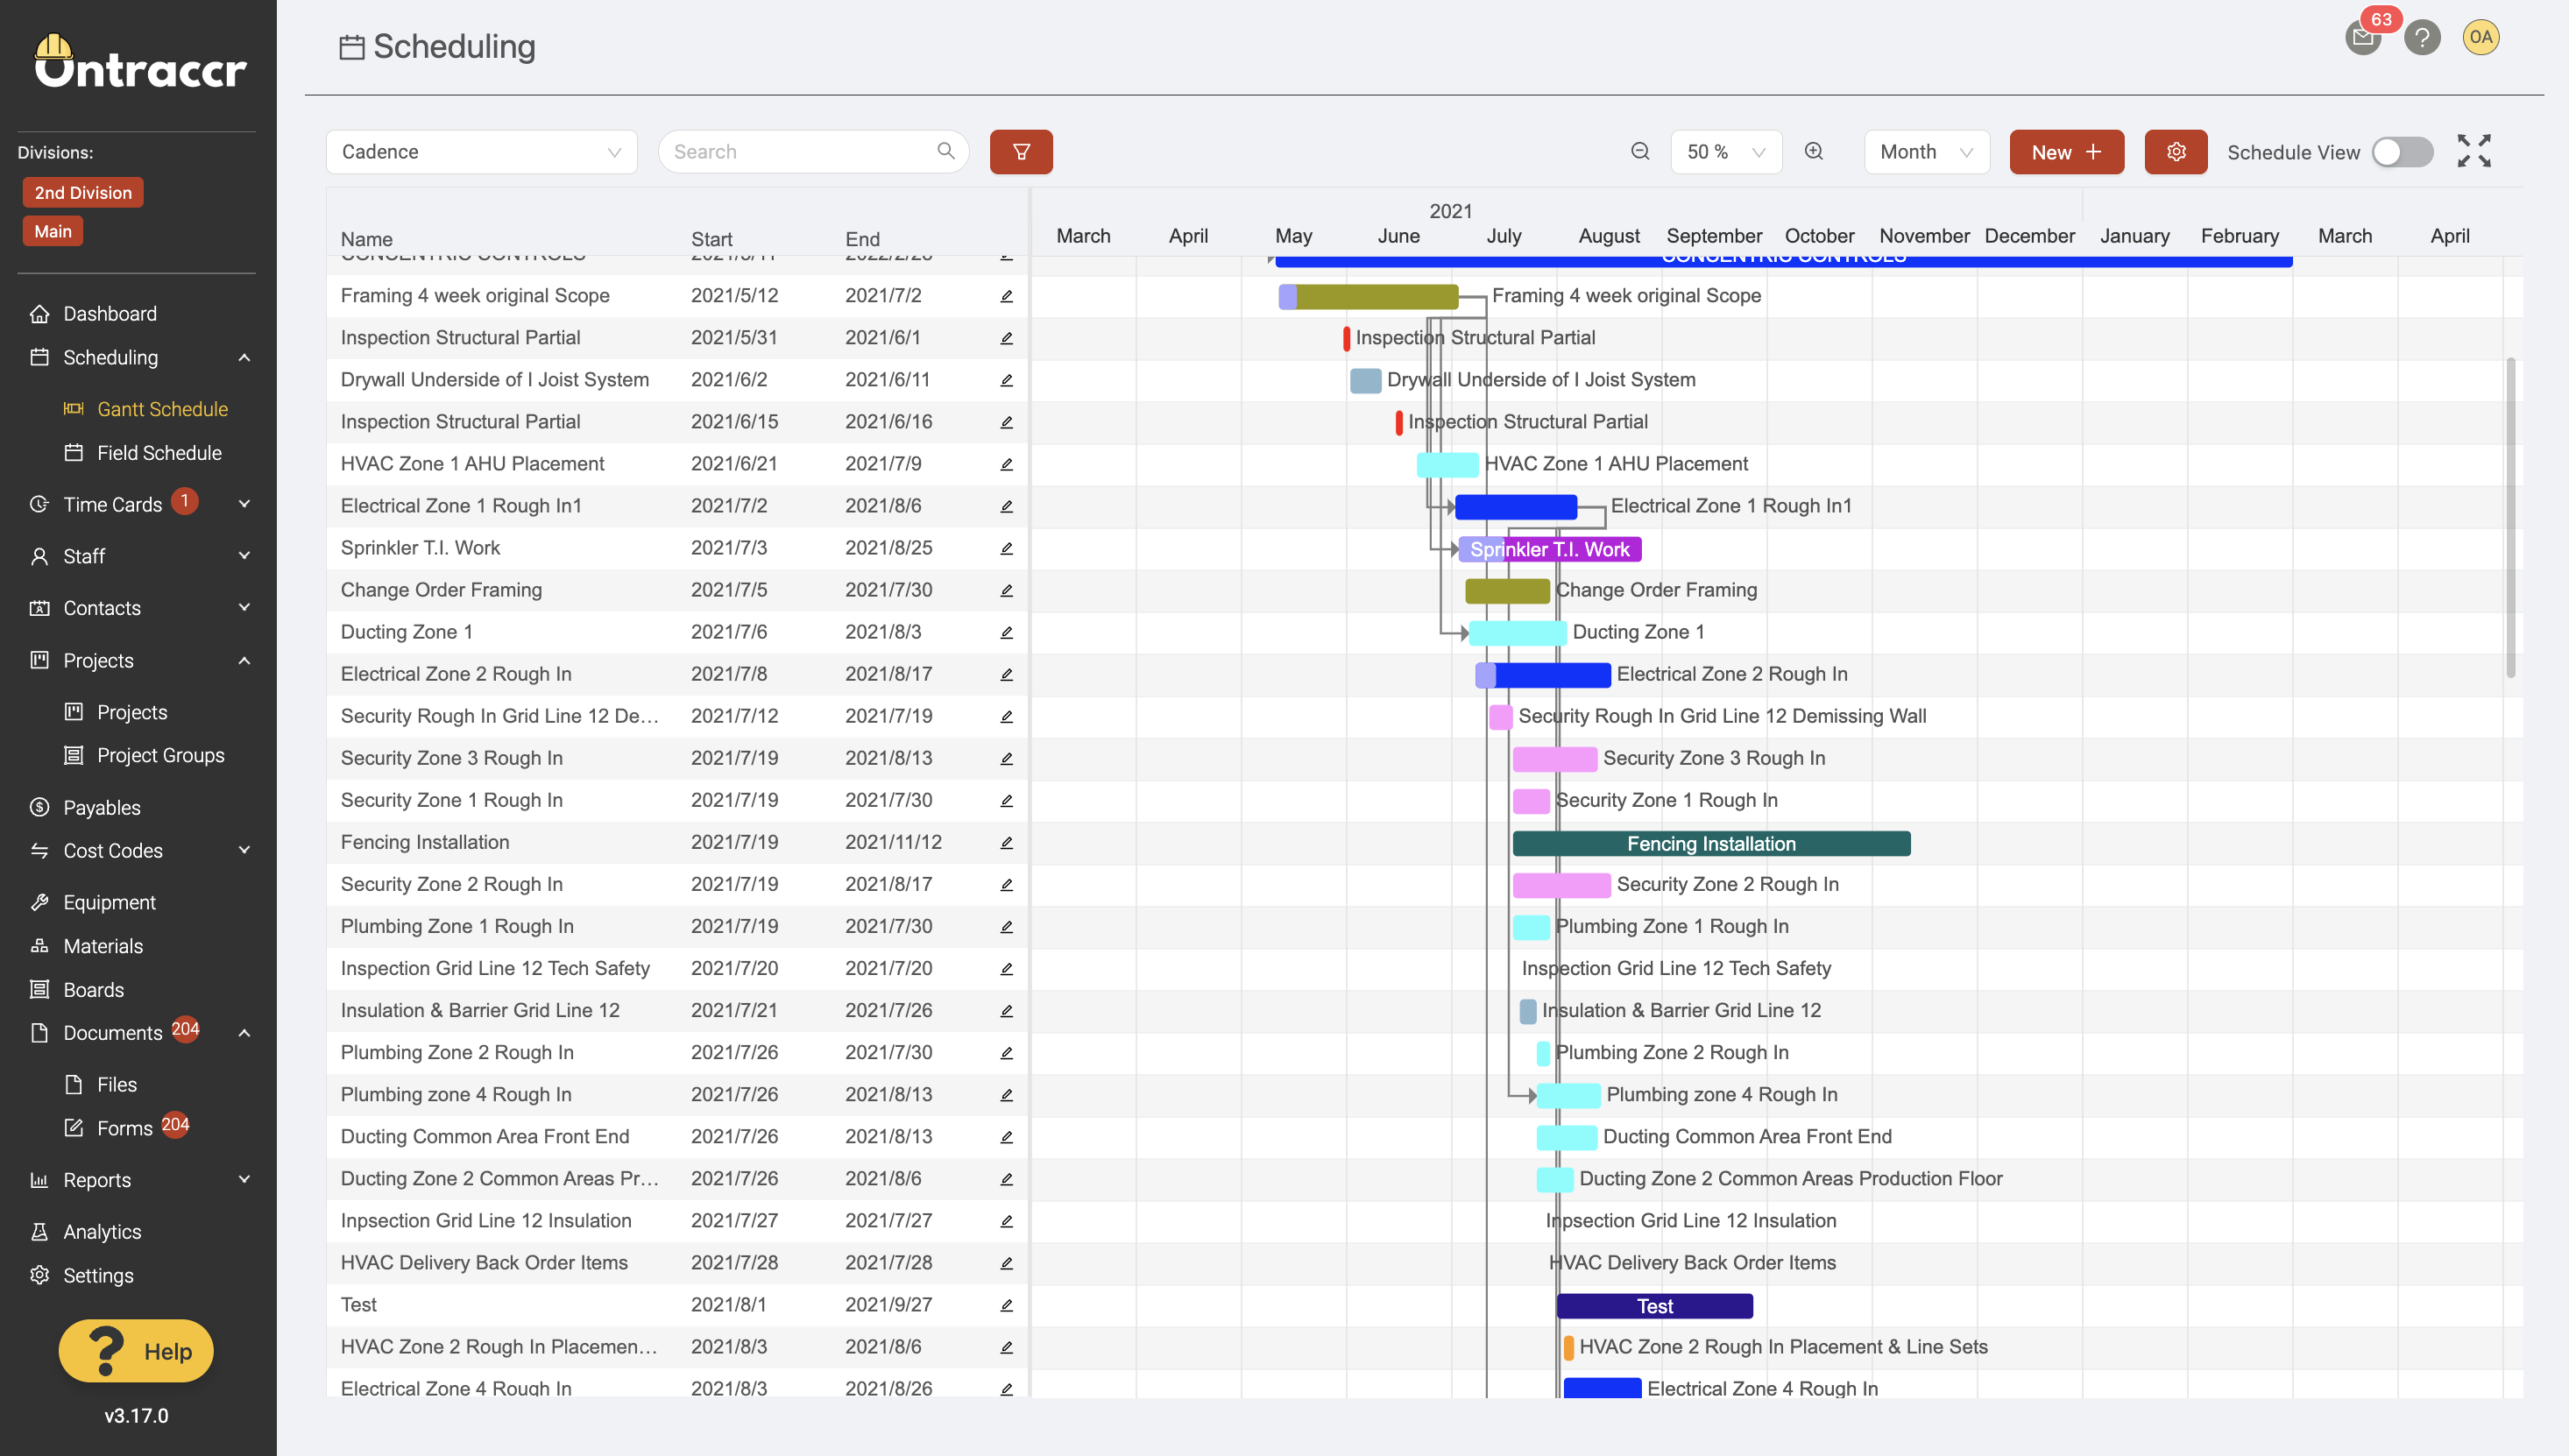

In the Scheduling > Gantt Schedule page, you can create a new schedule by clicking the 'New' button in the top right corner and clicking 'Create Schedule'.
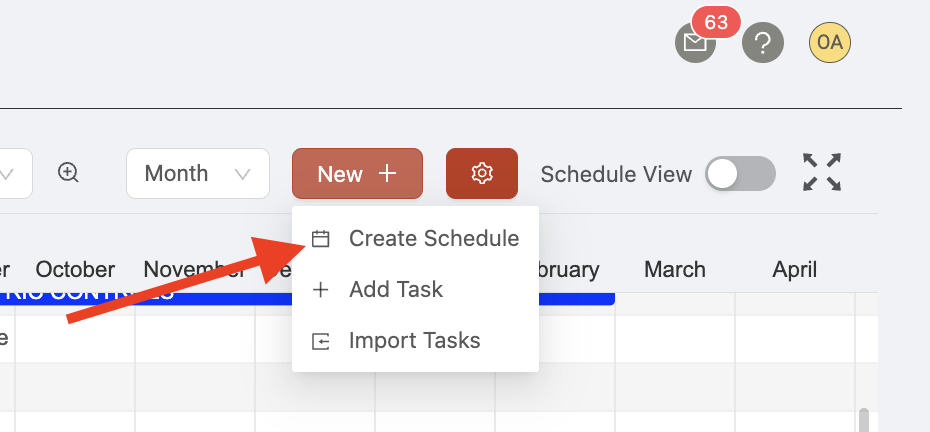
You can also import an existing Gantt schedule by clicking 'Import Tasks' to import a .gan file.
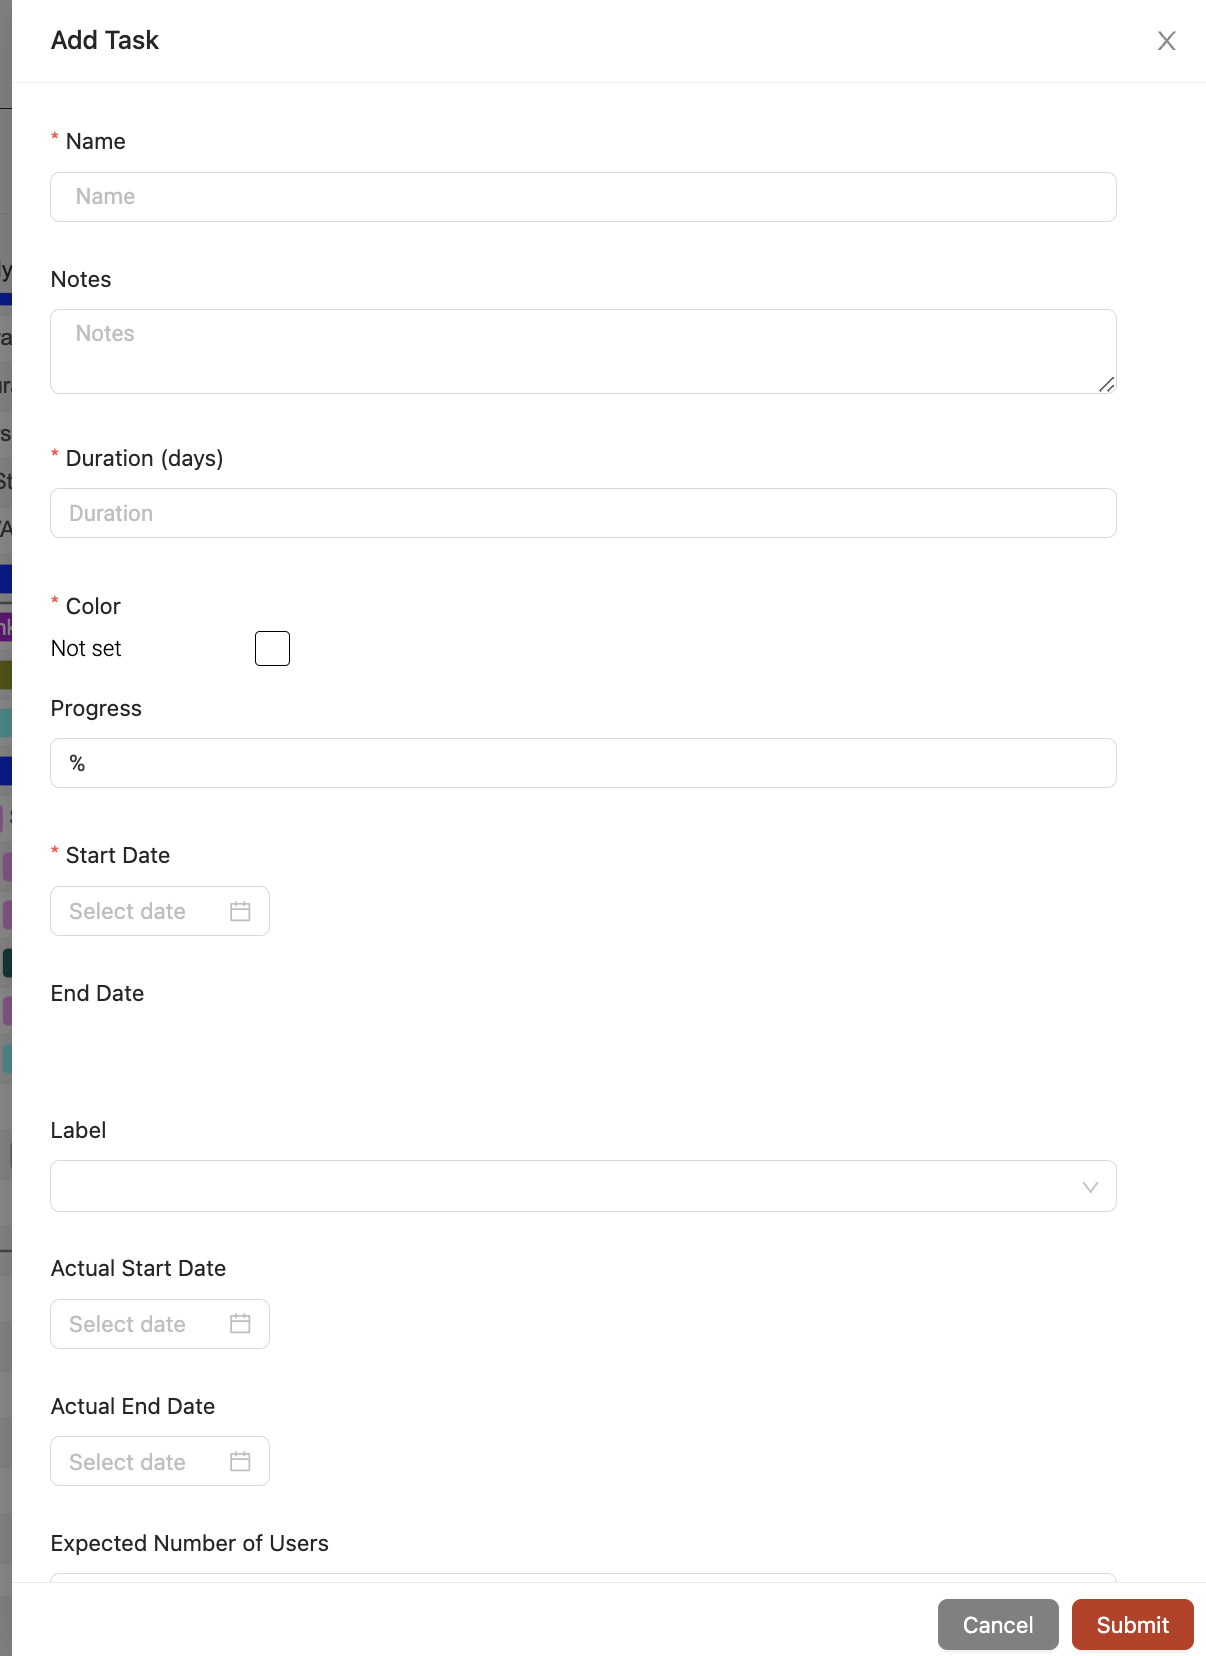
To add a new task to your schedule, click the 'Add Task' option. There are many different options for managing tasks within your Gantt schedule.
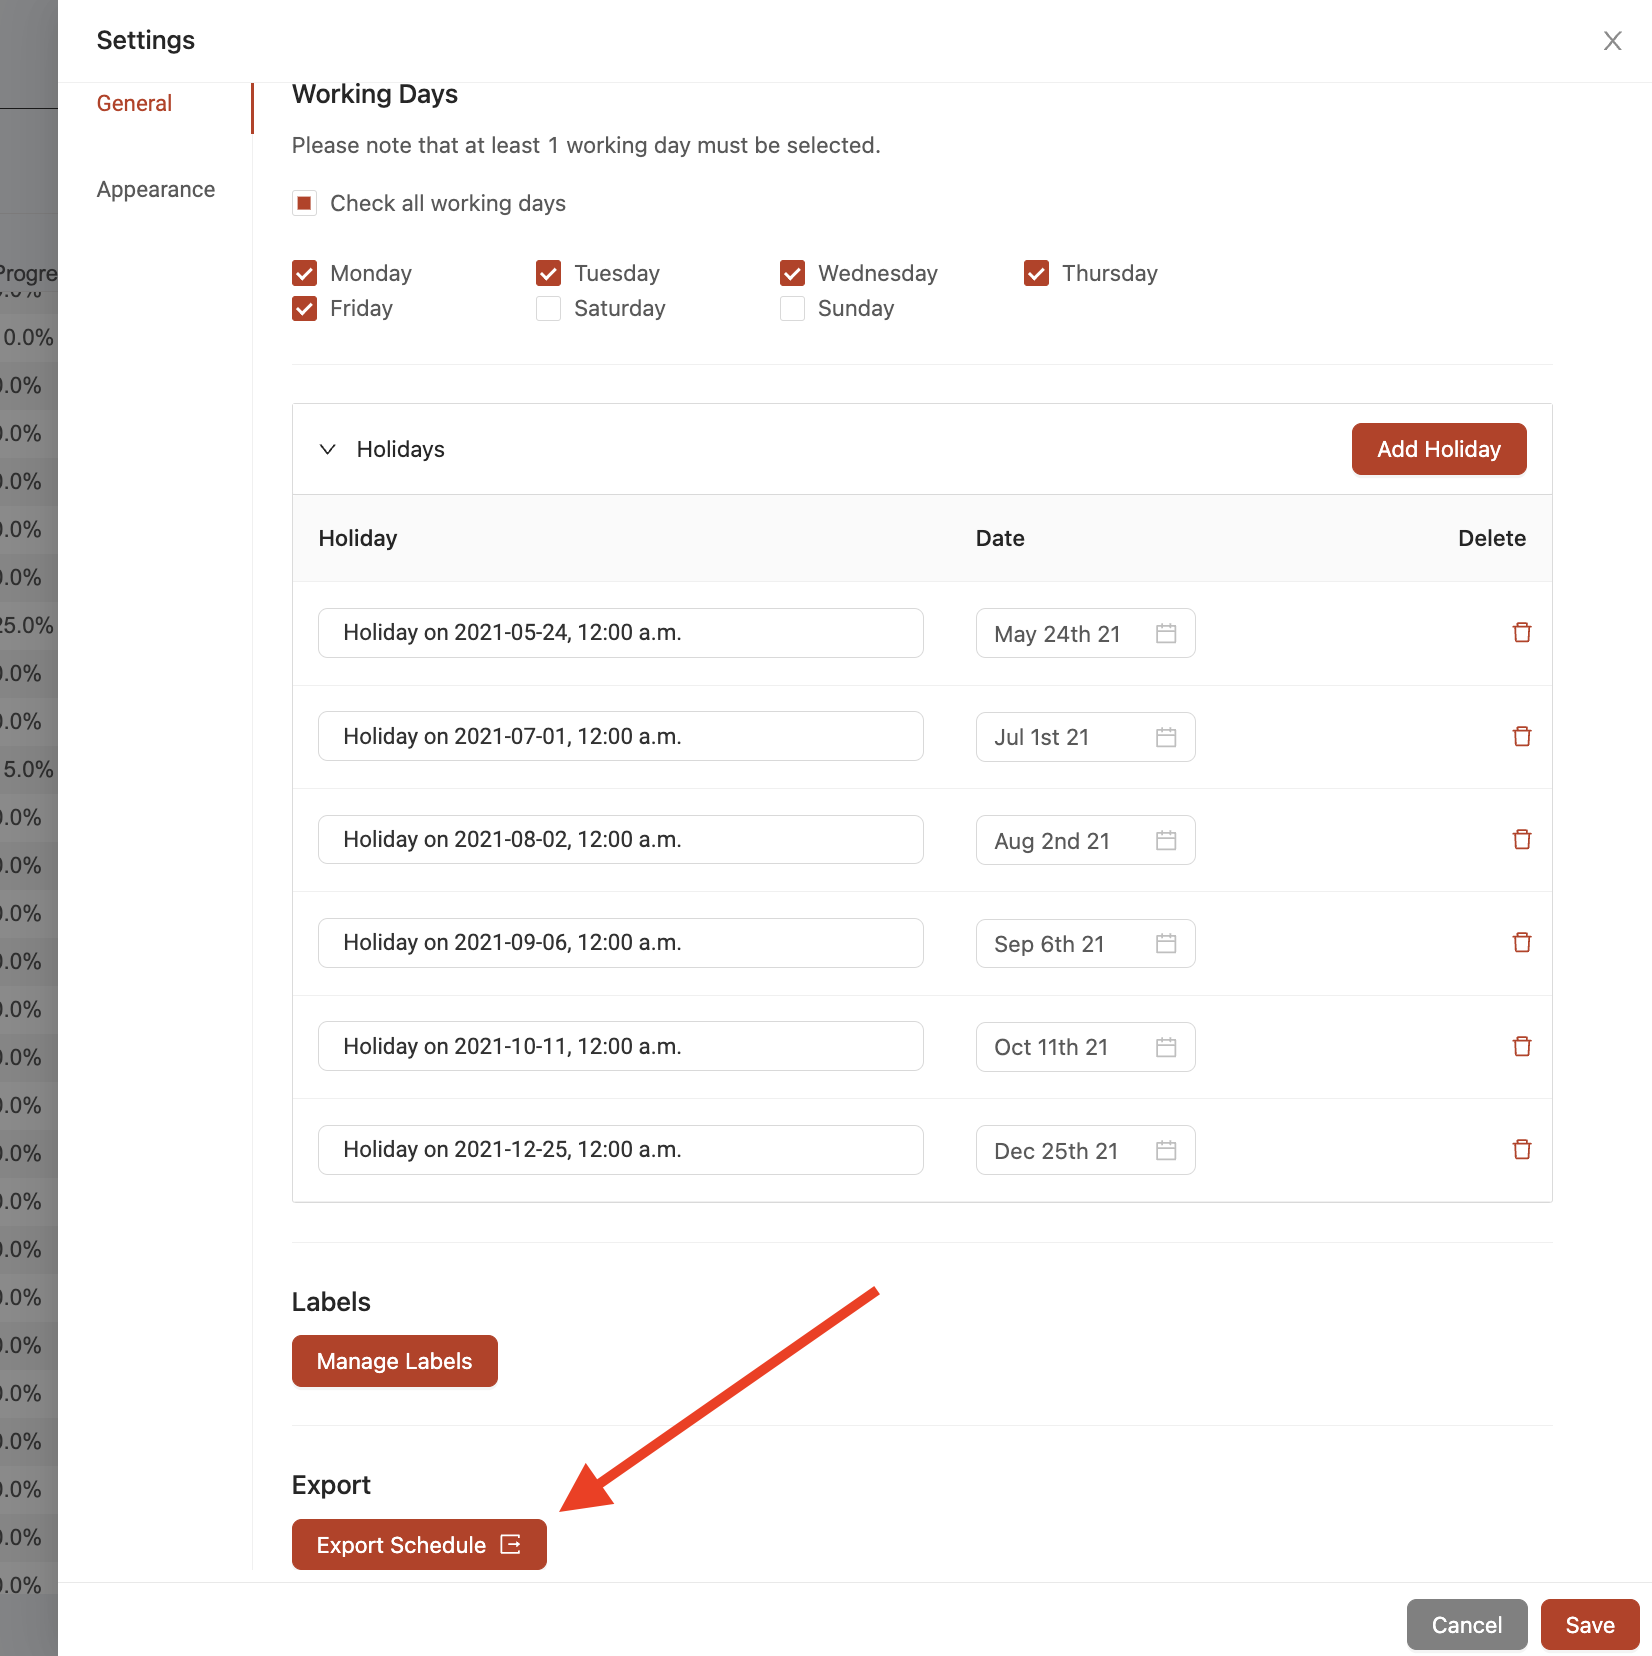
To customize your Gantt schedule's appearance, you can show/hide available columns by clicking the 'settings' icon in the top right corner of the schedule and opening the 'Appearance' settings page.
If you'd like to download a copy of your Gantt schedule, you can easily export the schedule by clicking the 'Export Schedule' button in the schedule's 'General' settings.