Configuring basic company settings
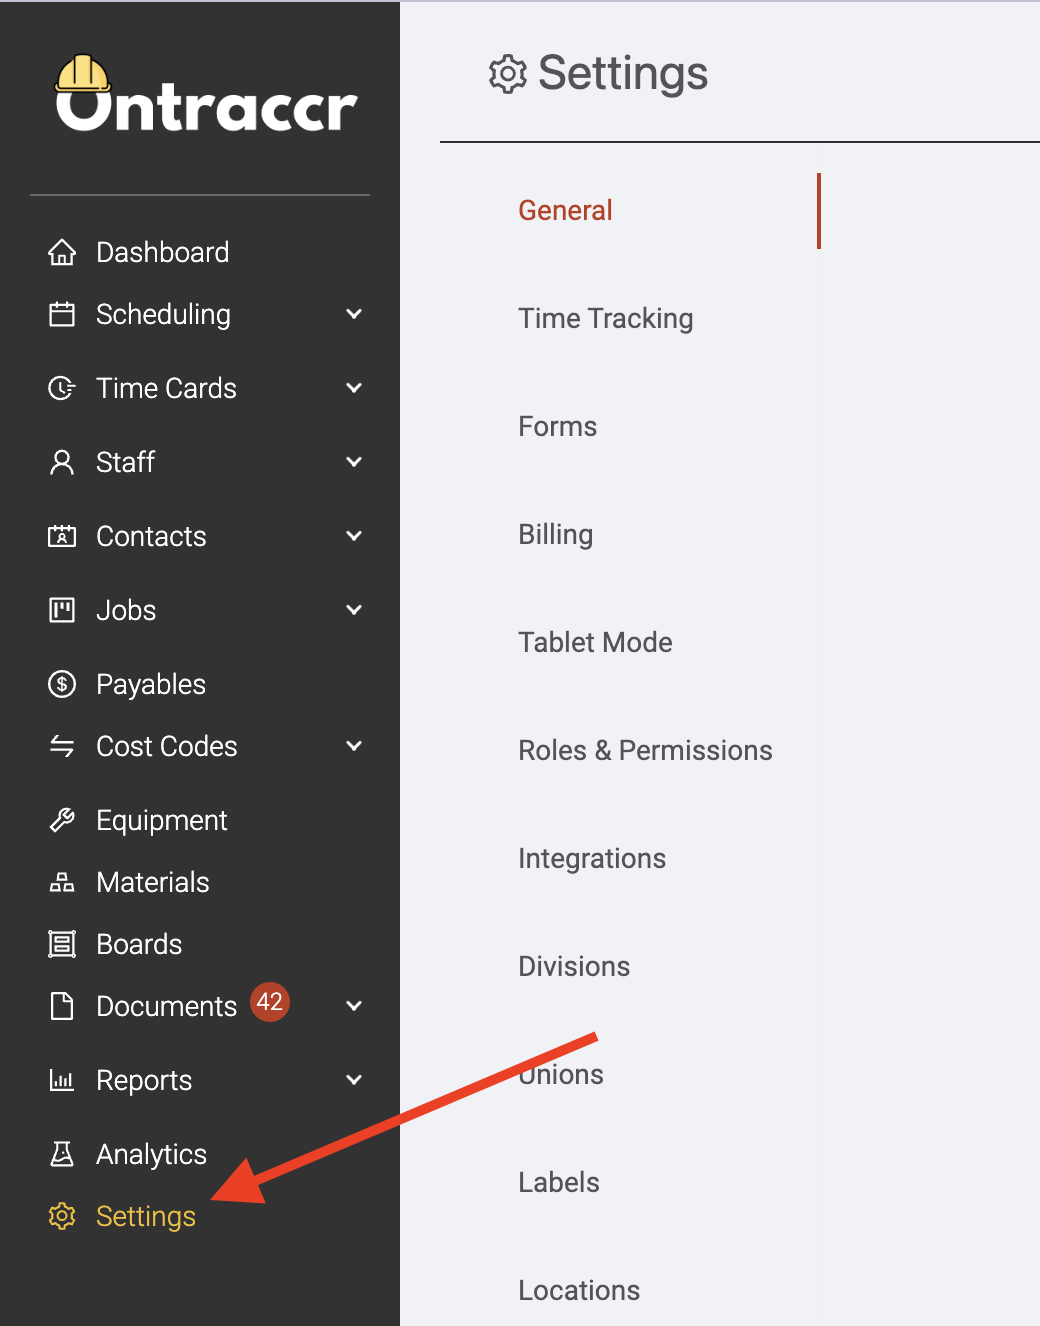
To access your company's settings, simply open the Settings page in the left-side menu.
General Settings
In the Settings > General page, you can configure your company's basic information.
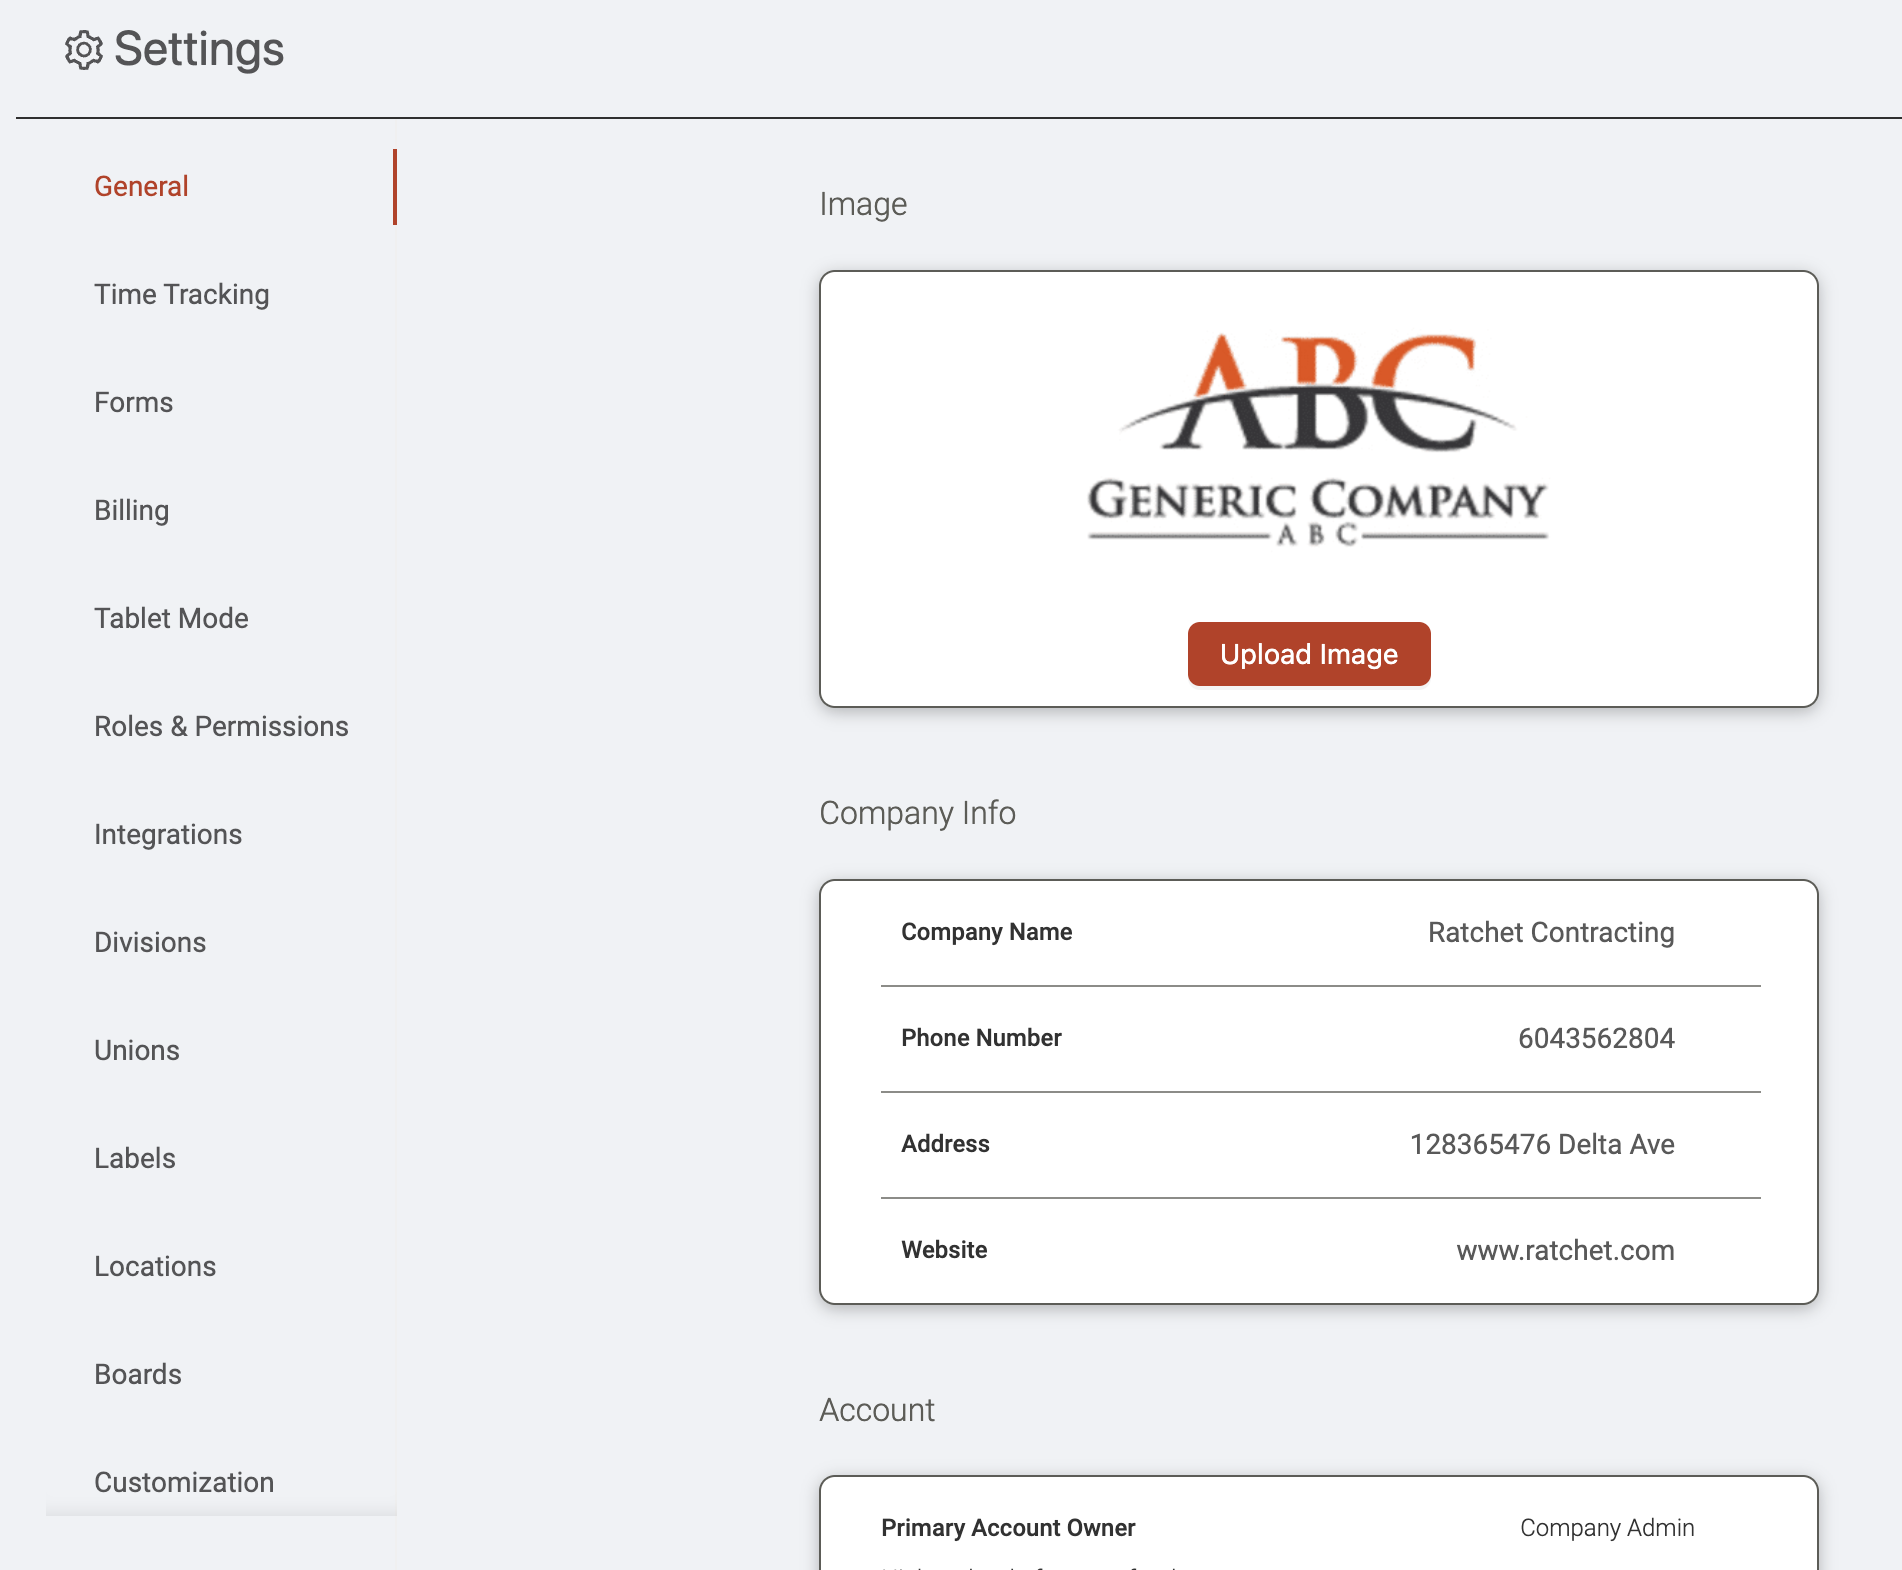
You can upload your company's logo under the 'Image' section. This is the logo file that will be used across Ontraccr. For example, Ontraccr will automatically use this logo image in any document templates, automated emails, or in your custom Client Portal design.
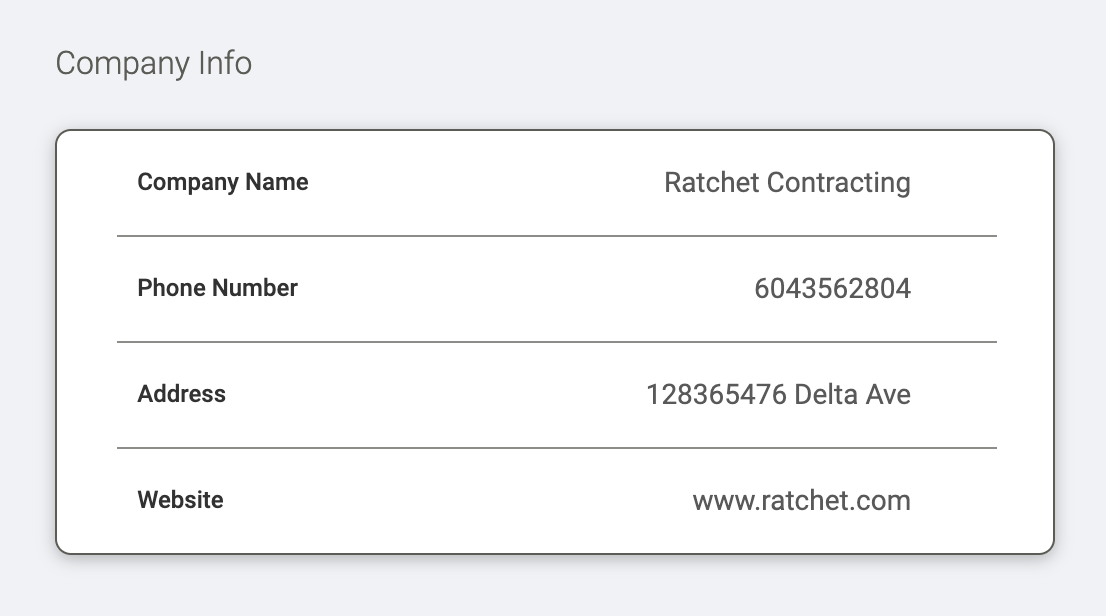
Under the 'Company Info' section, you can add your company's name, phone number, address, and website information. Ontraccr will also use this information to automatically populate your document templates.
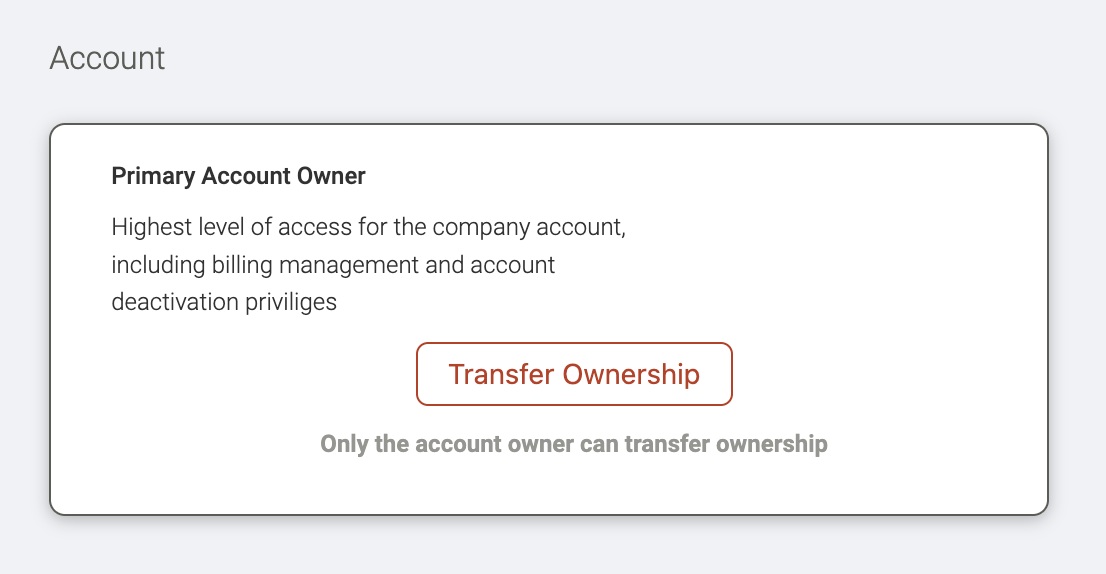
The 'Account' section will always show you who the Primary Account Owner is within your company's Ontraccr account. The Primary Account Owner is the highest-level user within your company's Ontraccr account and you can think of them as the super admin. The Primary Account Owner has special privileges and is able to access more sensitive company information such as billing information and will receive additional automated emails regarding account-related issues or updates.
By default, the user who created your company's Ontraccr account is the Primary Account Owner, but it is easy to transfer ownership to another user. To transfer ownership, the current Primary Account Owner can navigate to this setting and click the 'Transfer Ownership' button to transfer ownership to another user. Only the Primary Account Owner can transfer ownership, not any other user.
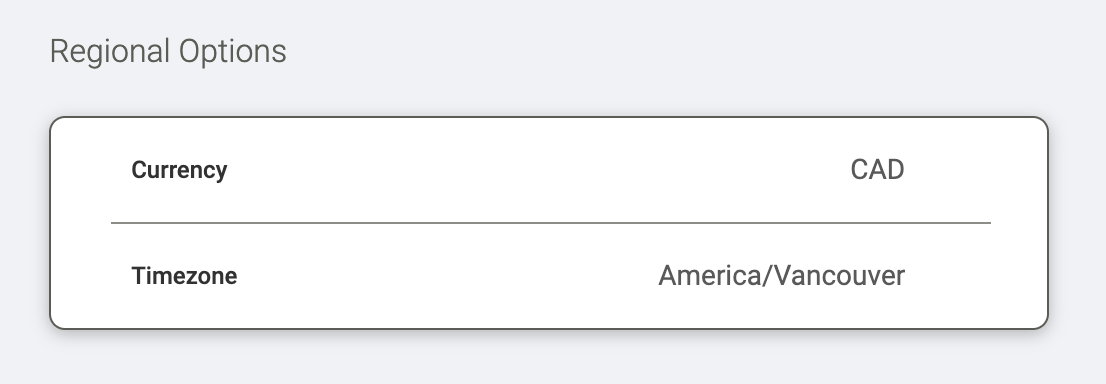
Finally, it's important to configure your company's regional information under the 'Regional Options'. Configure your company's currency and timezone, these settings will be used for various purposes across the platform.
Payroll Settings
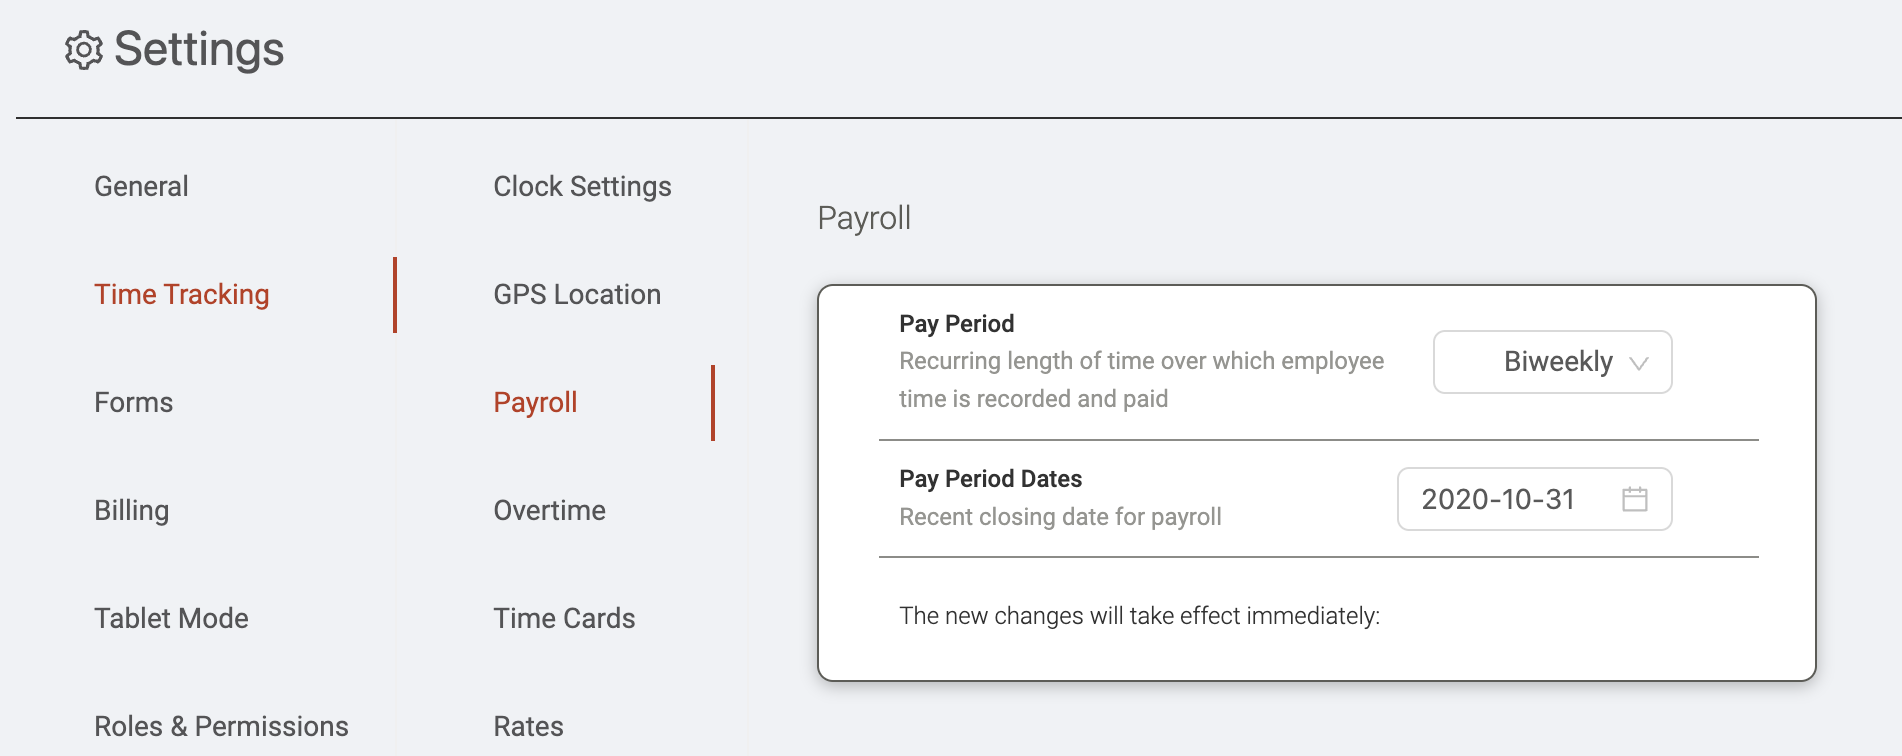
In the Time Tracking > Payroll settings page, you can configure your company's payroll information.
In the 'Pay Period' selection, you can pick from weekly, bi-weekly, semi-monthly, and monthly options. For the 'Pay Period Dates' setting, select the date of your most recent payroll close. With these two settings configured, Ontraccr will anchor the data around your company's payroll dates.
Overtime Settings
In the Time Tracking > Overtime settings page, you have the option to configure your company's overtime policy when it comes to time tracking data.
You can pick from one of two available overtime modes in Ontraccr, as described below. To pick between the two modes, simply flip the following toggle:
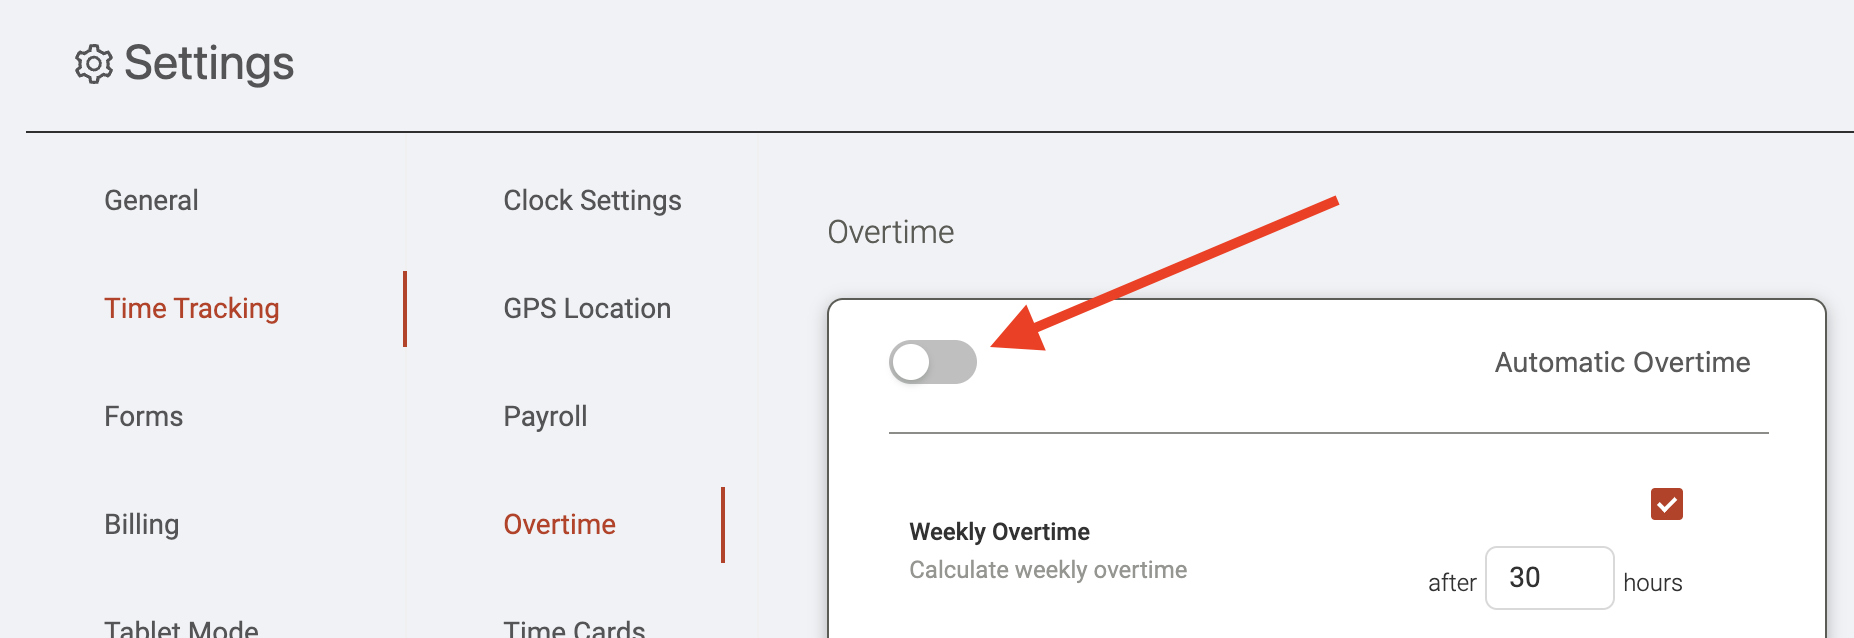
Automatic Overtime
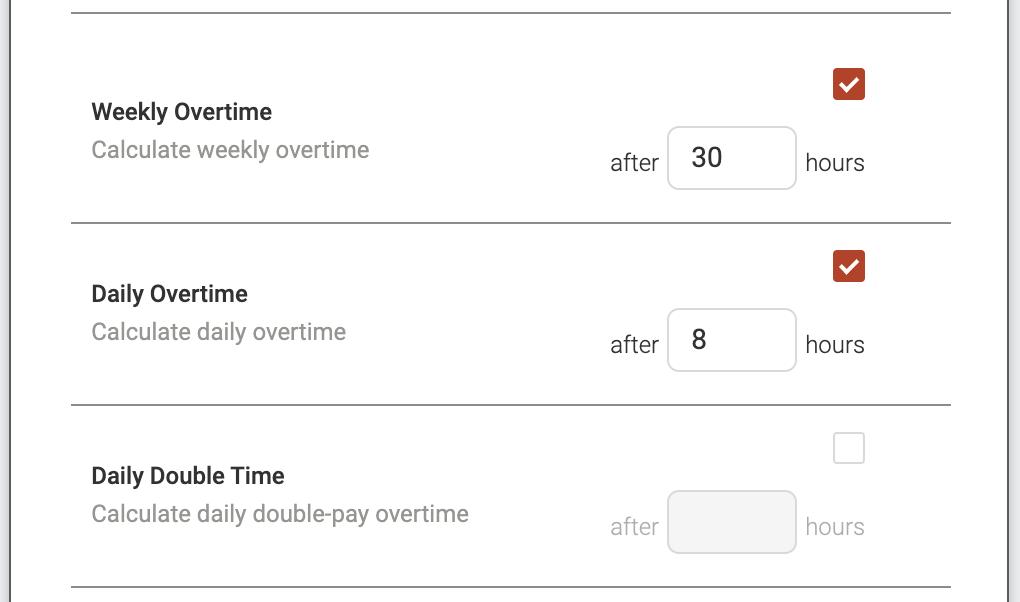
The automatic overtime setting will apply overtime rules to time entries based on overtime policy thresholds, such as daily and weekly overtime triggers. You can choose to set up weekly overtime, daily overtime, and/or daily double time settings by enabling the setting and entering the threshold number for each option.
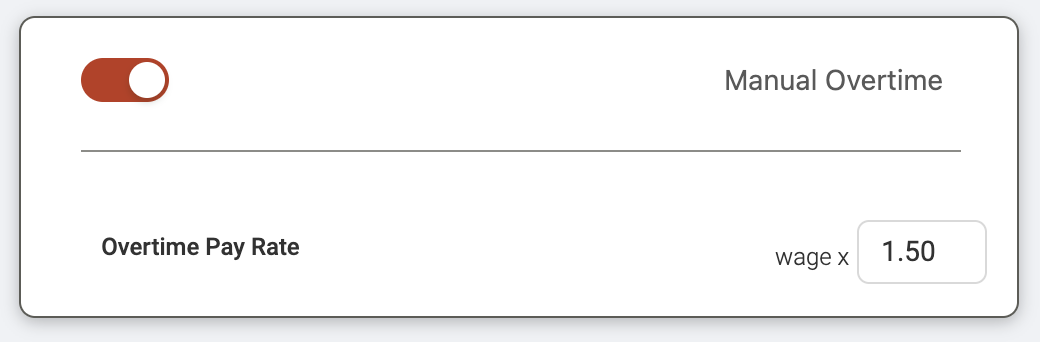
Manual Overtime
If your company has a different way of managing overtime hours which doesn't align with Ontraccr's automatic overtime methods, you can also switch to using Ontraccr's manual overtime setting instead. With manual overtime, users can add hours manually and categorize the hours as overtime hours compared to regular working hours. Users will do this when adding manual entries on their time cards. To enable this setting, simply configure your desired wage multiplier for the manual overtime entries.