
Auto-generated folders
Ontraccr will create certain folders for you automatically to help you keep your files organized. Any auto-generated folders will be locked in your Ontraccr account with a greyed out checkbox next to them, this ensures that they can never be accidentally deleted.
Attachments folder
The 'Attachments' folder is an auto-generated folder, which will auto-save any attachment files shared in your company's Live Feed by any of your users. This is a great way to store any files shared within your team in one easy place without anyone needing to send them separately.

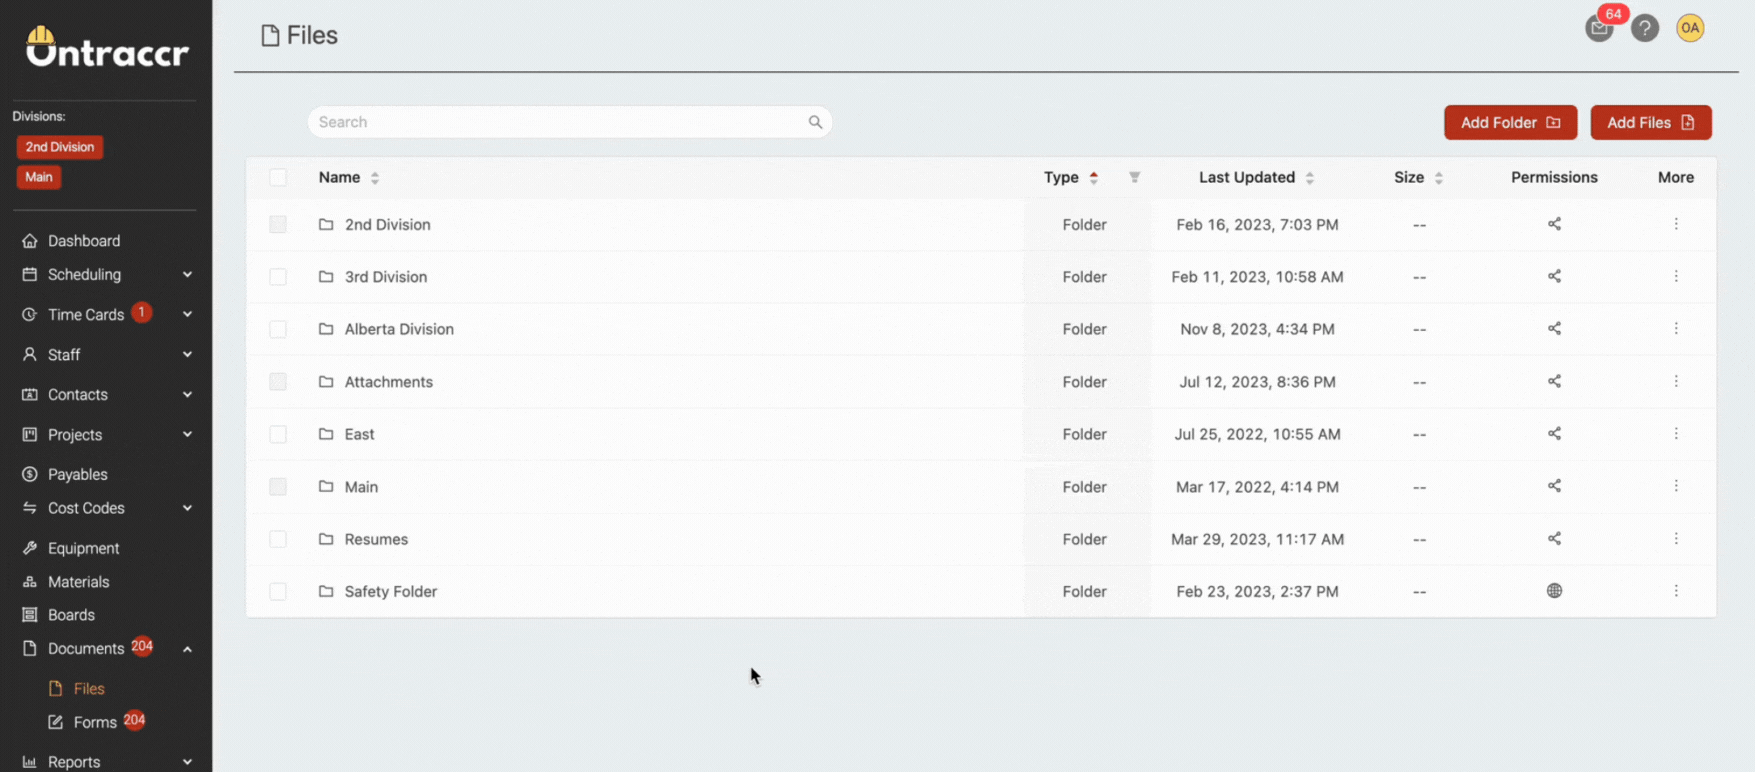
Division and project folders
Every division in your Ontraccr account will also have auto-generated folders available. Within each of those division folders, you will also see an auto-generated 'Projects' folder (along with a division-specific 'Attachments' folder).
Accessing project folders
Within this Projects folder, Ontraccr will create auto-generate folders for every single project profile you create in Ontraccr, so you don't ever need to bother manually creating these folders yourself. Every project will always have its own folder available and these folders can always be accessed centrally in the Documents > Files page.
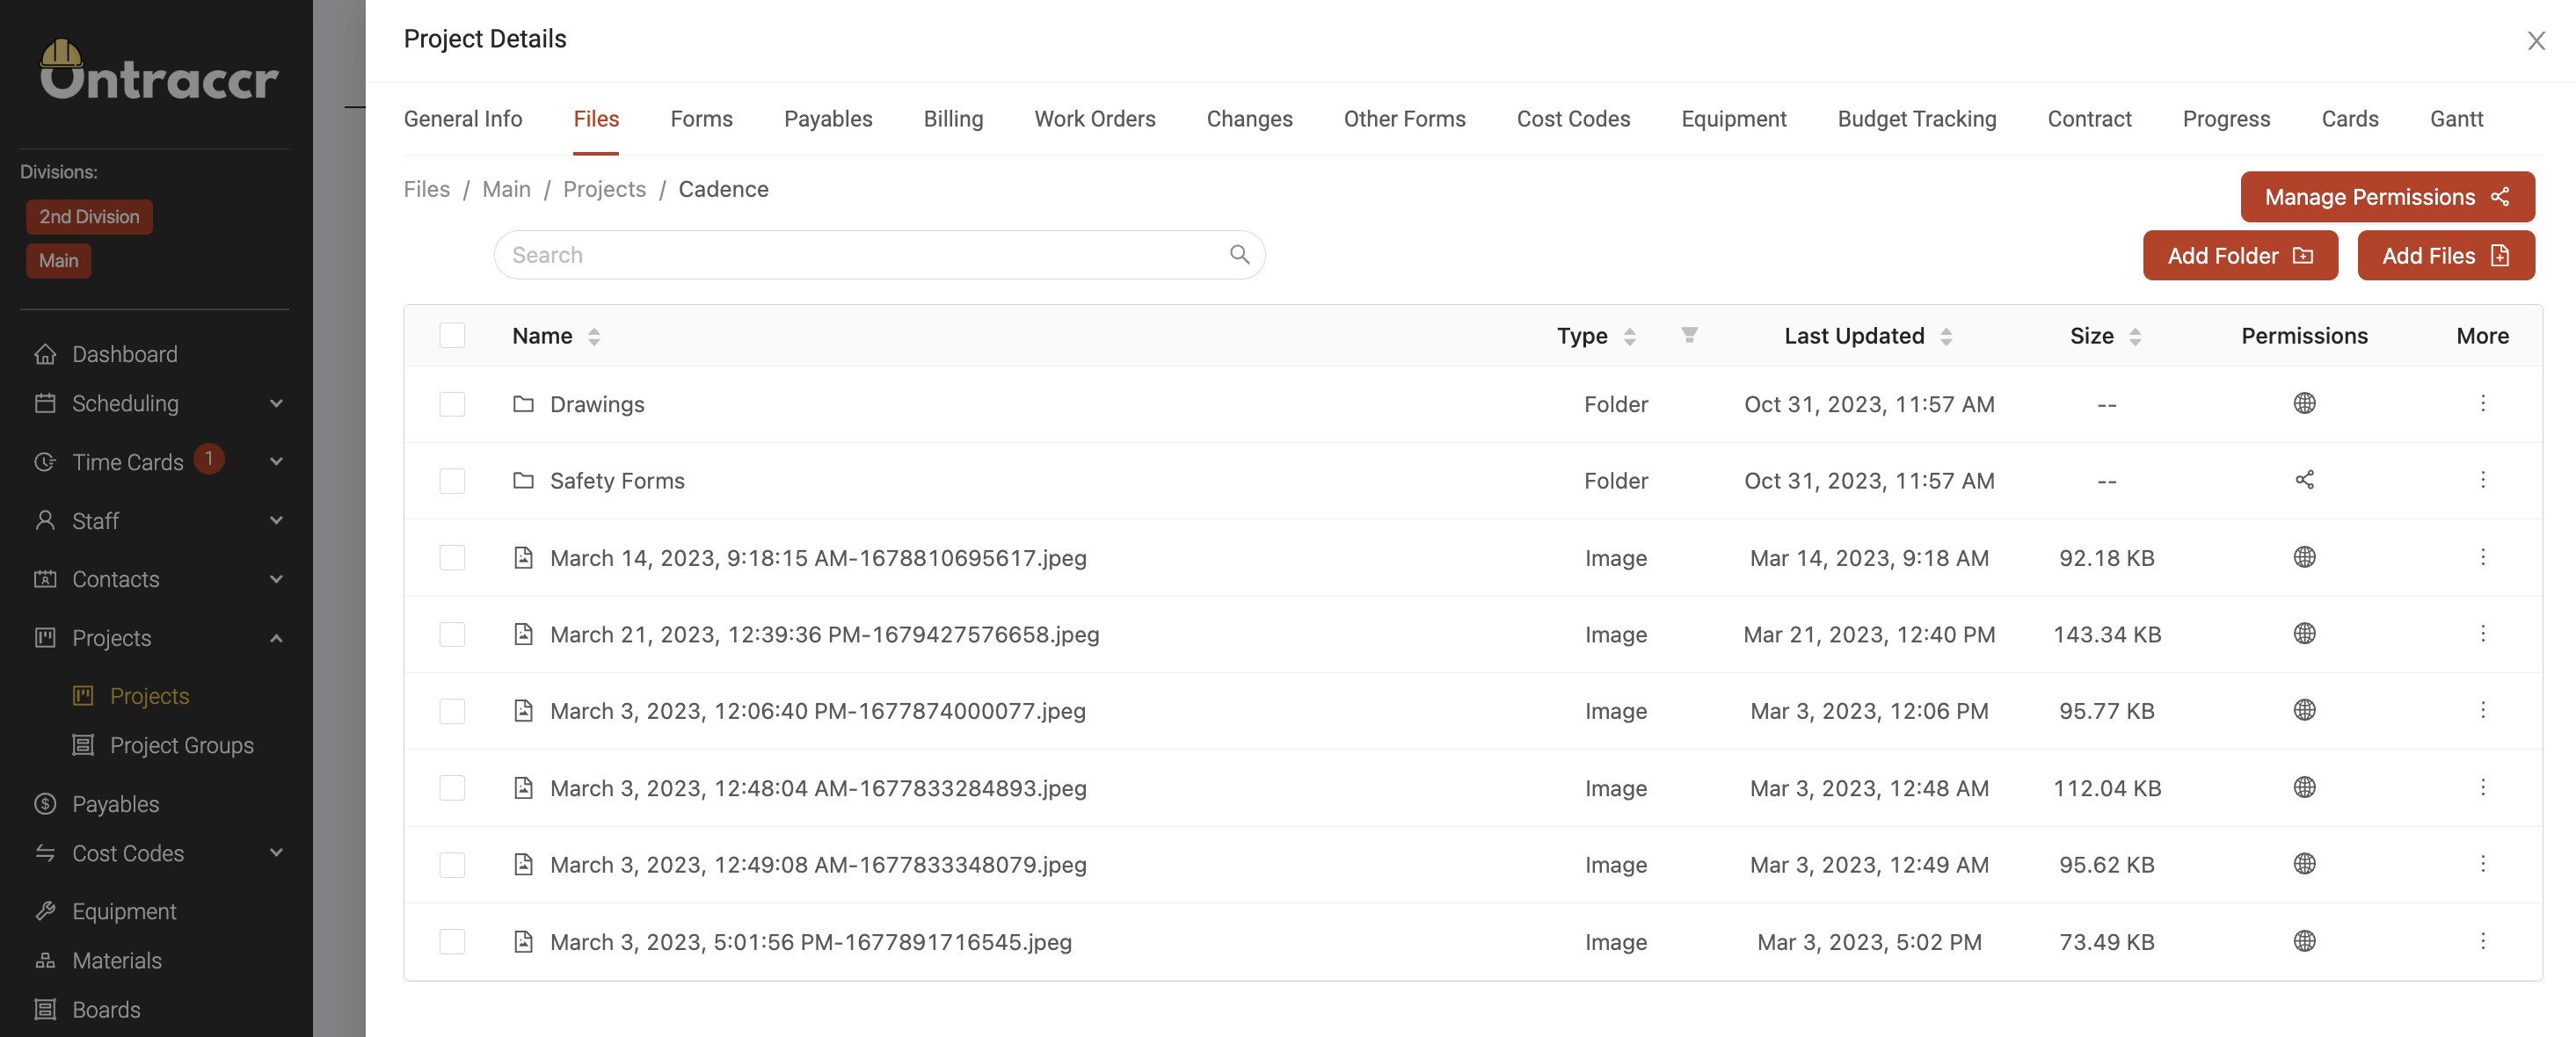
Auto-generated project folders can also be accessed directly within the project profile's 'Files' tab as well, where you manage any files/folders of the project from the project profile itself. This files/folders you see in this tab will always reflect the same files/folders you see in the project folder in the Documents > Files page, so you can make changes in either place and the changes will remain consistent everywhere the project's folder is used in Ontraccr.
Configuring project folders during project creation
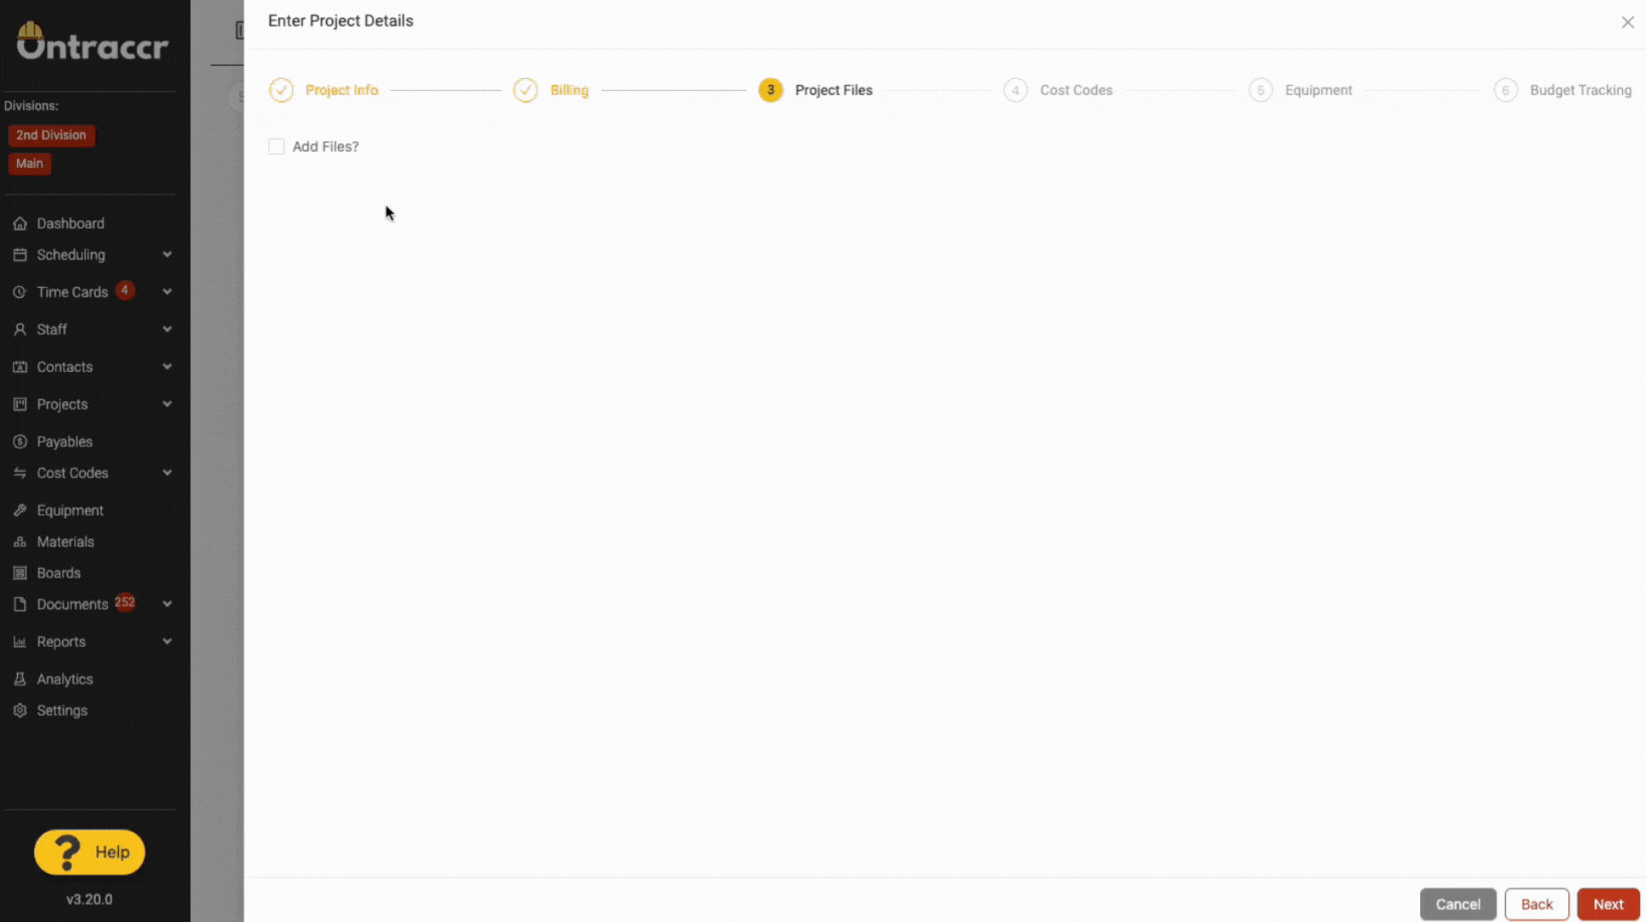
You can also add files to the project right when you're creating the project in Ontraccr. During project creation, in the 'Project Files' step, simply enable the 'Add Files?' checkbox if you'd like to start adding files/folders to the project right away.

Once you enable this option, you'll see the profile display the full folder structure. From here, simply add as many folders and files as needed.
Once you're done adding files, proceed with the remaining steps to create the project profile. Once the project is created, all of the files/folders you added will be stored in the project's auto-generated folder and will be accessible in the project's 'Files' tab moving forward.