Time card entry
How time is entered
There are many different ways you can allow your users to track their time. At a basic level, every time card in Ontraccr consists of the following fields of information:
- Date
- Hours or Start Time / End Time
- Type (work, break, overtime)
- Project
- Phase
- Cost Code
- Notes
Time cards can be entered either by real-time clock in / out or by manual entry in either the mobile or web app:
Time entry settings & options
When it comes to entering information into time cards, you can customize your team's experience to make sure it suits your time tracking needs.
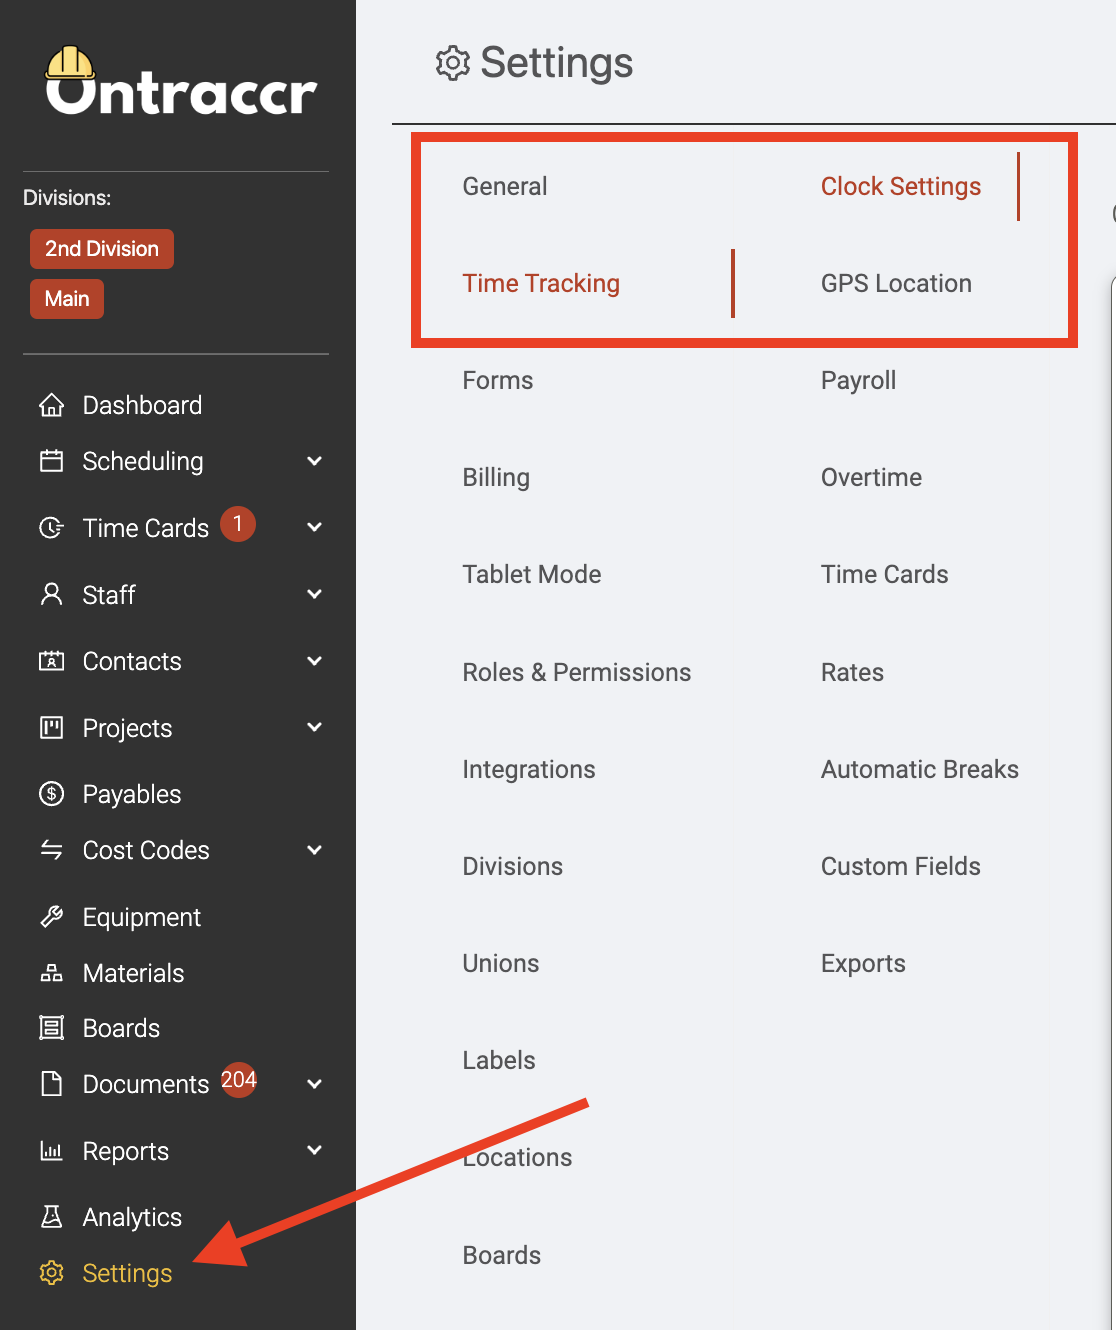
The Settings > Time Tracking > Clock Settings page will show you a number of foundational time tracking options.
Project and/or cost code selections
The 'Require Job Selection' and 'Require Cost Code Selection' settings dictate whether you require your users to select a job/project and/or cost code for their time entries. Disabling these two settings will still show job/project and cost codes selection options for the time entry, but these will be optional for the user as opposed to required in order for them to save the time entry.

Manual entry and/or real-time clocking
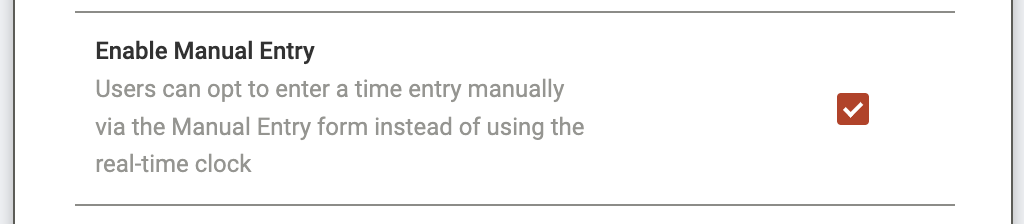
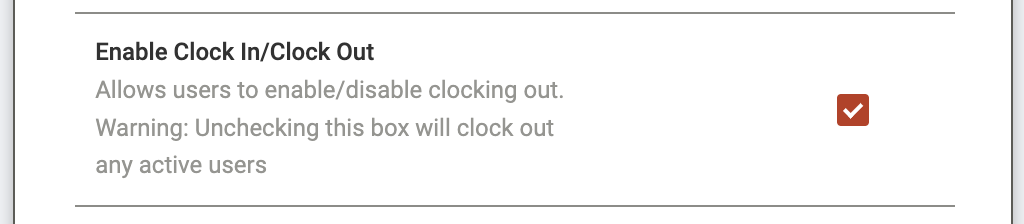
By default, Ontraccr's time tracking system allows users to track their time in real-time by clocking in and out of their shift in order to track their time, this ensures accuracy in the data as you will know exactly when each user starts and ends their shift, as well as exactly how much time they spend on each cost code. However, if you don't want to force your users to only track time by clocking in and clocking out, you can still give them the option to enter their time manually. The 'Enable Manual Entry' setting will enable/disable the option to add manual entries, whereas the 'Enable Clock In/Clock Out' setting can enable/disable the ability to clock in and clock out.
Hour-based time entry
By default, Ontraccr allows user to track time by their start and end time to ensure data accuracy. However, if you want to give your users the option to track their time by simply entering the number of hours instead, you can activate this by enabling the 'Hour Based Time Tracking' setting.

Facial Capture
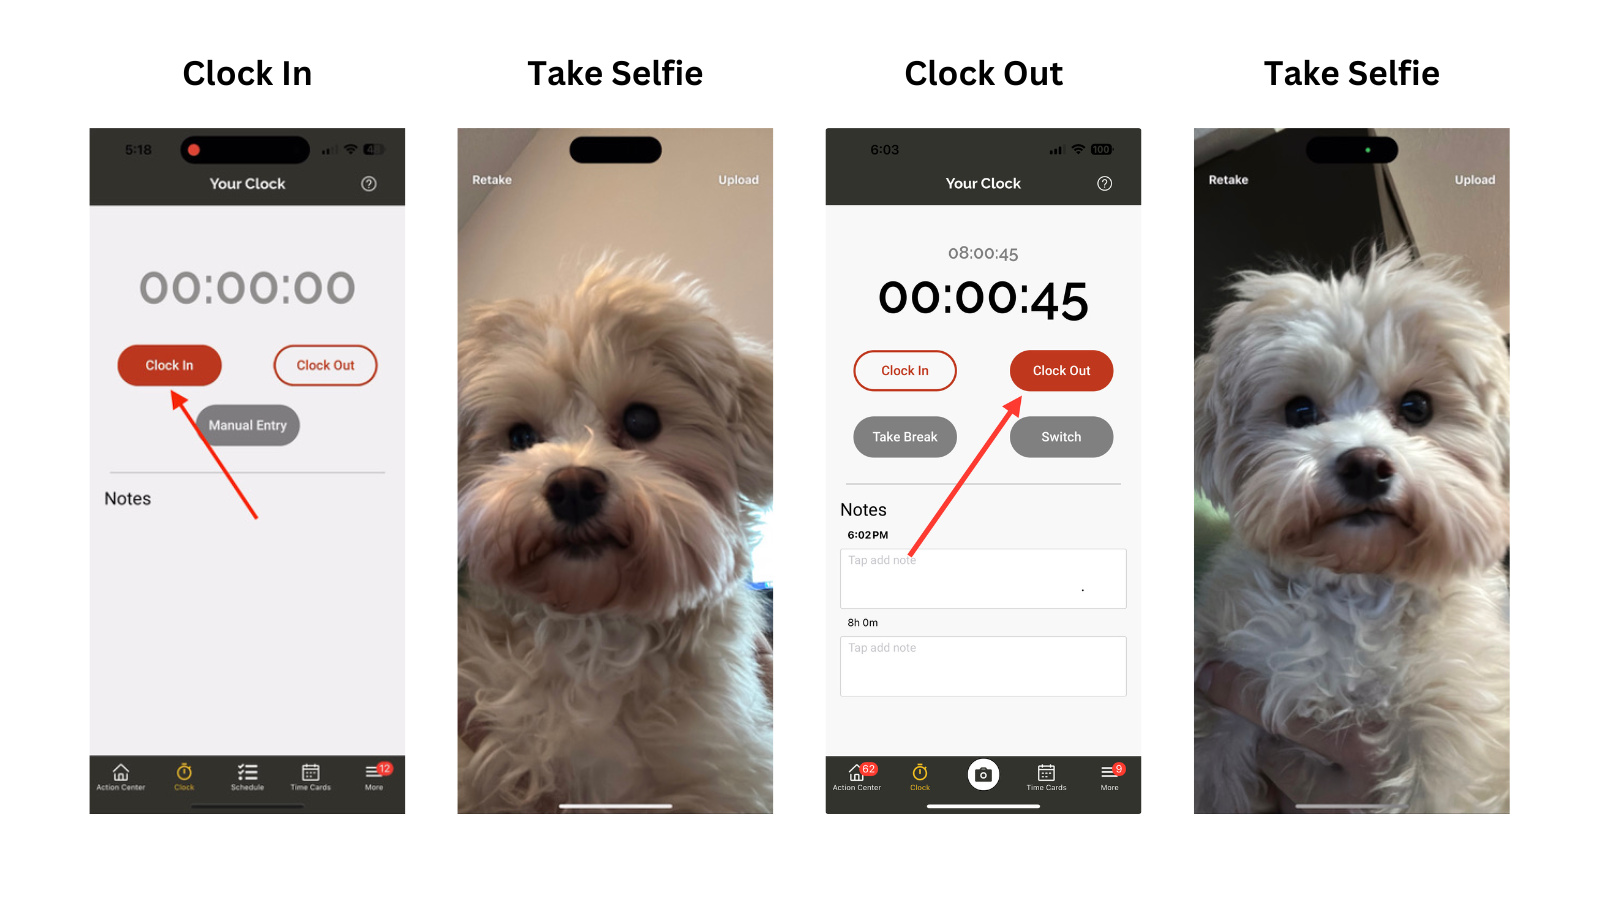
Ontraccr also has a Facial Capture feature, which will ask users to take a photo of themselves when tracking their time to verify their identity. With Facial Capture enabled, field users using the mobile app can clock in to start tracking their time and a camera slider will pop up immediately for them to capture and upload a selfie in order to complete the clock in. When the user is ready to clock out of their shift, the camera slider will appear again to capture another selfie photo. Here’s an example of our Chief Canine Officer, Zoe, performing a facial capture:
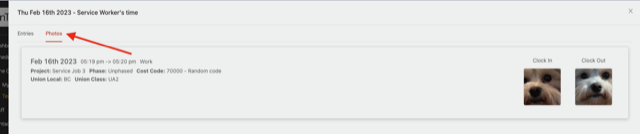
All Facial Capture photos will then be available when viewing the time card record in the web app under the 'Photos' tab of the time card.
To activate this feature, simply enable the 'Enable Facial Capture' settings in the Settings > Time Tracking > Clock Settings page.
Please note: Facial Capture only works for clocking in and clocking out and not for manual entries.

Time rounding
Ontraccr also supports the option of time rounding, which will round time entries according to your preference/policy. To activate time rounding across your company's time entries, navigate to the Settings > Time Tracking > Rounding page.
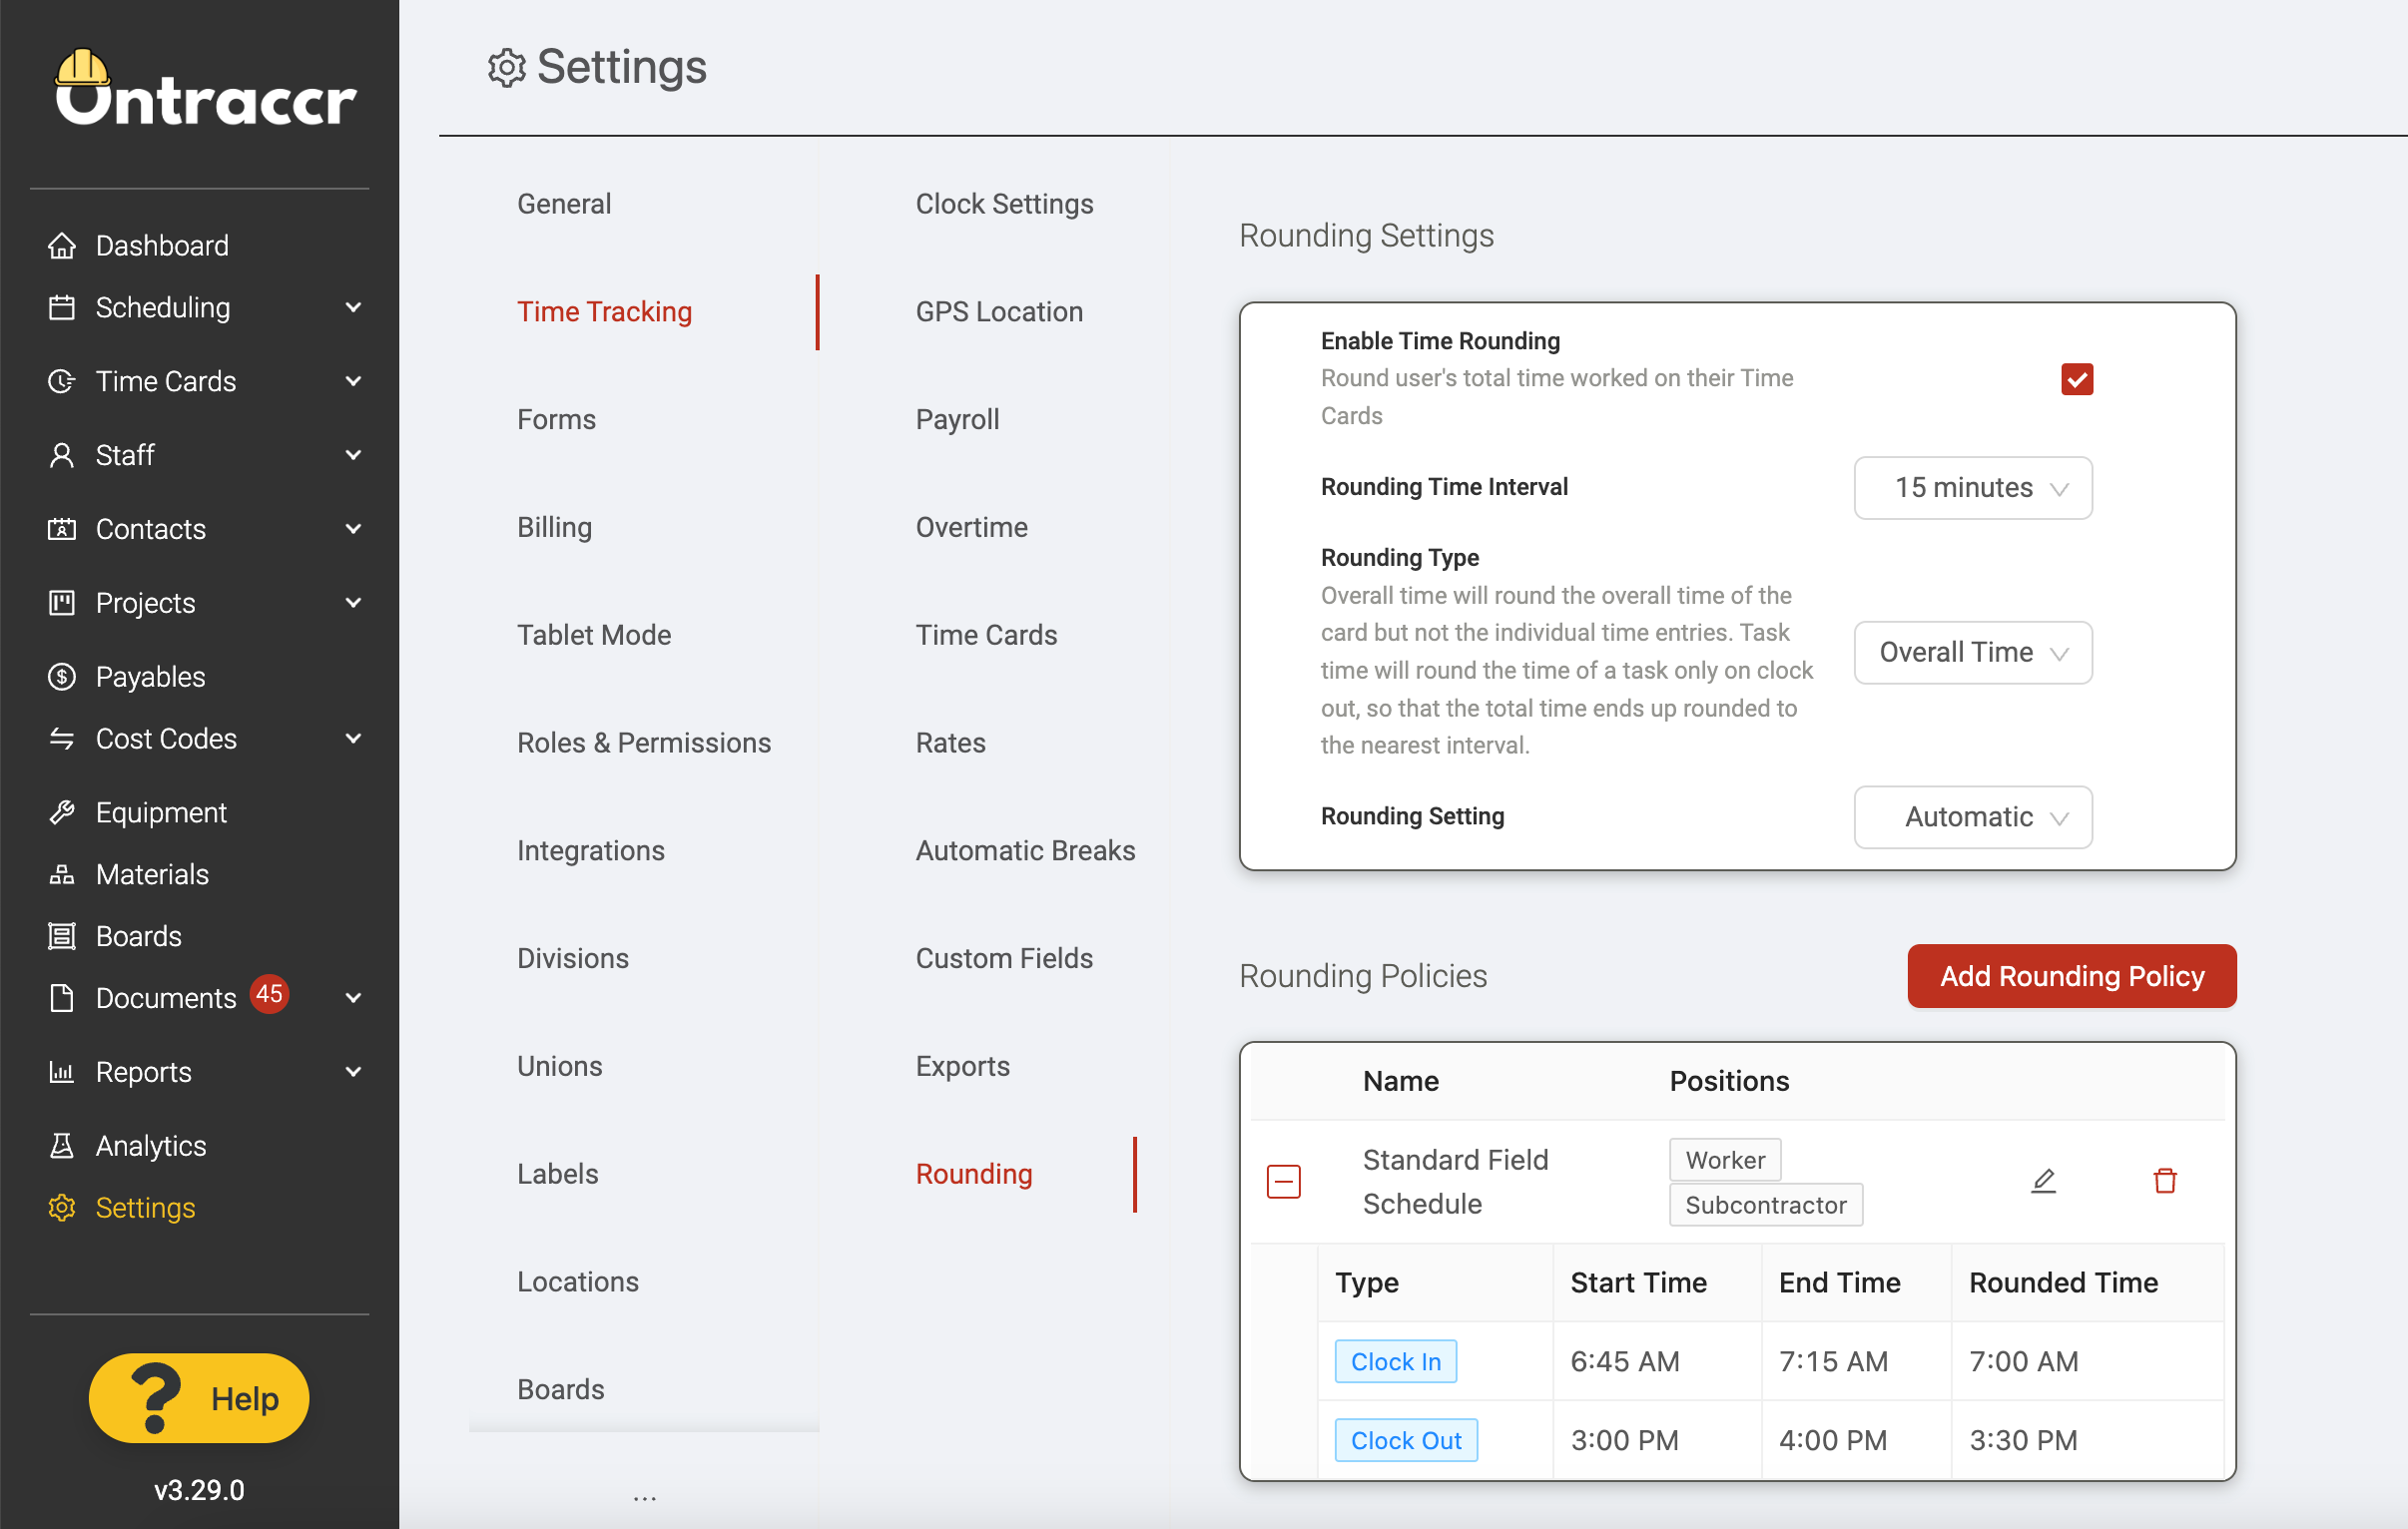
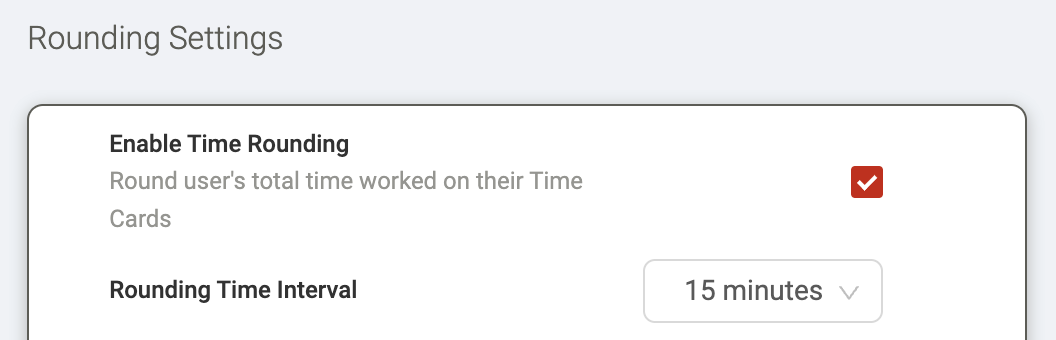
To activate time rounding, simply enable the 'Enable Time Rounding' and select your 'Rounding Time Interval' of 5, 10, 15, 30, or 60 minutes.
Next, there are various options and sub-settings available to decide exactly how you'd like to implement time rounding processes for your team in Ontraccr.
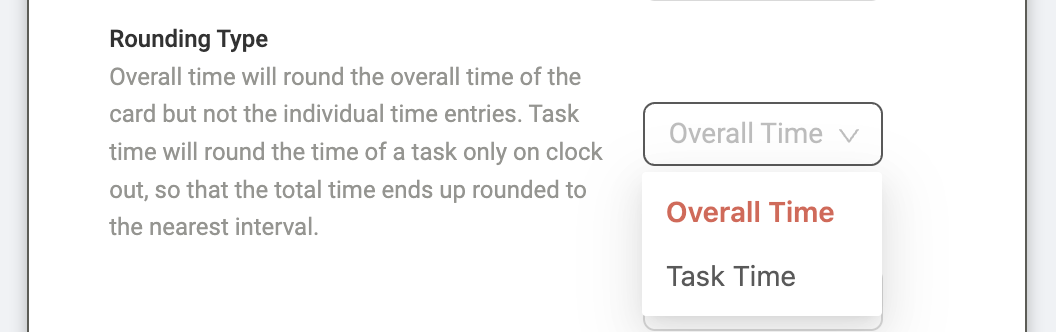
The 'Rounding Type' sub-setting dictates which part of a time card should be rounded. For example, if a daily time card has multiple entries which are summed up into an overall time for the time card across the day, you can decide whether you want to round the overall time of the daily time card or the individual task-based time entries themselves. To round the overall time of the daily time card, select the 'Overall Time' option. To round the individual time entries within the time card, select the 'Task Time' option.
Rounding policies
Ontraccr's 'rounding policies' feature allows admins to create rounding 'schedules' or 'policies' for specific clock in or clock out scenarios. For example, you can create a policy where, anytime someone clocks in between 6:45 am to 7:15 am, the clock in time will be rounded to a 7 am start time instead.
The 'Rounding Policies' section of the time rounding settings page is where you can add as many of these rounding policies as you'd like.
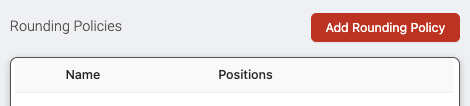
Click 'Add Rounding Policy' to create a new policy. From here, you can give each policy a name and decide which user role types it applies to. Click 'Add Time' to add a new rounding rule to the policy. For each rule, select whether it applies to a clock in or clock out event under the 'Type' column, add the start and end times for the rule, and configure the time you want the event rounded to. Below is a demo of how to add a policy from start to finish: