
Activating and managing the Sage 100 Contractor integration
Installing the connector
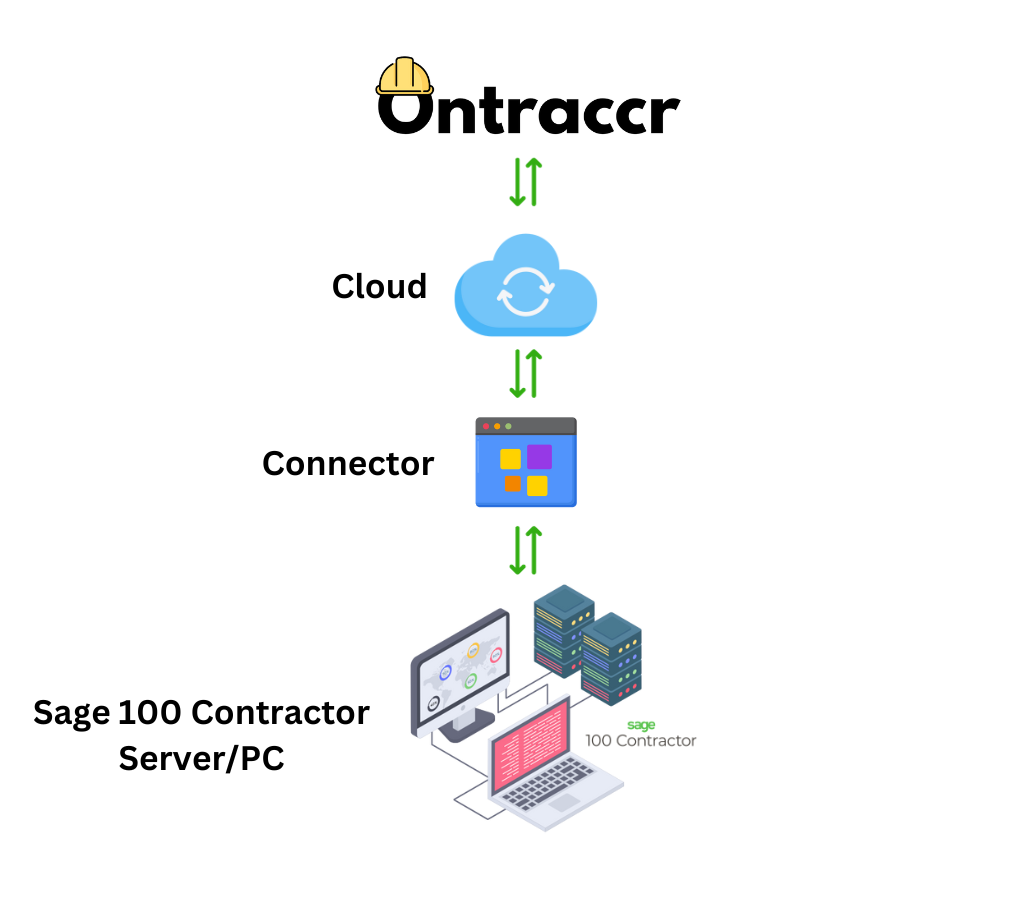
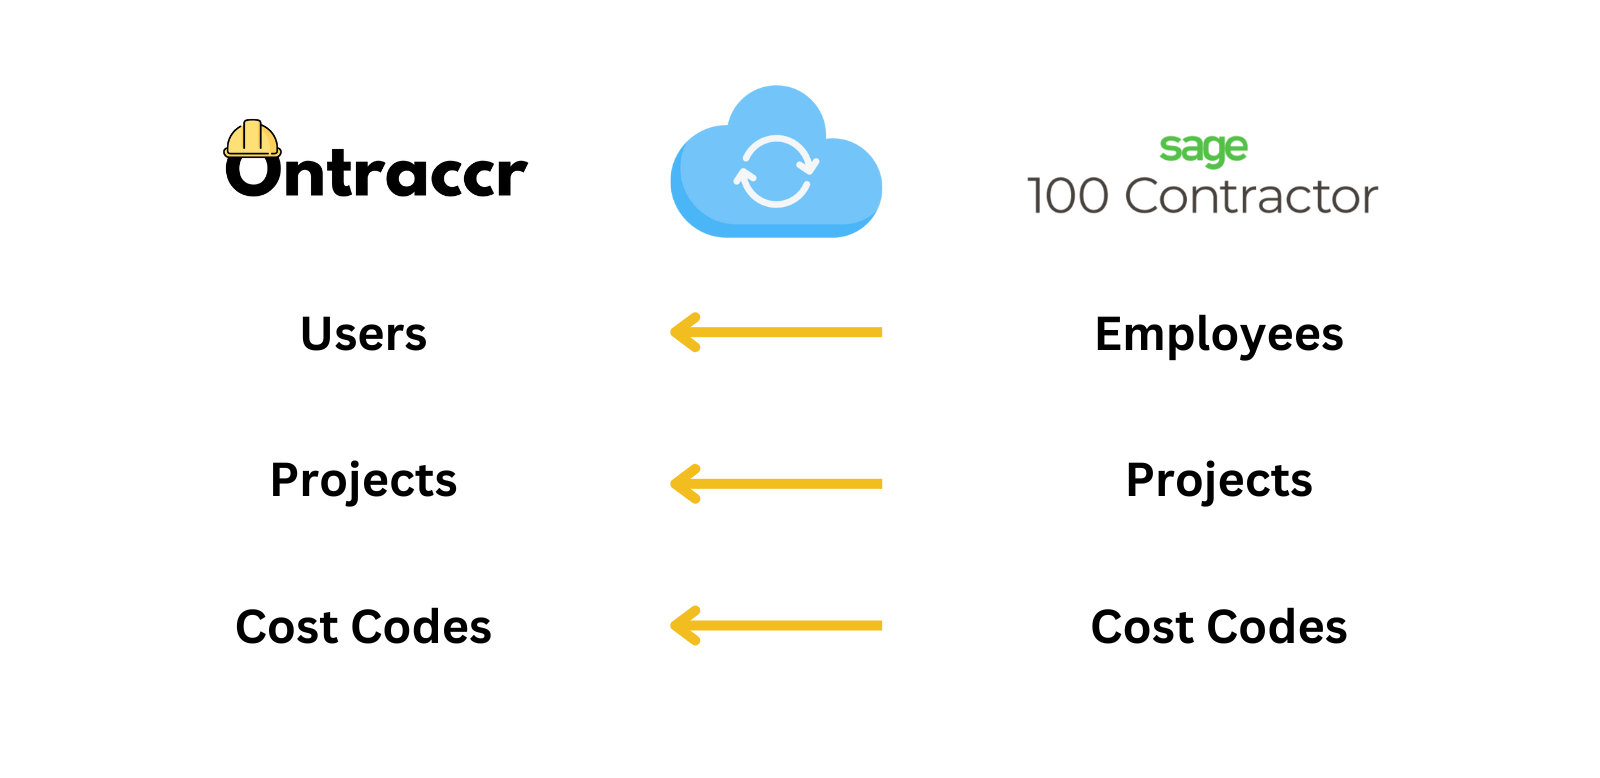
The Ontraccr Sage 100 Contractor integration happens via a cloud-enabled connector which is installed onto the Sage 100 Contractor server, as shown below.
In order to install the connector onto your Sage 100 Contractor server, you will need to contact the Ontraccr service team for assistance. You can either submit a service ticket here, or contact your Ontraccr representative to get started. When submitting a service ticket, be sure to submit a 'Technical Support' ticket type and indicate that you require assistance with the Sage 100 Contractor integration. The Ontraccr team will present you with a quote for the integration fee and will then walk you through the next steps to get started.
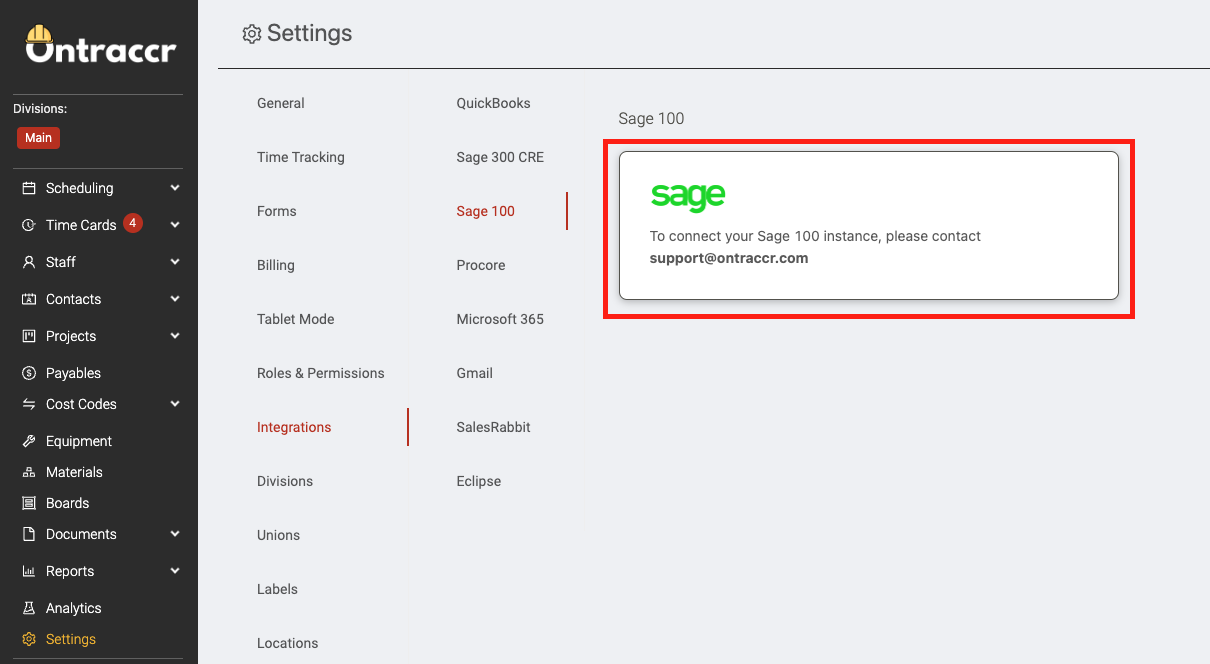
To check whether the connector is installed successfully, you can navigate to the Settings > Integrations > Sage 100 page.
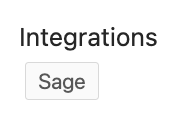
If you see the following message in the screenshot, then the connector is not yet active:
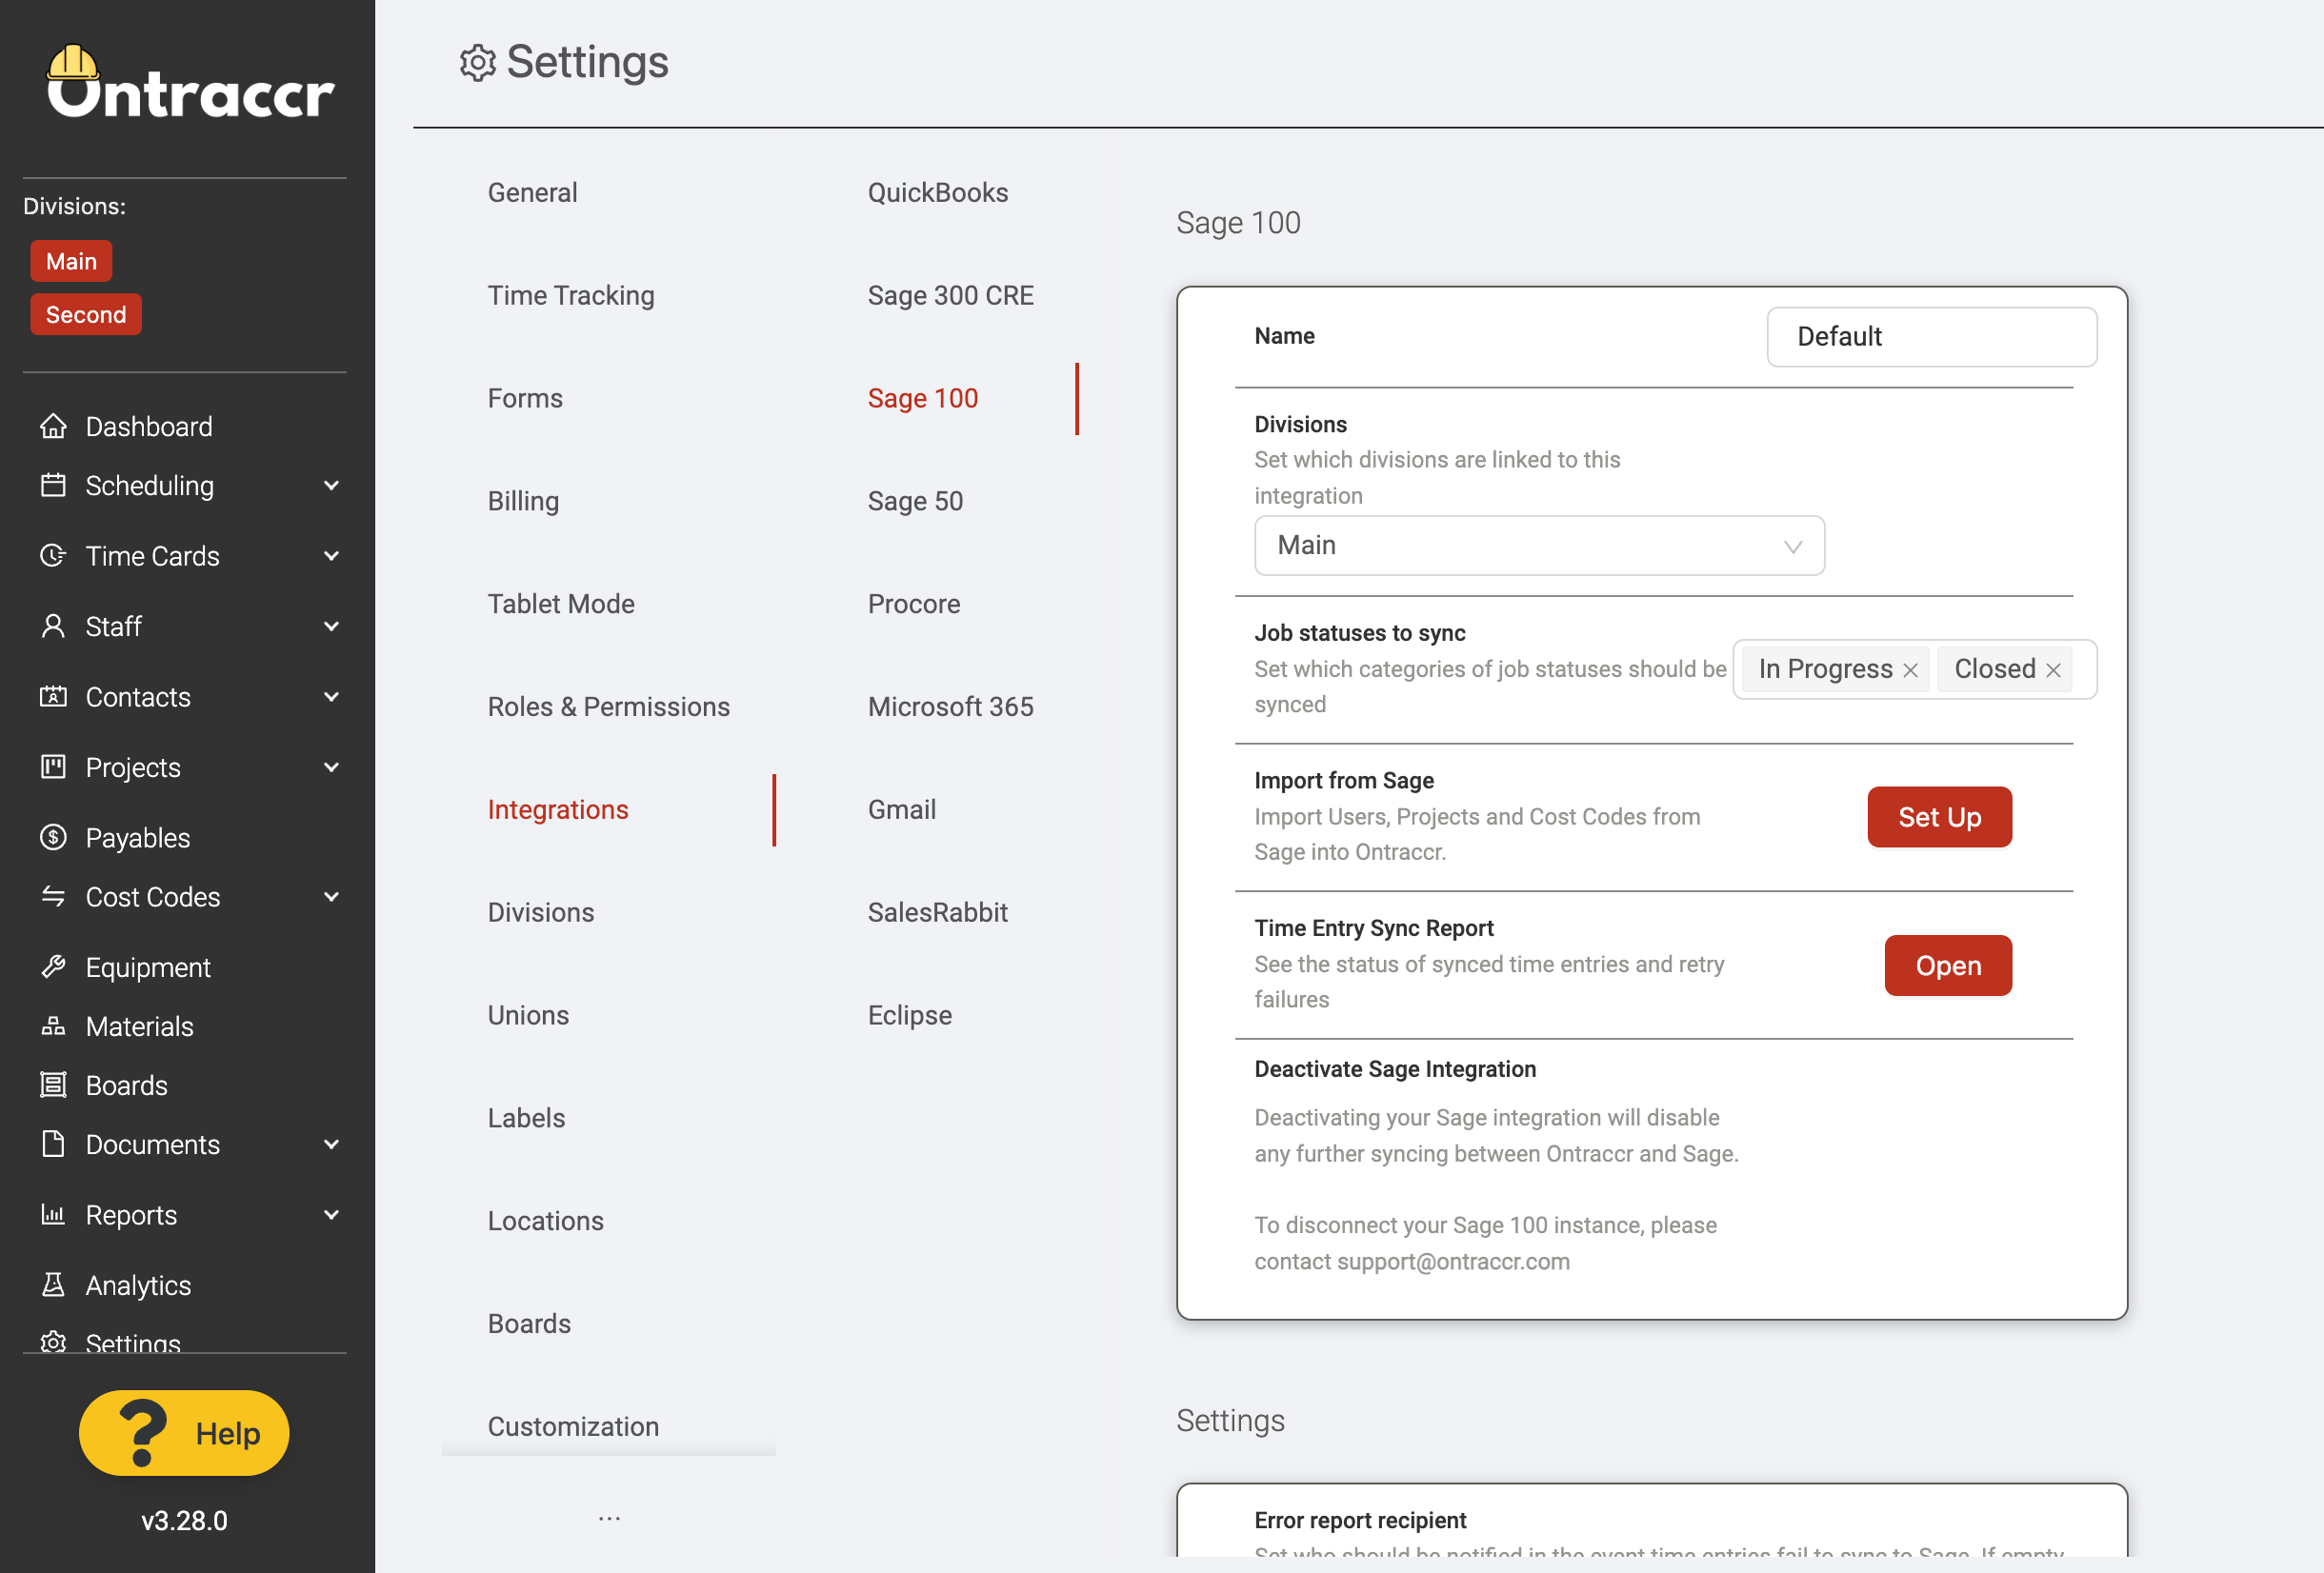
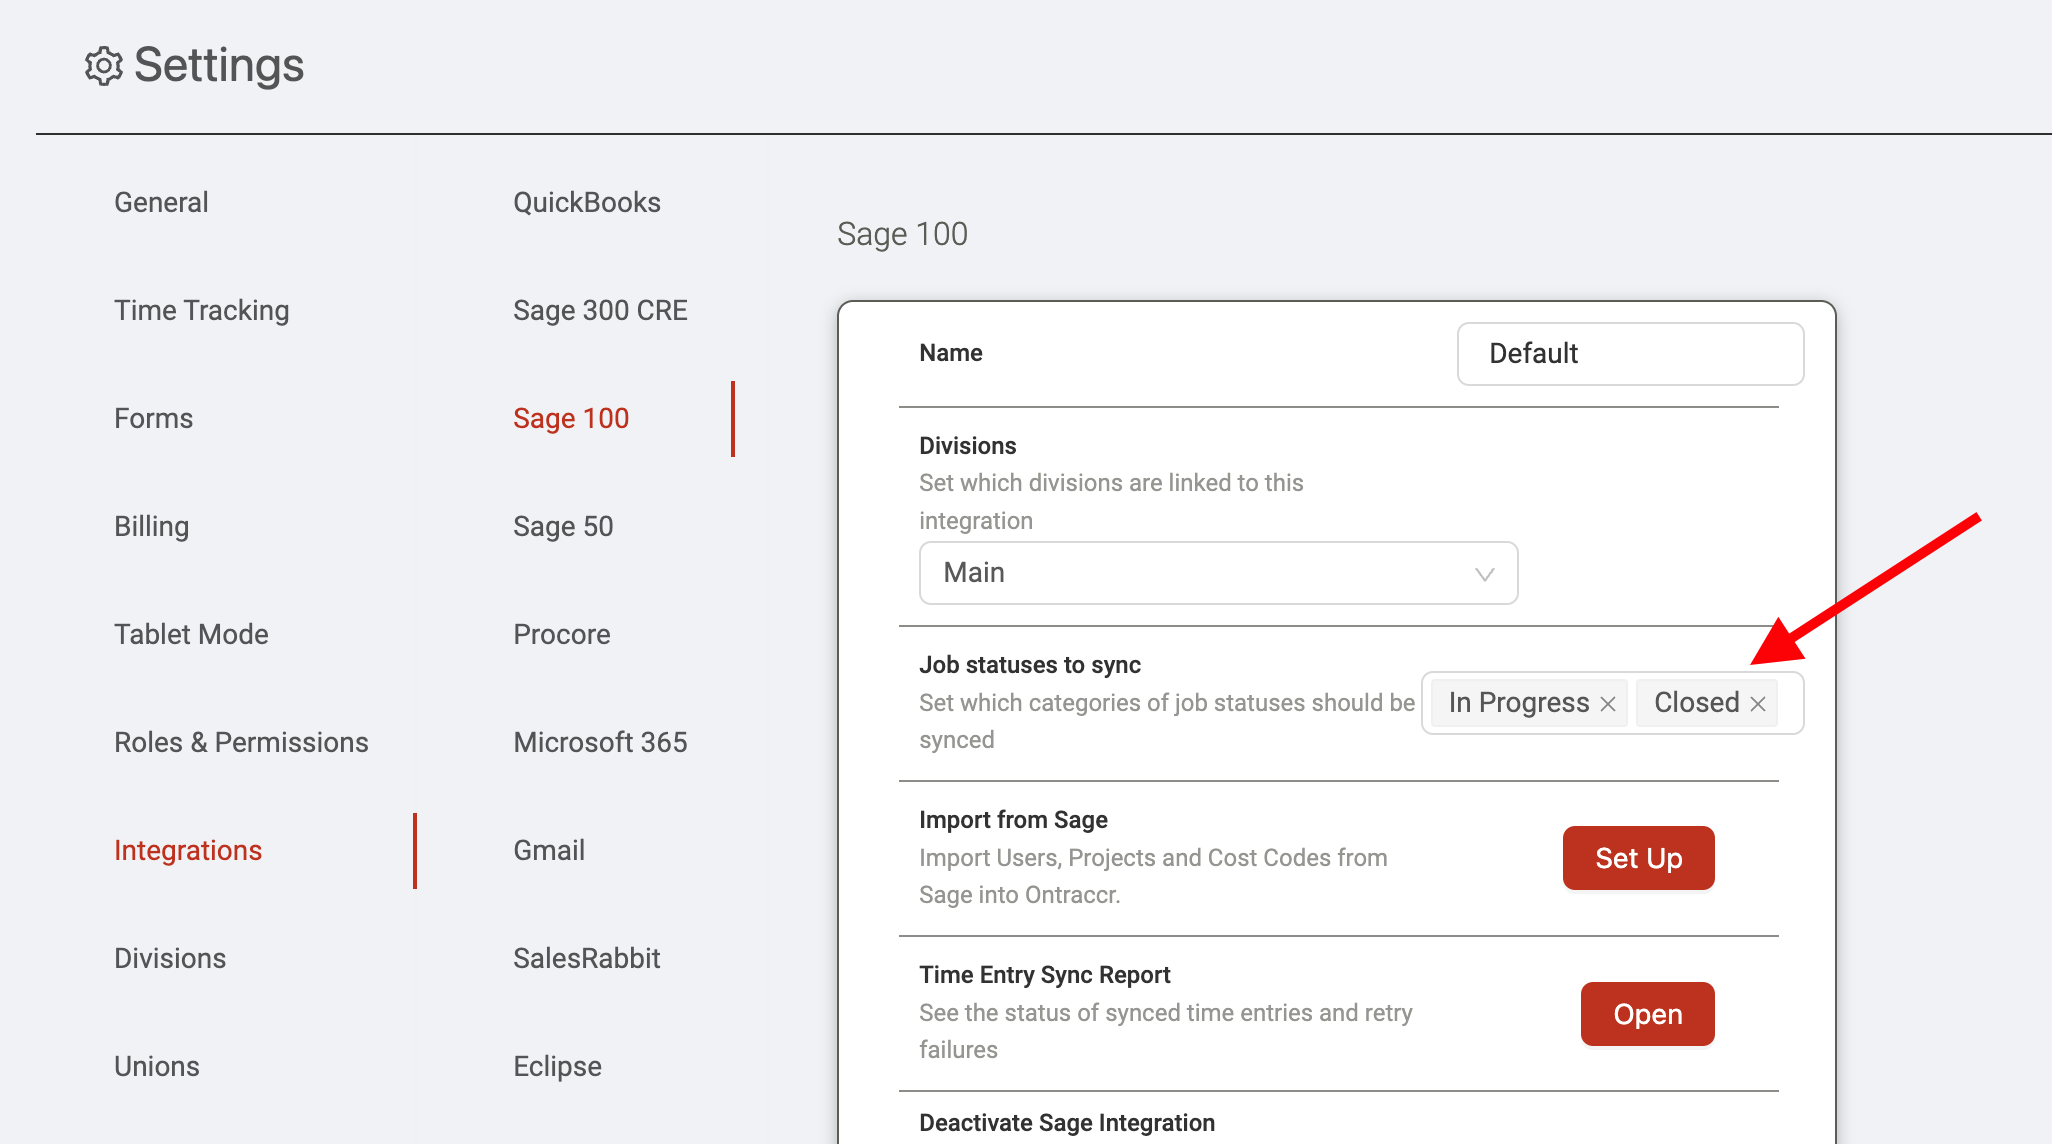
However, once the connector is installed and linked to the Ontraccr cloud successfully, you will see the same settings page show the following options:
Importing data from Sage 100 Contractor into Ontraccr
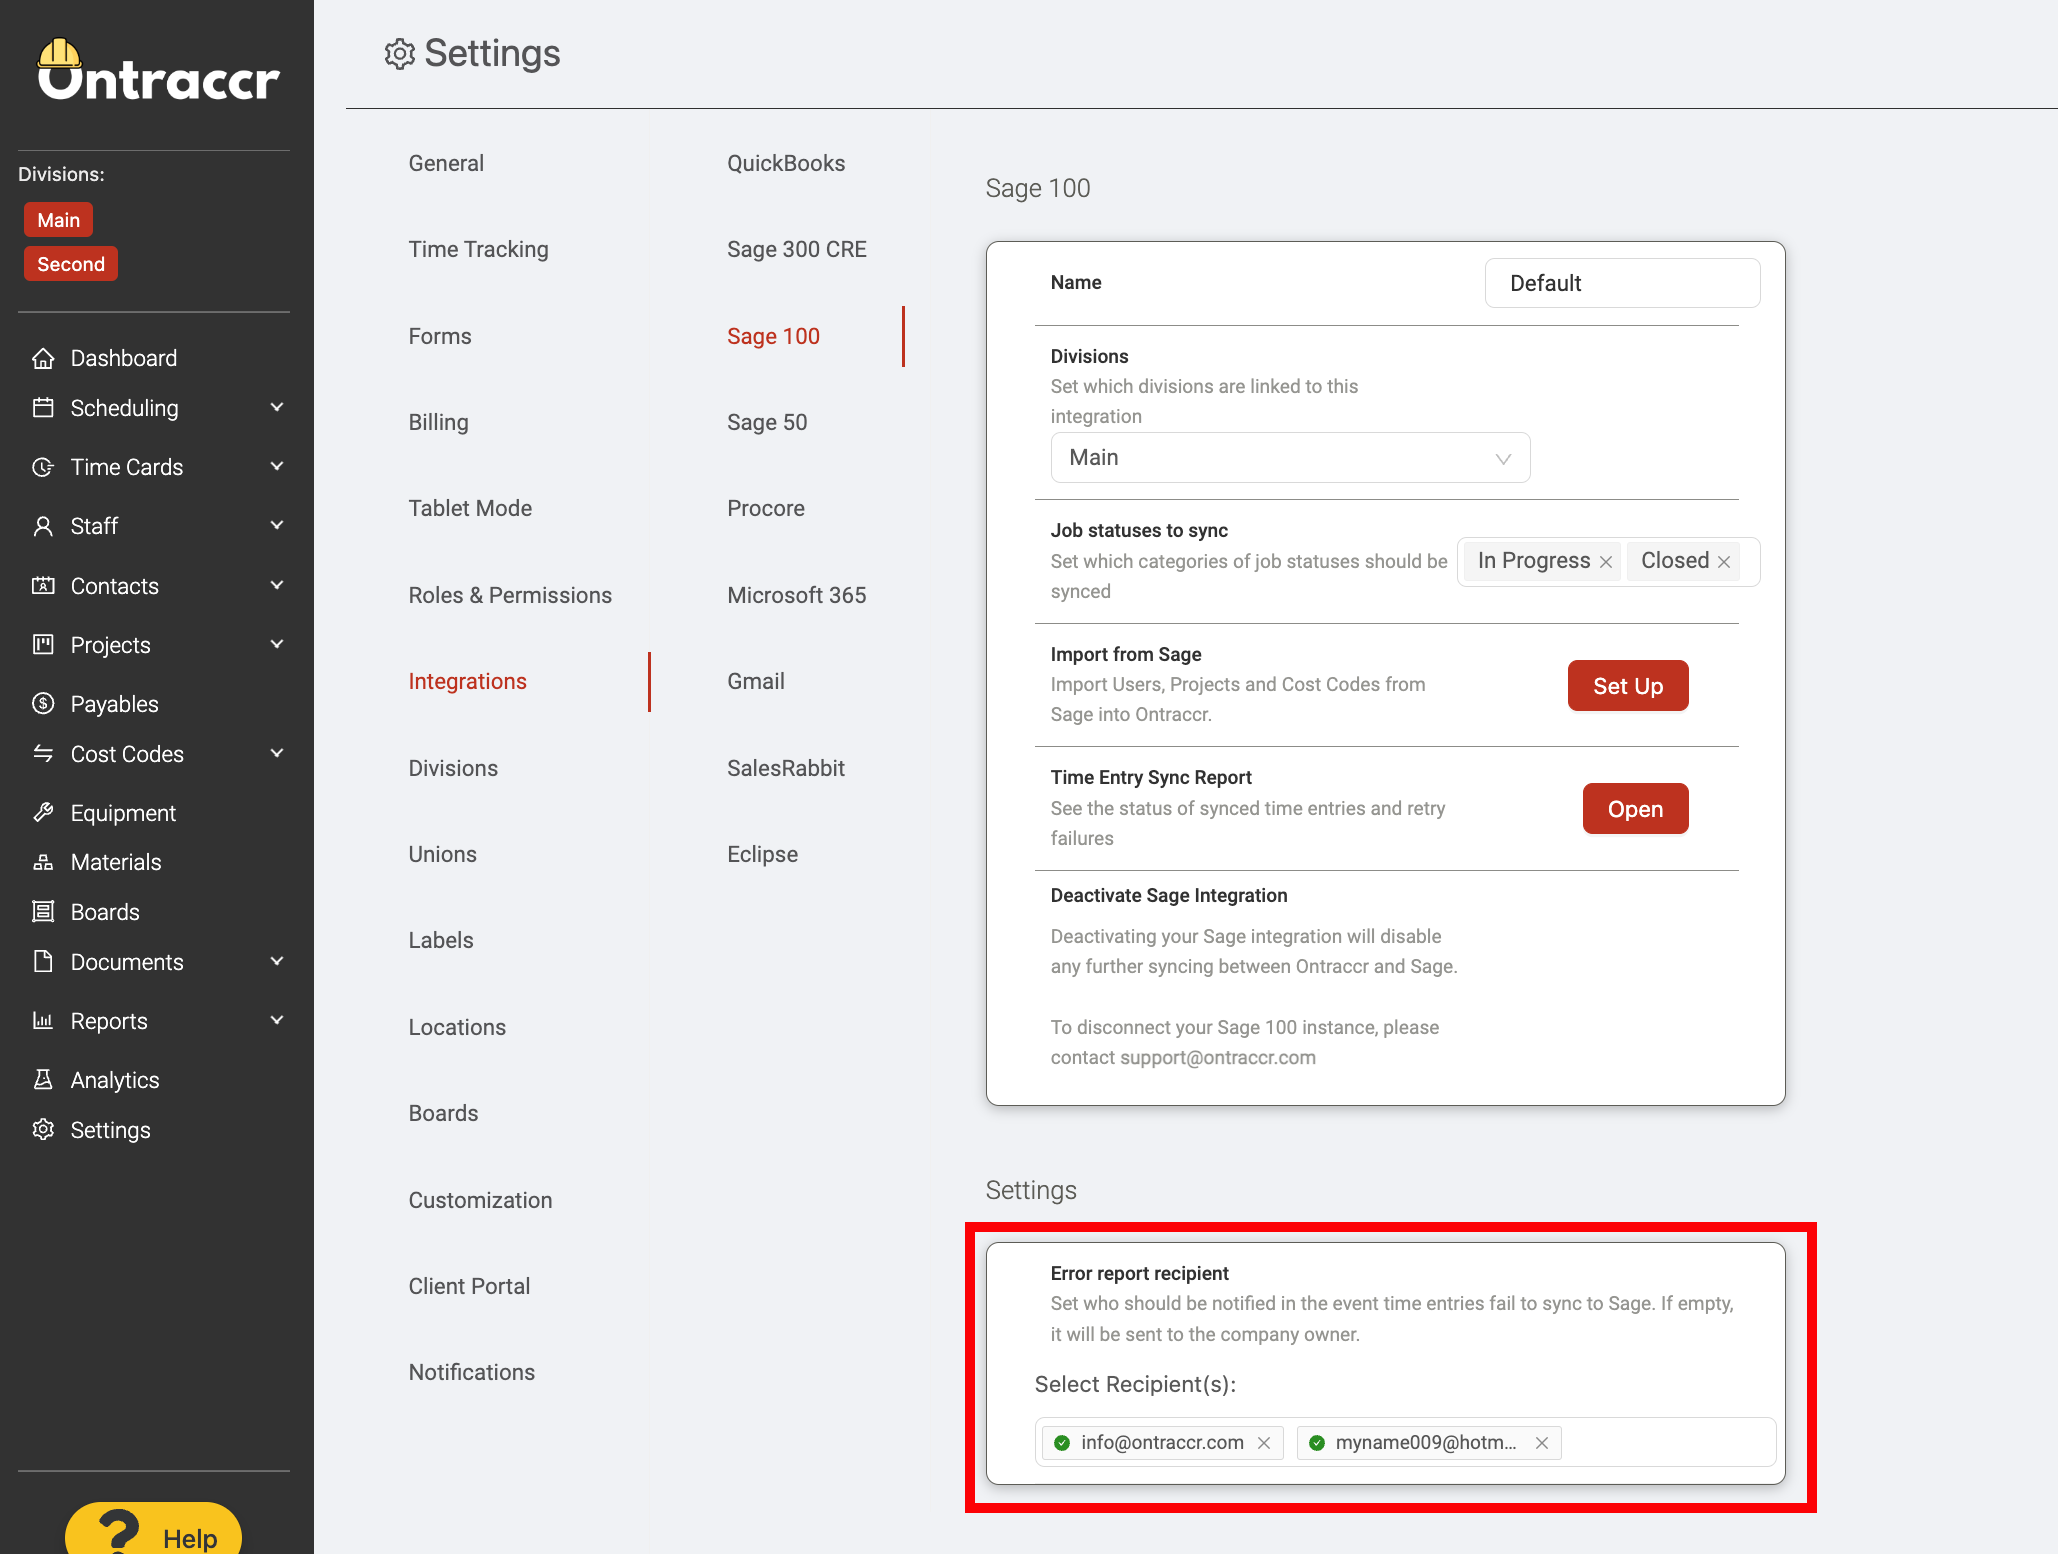
To import data from your Sage 100 Contractor account into Ontraccr, navigate to the Settings > Integrations > Sage 100 page.
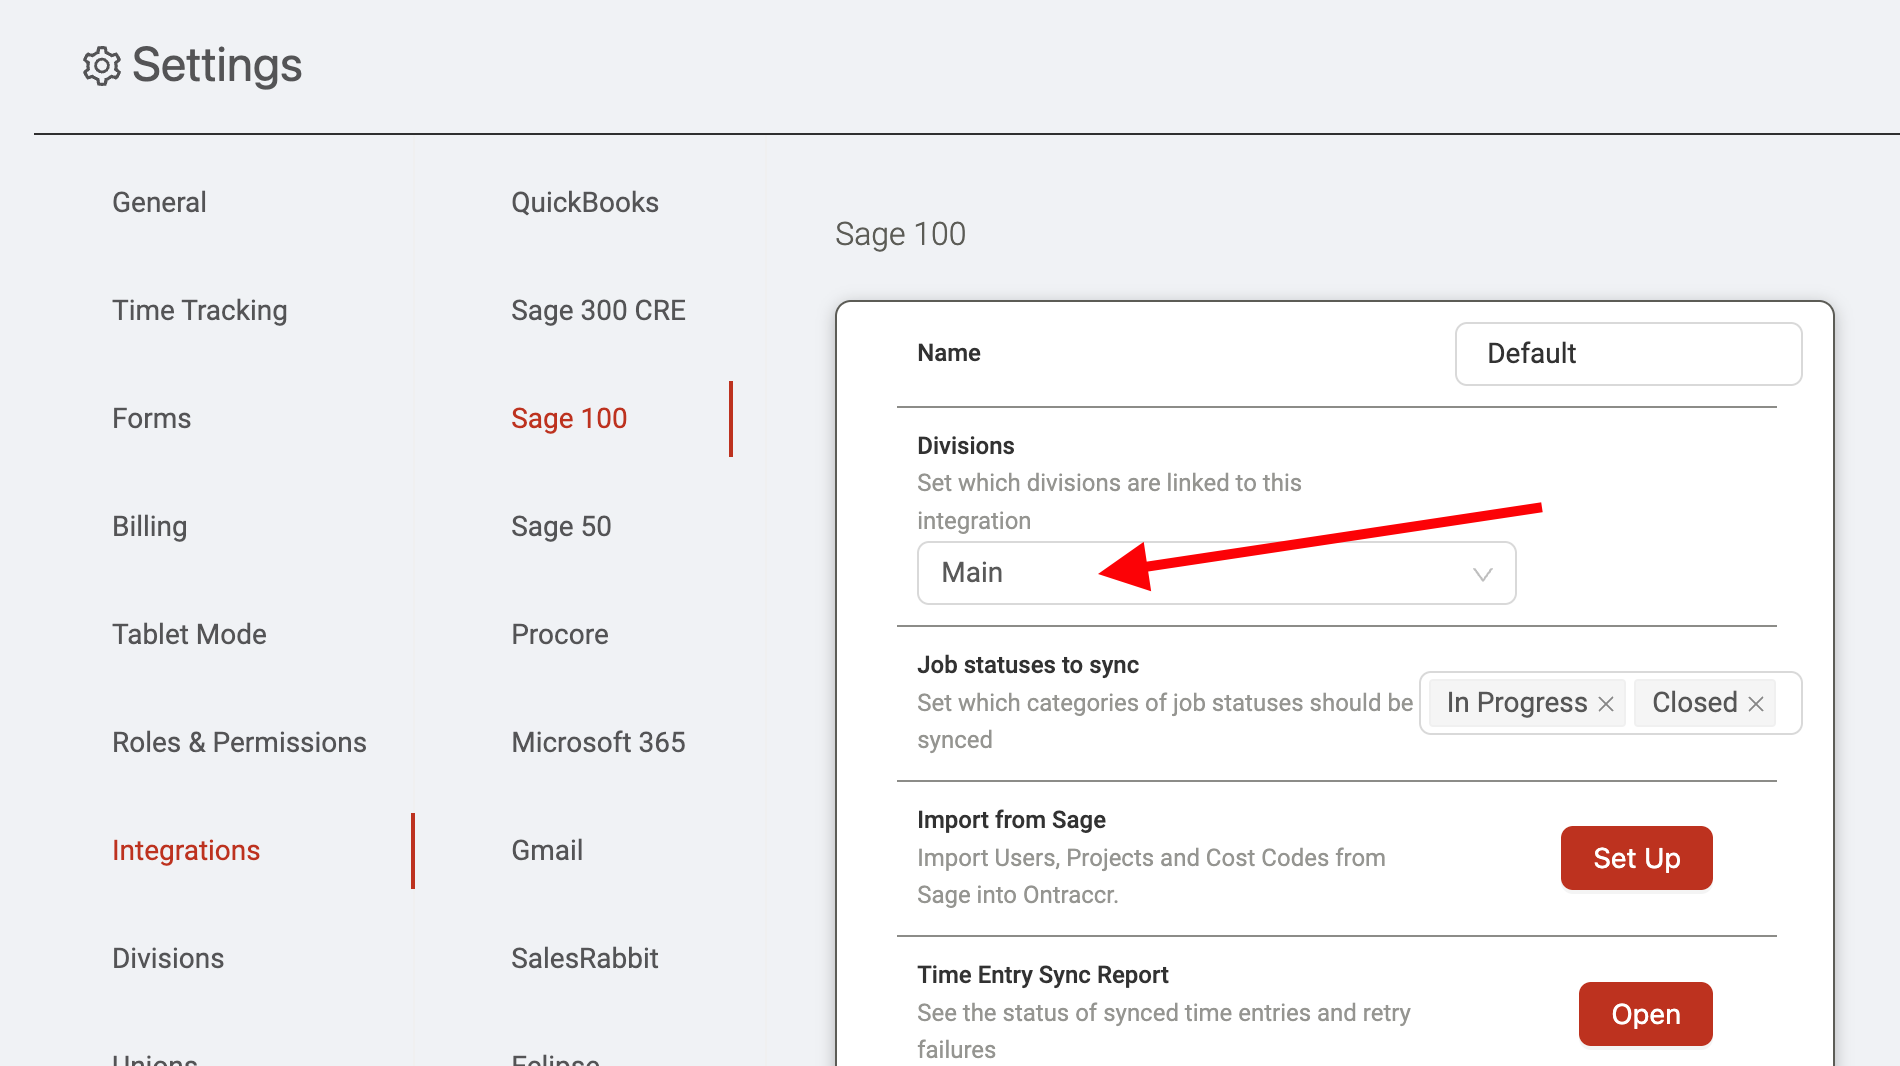
First, for companies with multiple divisions in Ontraccr, select the desired linked division in the 'Division' field. This will select the primary Ontraccr division which will be used to sync data with the Sage 100 Contractor account.
Next, you'll need to decide which projects you want to sync from Sage 100 Contractor into Ontraccr by considering the status of the projects in Sage 100 Contractor. By default, all projects with 'Bid', 'Contract' and 'Current' statuses should sync over from your Sage 100 Contractor account into Ontraccr. You can edit the project statuses for the projects you'd like to sync by changing the status selections using the 'Job statuses to sync' field. For reference, here are the status mappings for project statuses from Ontraccr (left) to Sage 100 Contractor (right):
'Unstarted': Bid (1)
'In Progress': Contract (3), Current (4)
'Closed': Refused (2), Closed (6)
'Complete': Complete (5)
Next, click ‘Set Up’ to begin importing data and profiles from Sage 100 Contractor into Ontraccr.
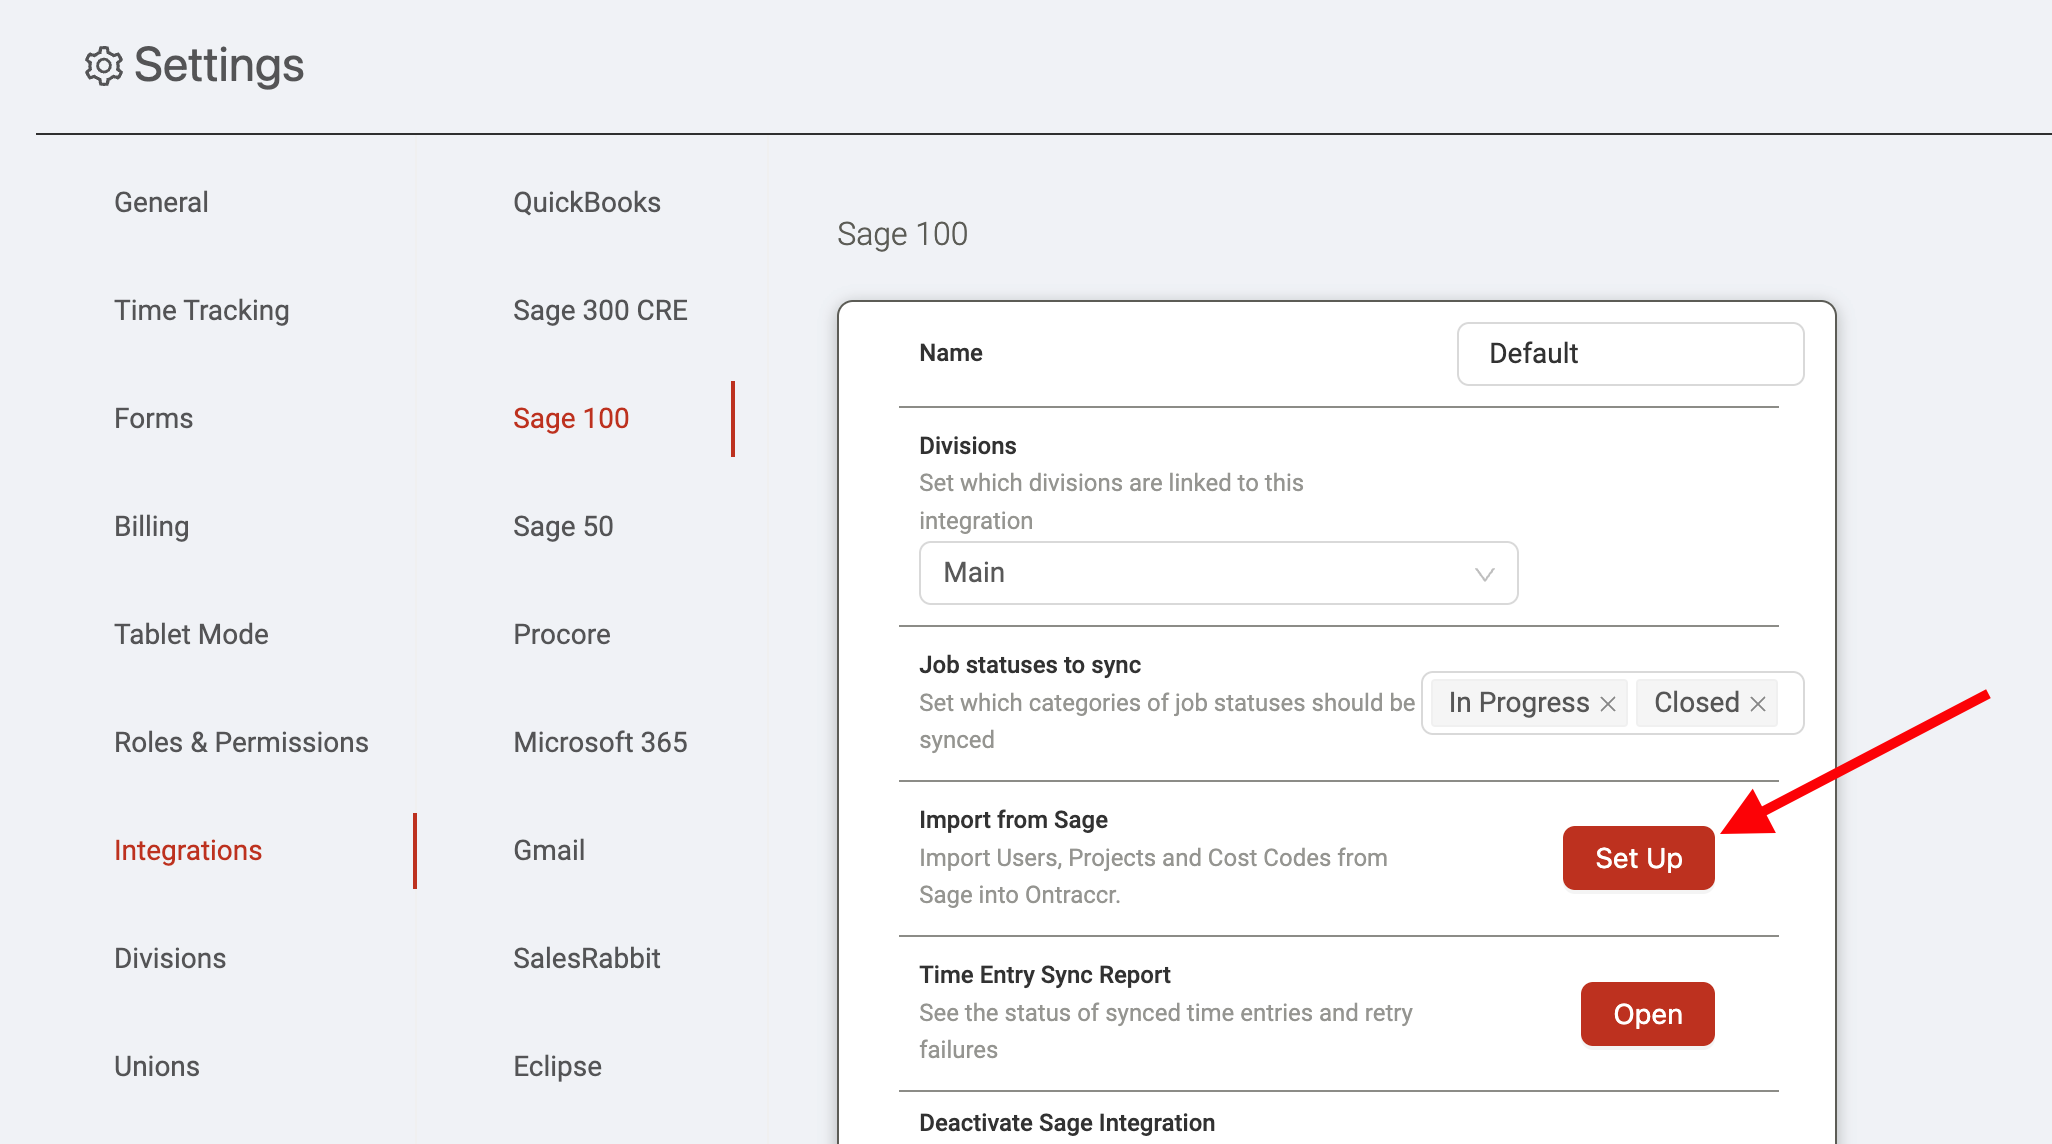
There are 4 main steps to import data from Sage 100 Contractor into Ontraccr.
The first step is to import unions. The 'Auto Import' feature will accelerate the importing process of adding your unions from Sage 100 Contractor into Ontraccr. Click 'Next' when you're finished with this step.

Next, the second step is to import users. You will see the full list of Sage 100 Contractor user profiles that Ontraccr can see and you will have the option to configure the data fields for each profile before importing them into Ontraccr. (Note: if users already exist in Ontraccr when you are trying to import them, you can choose to link the profiles so that duplicate entries are not imported from Sage 100 Contractor.)
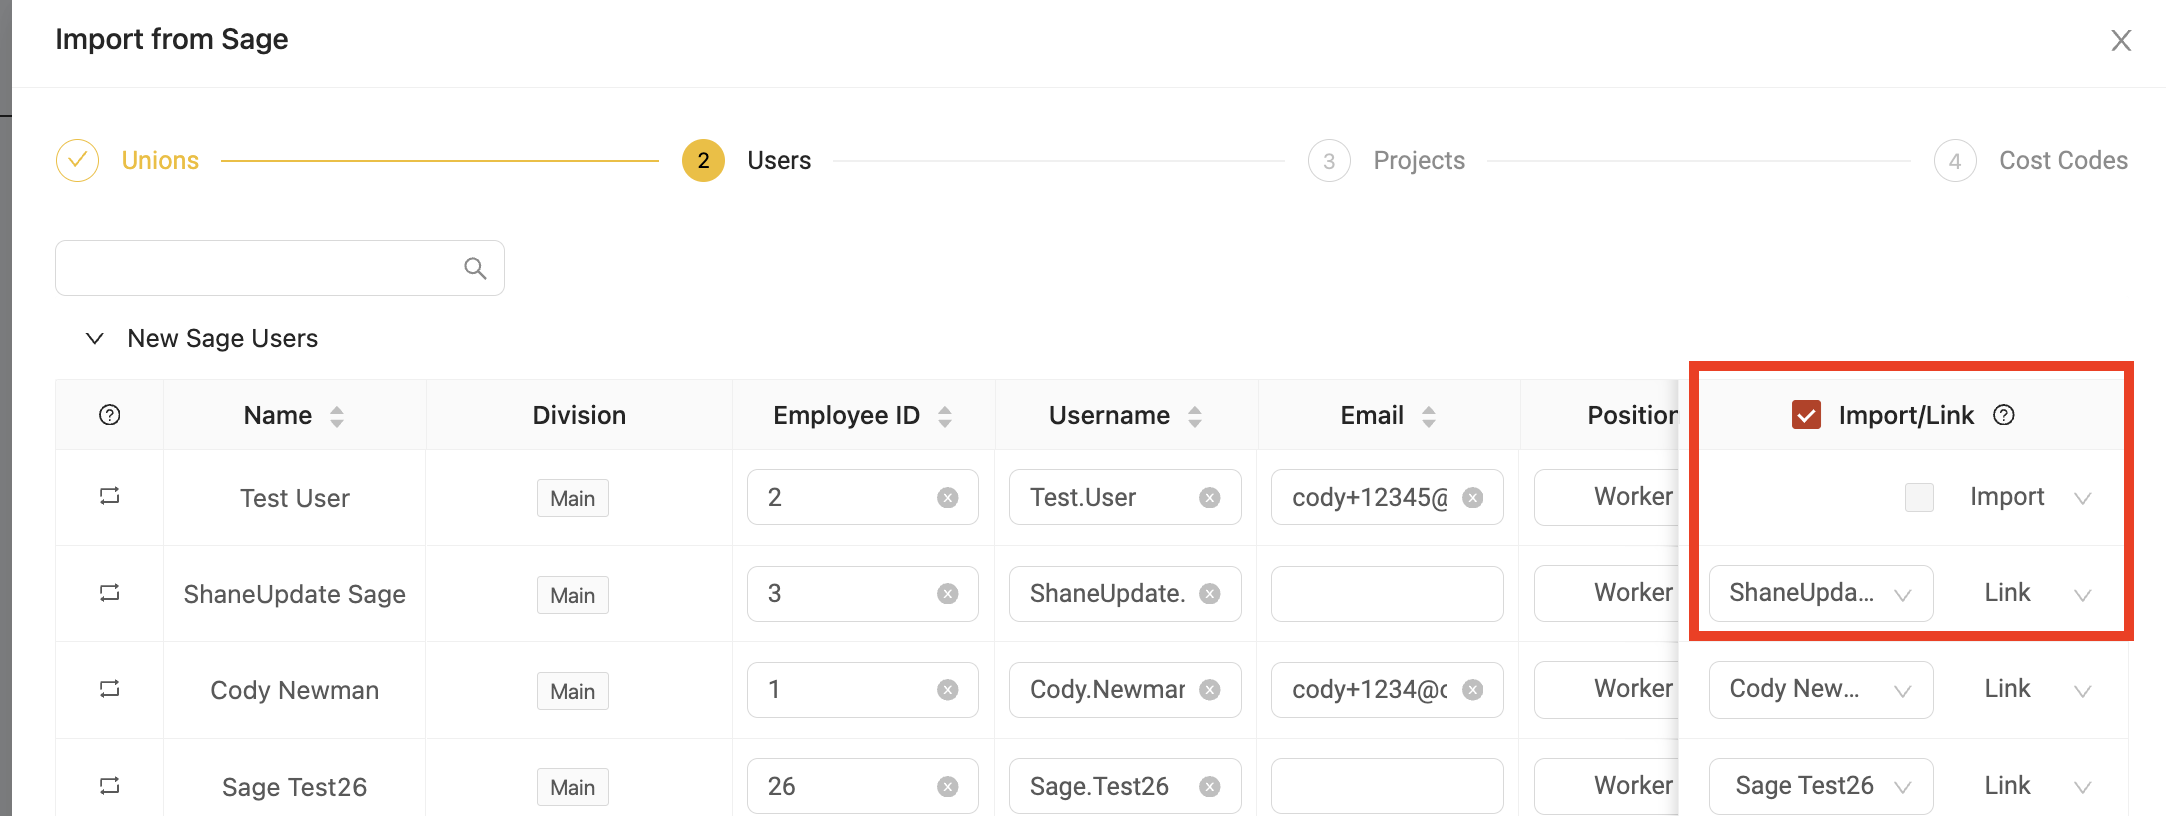
Click 'Next' when you're finished with this step.
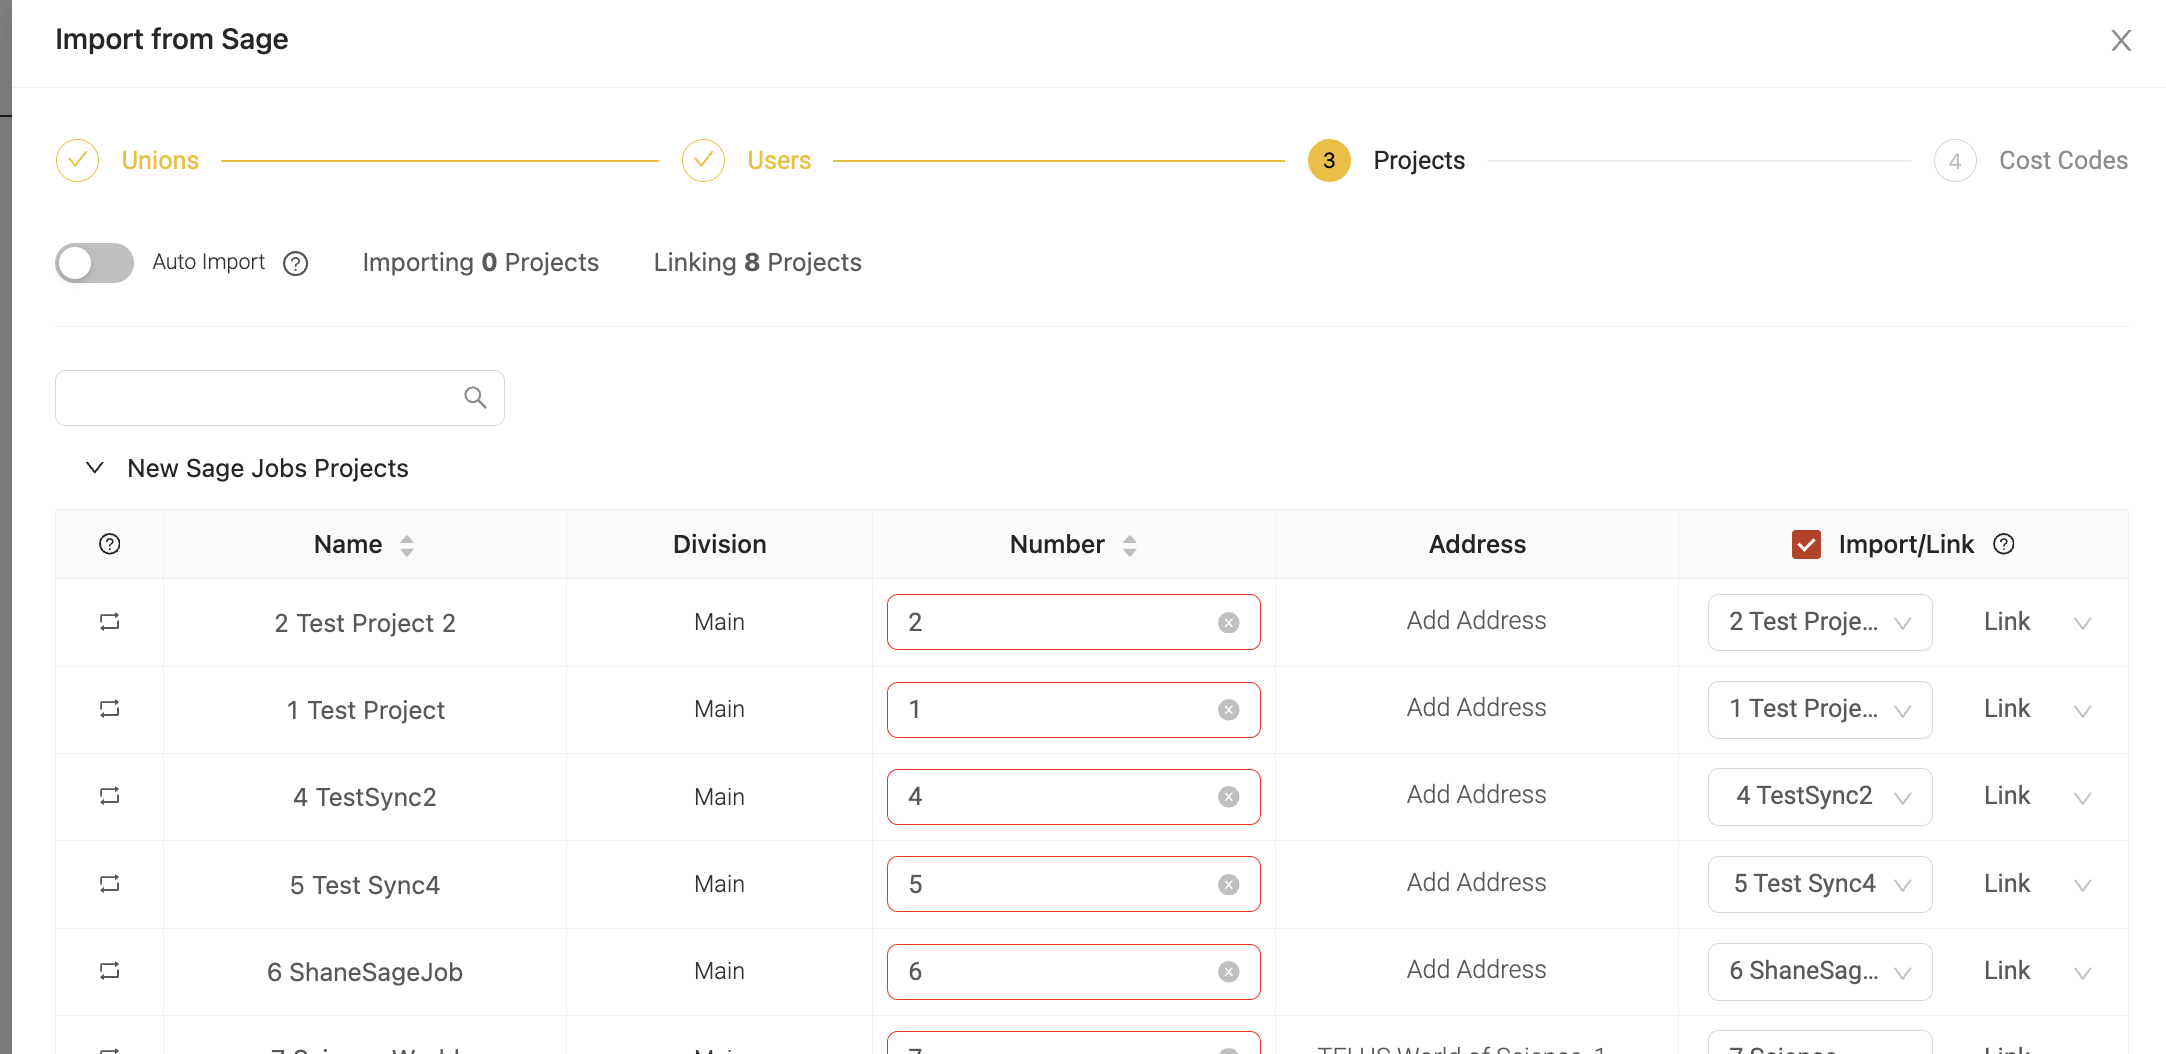
The third step is to import projects. You can choose to Auto Import project profiles too, otherwise you can disable Auto Import to review project information prior to the import. Click ‘Next’ when you’re finished with this step.
The final step is to import cost codes. With cost codes, you also have the option to Auto Import to accelerate the import process. Otherwise, you can disable Auto Import to manually import cost codes or link them to existing cost codes in Ontraccr. Click ‘Sync’ when you’re finished with this step and to complete the import process.

Once the import is complete, you will no longer need to use this import process to import profiles. Moving forward, users, projects, and cost codes added into Sage 100 Contractor will sync into Ontraccr automatically.
Important Notes and Considerations:
In order for a user to sync from Sage 100 Contractor into Ontraccr, the user profile in Sage 100 Contractor can not have a 'Termination Date' set without a 'Rehire Date' set. If the user profile has a 'Termination Date' set, it should also have a 'Rehire Date' set in order for it to sync into Ontraccr (and the Rehire Date should be set to a date after the Termination Date).
How to check whether a profile is linked
Data will only sync from Ontraccr into Sage 100 Contractor if the profiles in Ontraccr are correctly linked to the Sage 100 Contractor equivalent profile. To check whether a specific profile is linked correctly, you can open the user/project/costcode profile in Ontraccr to check the 'Integrations' field. If you see a 'Sage' label under the 'Integrations' field, then that means that the specific profile is linked correctly and should sync accordingly.
For example, here's where you can find this in a user profile:
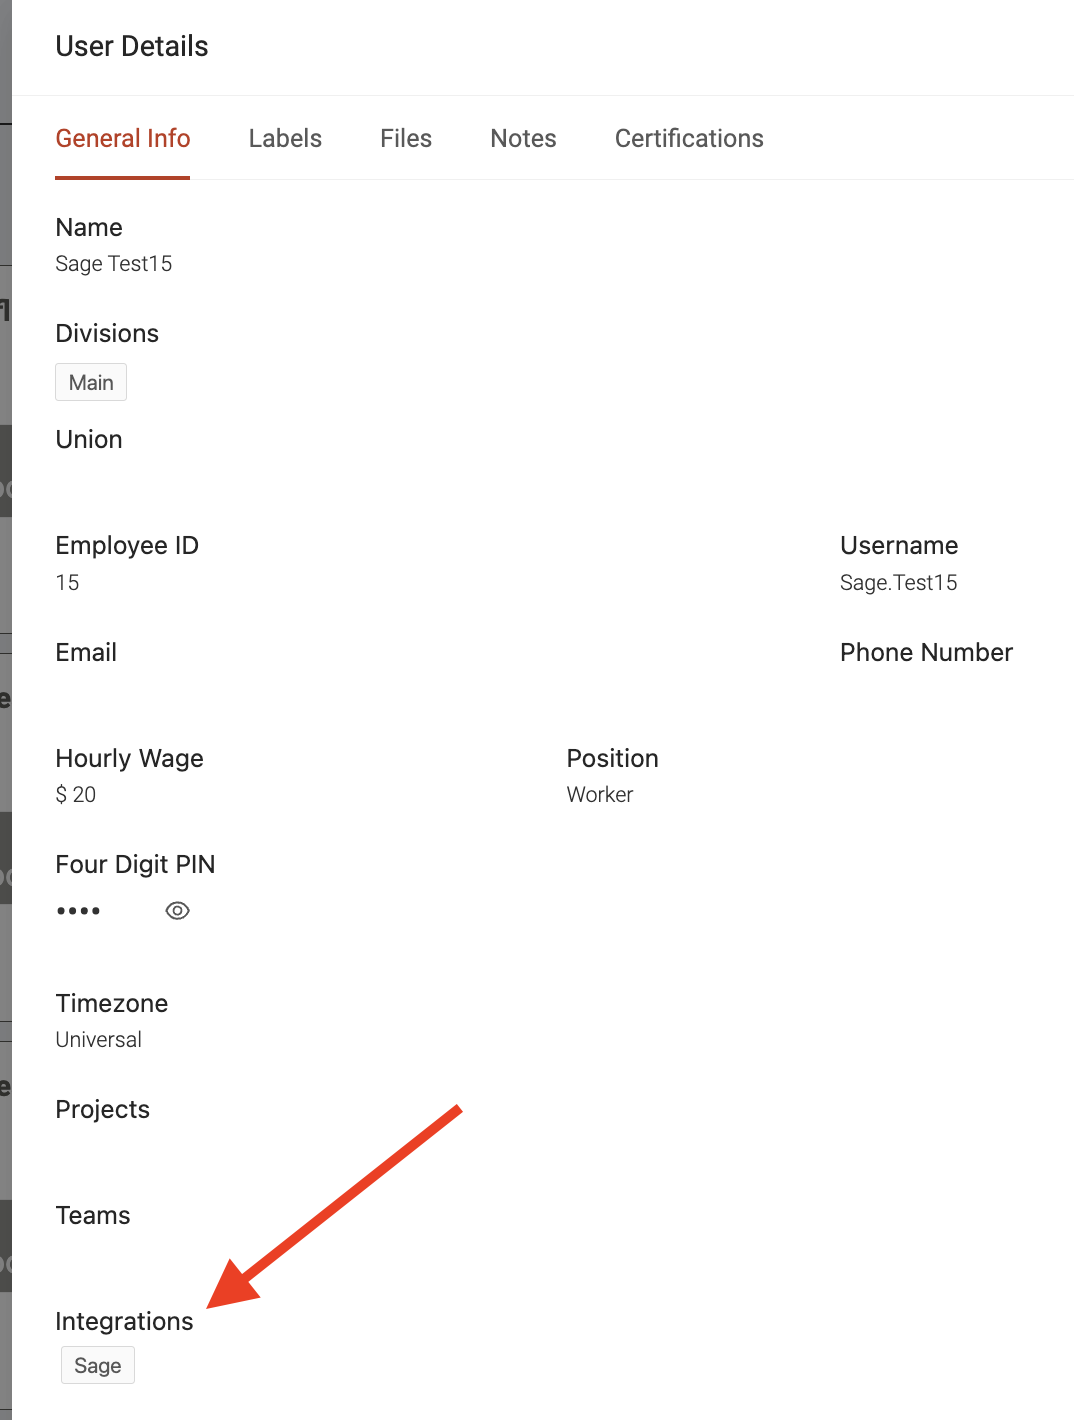
However, if this label is missing from this section then the profile is not linked correctly. In this case, you may need to re-import the profile again by following the same instructions above to import users.
Configuring troubleshooting admins
Lastly, you'll also want to configure the admin users who should be notified of any syncing issues related to the integration. These users will receive a copy of the error report email. The email report is designed to show your team a list of the specific time card entries which failed to sync and will provide the exact details of each failed entry for troubleshooting purposes. Under the 'Email report recipient' setting, click into the 'Select recipient(s)' field to start typing any email addresses you'd like to add to the recipient list to also receive a copy of this report.
How to deactivate the Sage 100 Contractor integration
If your team ever wants to deactivate or disconnect the Sage 100 Contractor integration, you can either submit a service ticket here, or contact your Ontraccr representative for assistance.