
Importing existing data (users, projects, cost codes, materials, etc)
The main data sets in Ontraccr are:
- Users
- Projects
- Cost Codes
- Customers
- Vendors
- Equipment
- Materials
For all of these data sets, you can add data manually by adding individual profiles. However, if you have a large list of data under each of these categories and you want this pre-existing data set to be available in Ontraccr, then you can explore various import options to do so.
In this article, we will walk through your import options for each of the above categories as well as outline the import requirements in terms of how your data must be formatted in order for it to be successfully imported into Ontraccr.
IMPORTANT NOTE: If you are planning to integrate Ontraccr with another software application, such as your accounting system, then your lists may be automatically imported once the integration is activated. Therefore, you should only follow the instructions in this article for any data sets which won't be imported via your integration(s). Otherwise, duplicate profiles may be created for overlapping data sets.
Submitting an import assistance request
If you'd like to mass import a large list of data, you can ask our support team for assistance and we can take care of it for you:
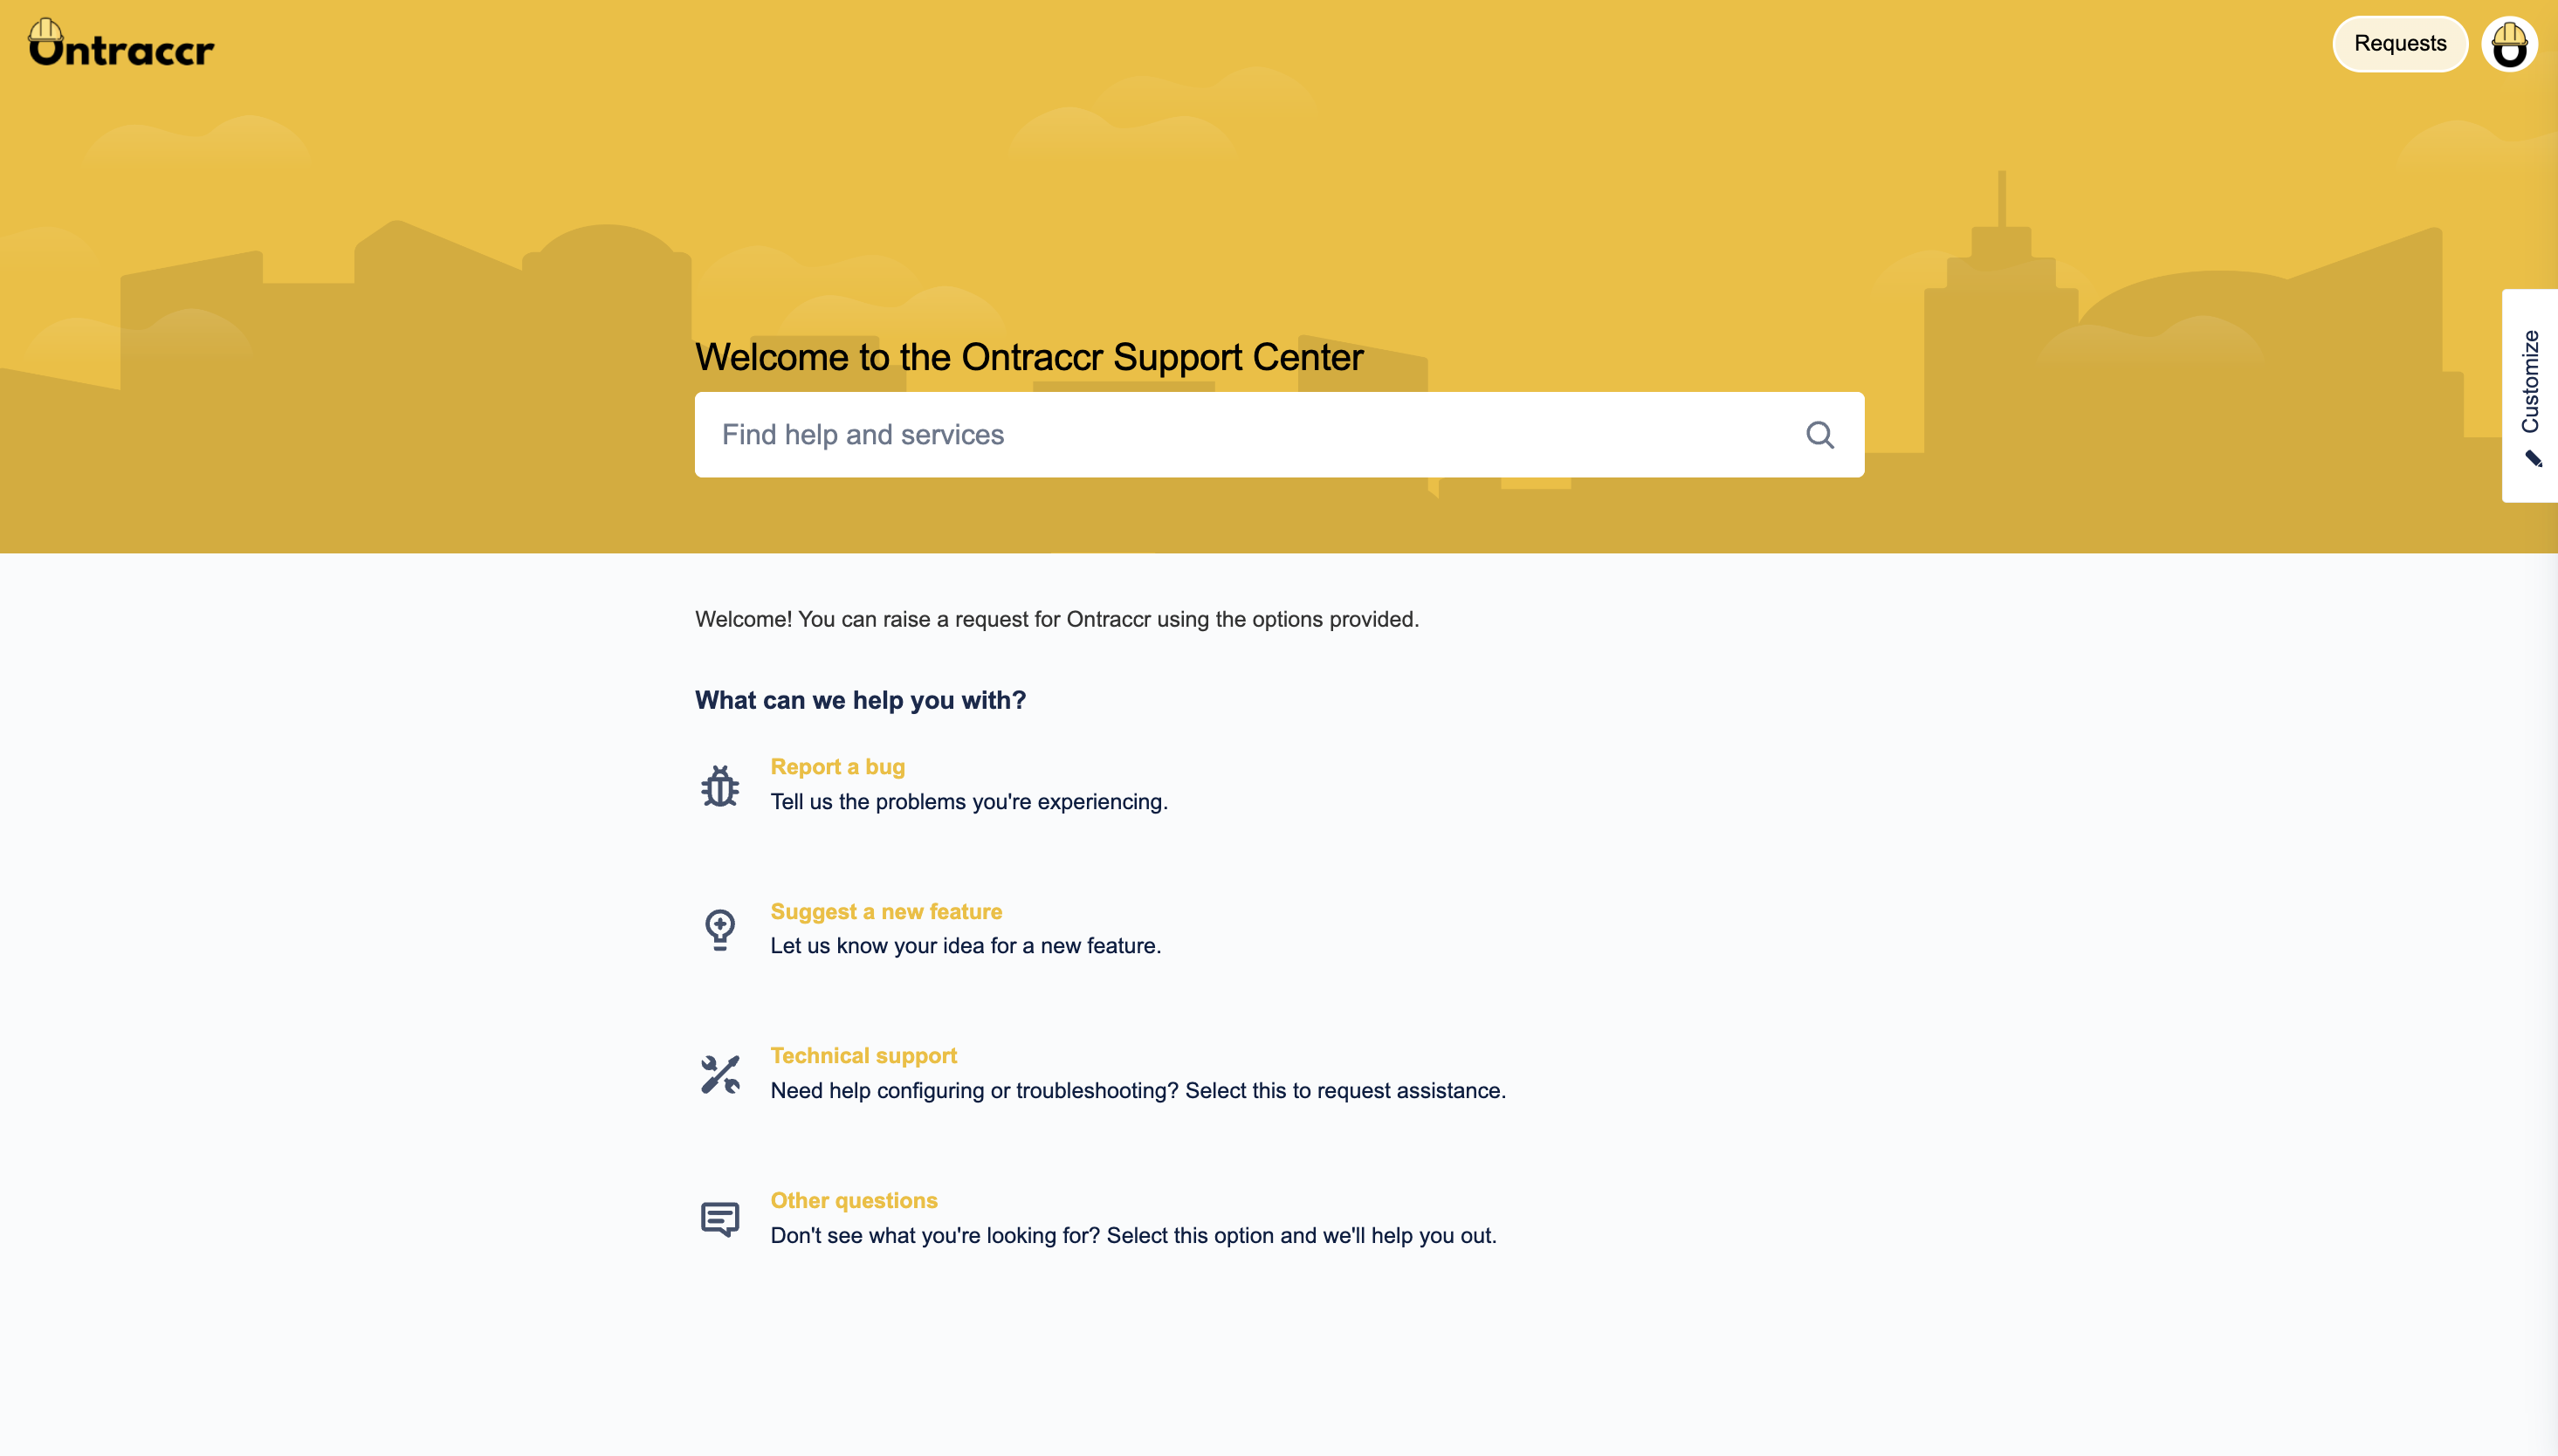
1. Visit our Support Center.
2. Submit a 'Technical support' request. In the summary/description, please let our team know which data sets you'd like to import and attach your list files. Files must be spreadsheet file types (.xls/.xlsx/.csv) and they must be formatted a certain way. Please refer to the 'Formatting and preparing your data for import' sections below to see the options and formats we support across the different data sets.
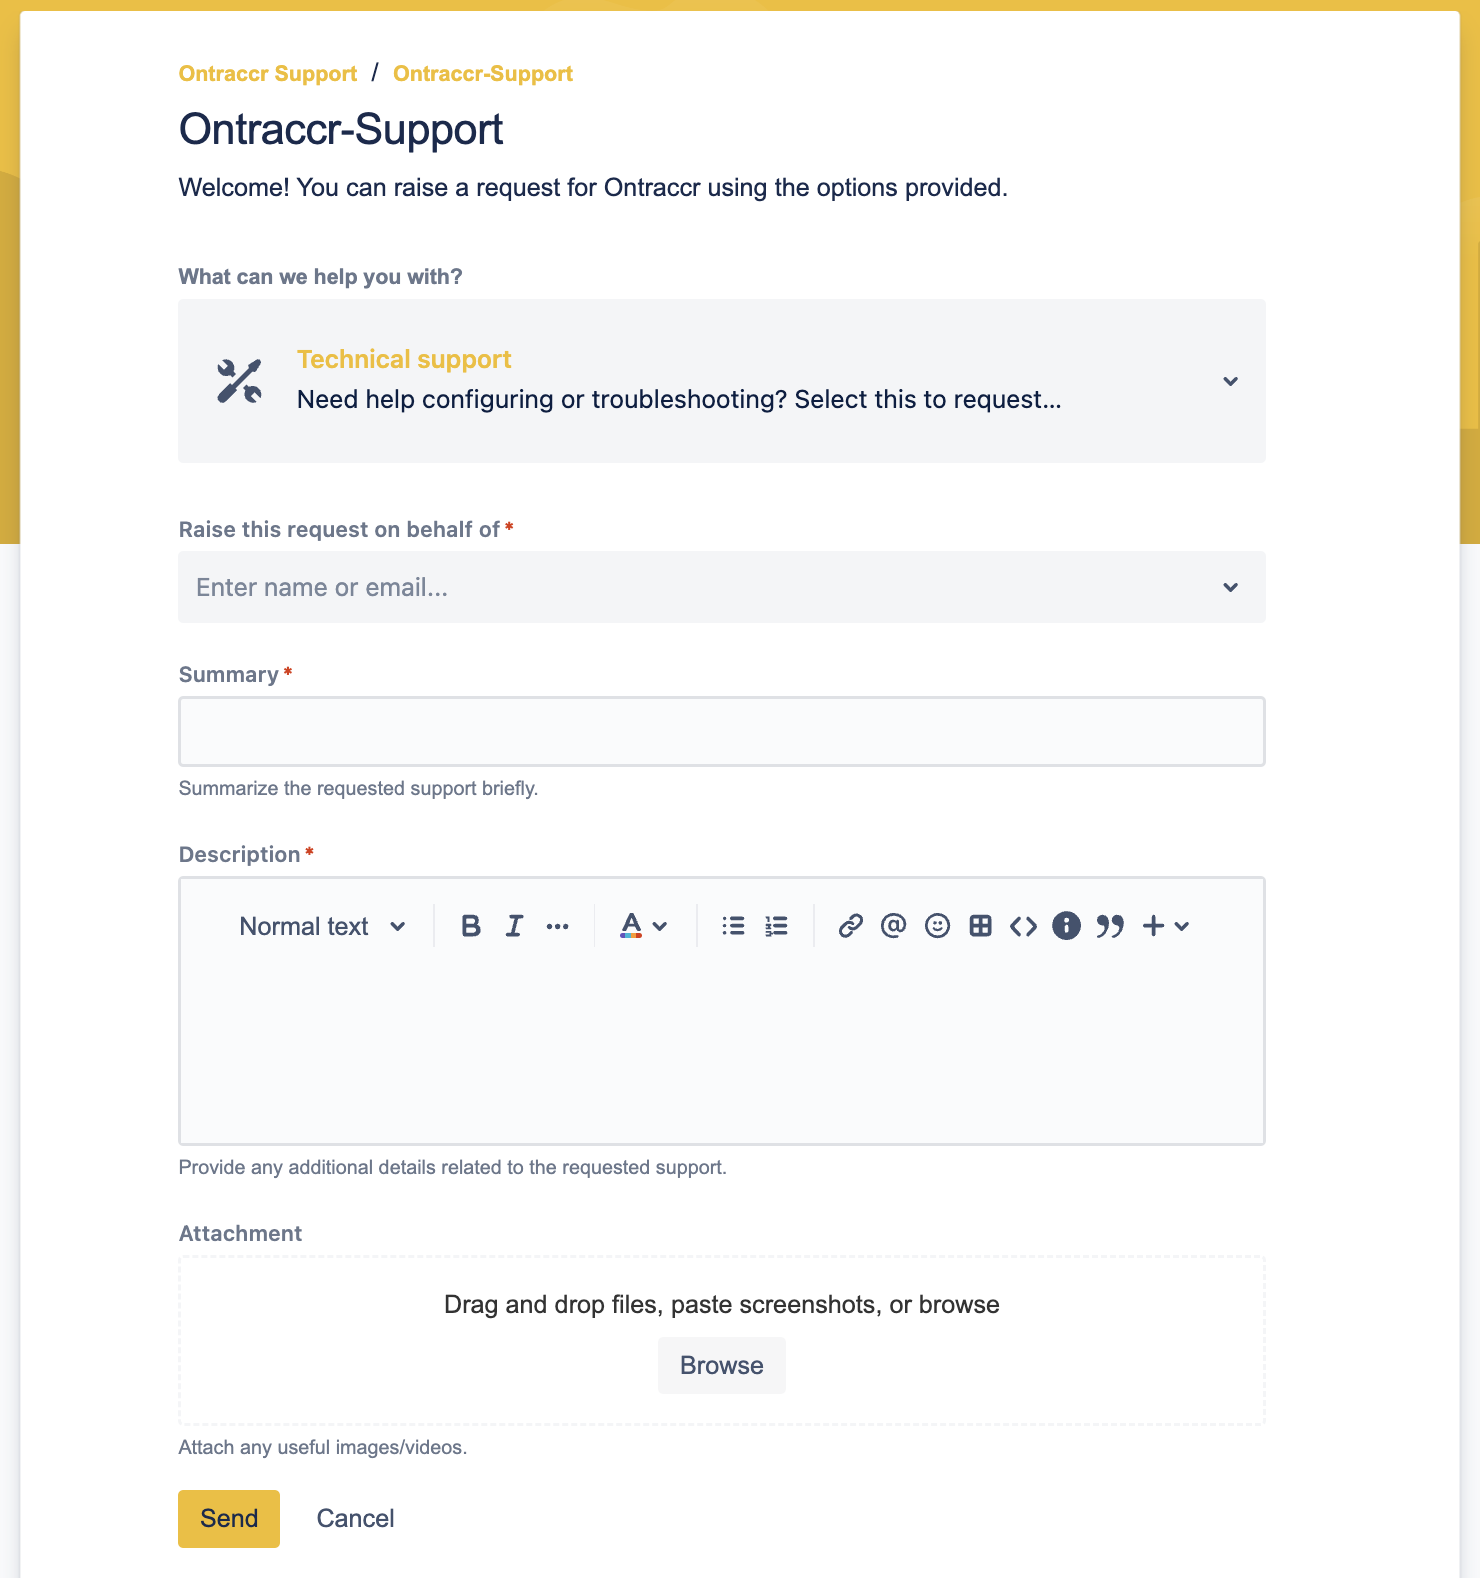
3. Once you've added the details of your import request, simply click 'Send' to submit the ticket. Once submitted, our support team will follow up with you via email as soon as possible to complete the request and/or ask for clarification if needed.
Formatting and preparing your data for import
In order to successfully import your data, it must be formatted specifically because the Ontraccr profiles can only exist with certain required fields of information. In the following sections, we'll walk you through the various required and optional fields of information for each file type so you can ensure that your spreadsheet-based import files comply with the necessary fields of information for the import.
Importing Users
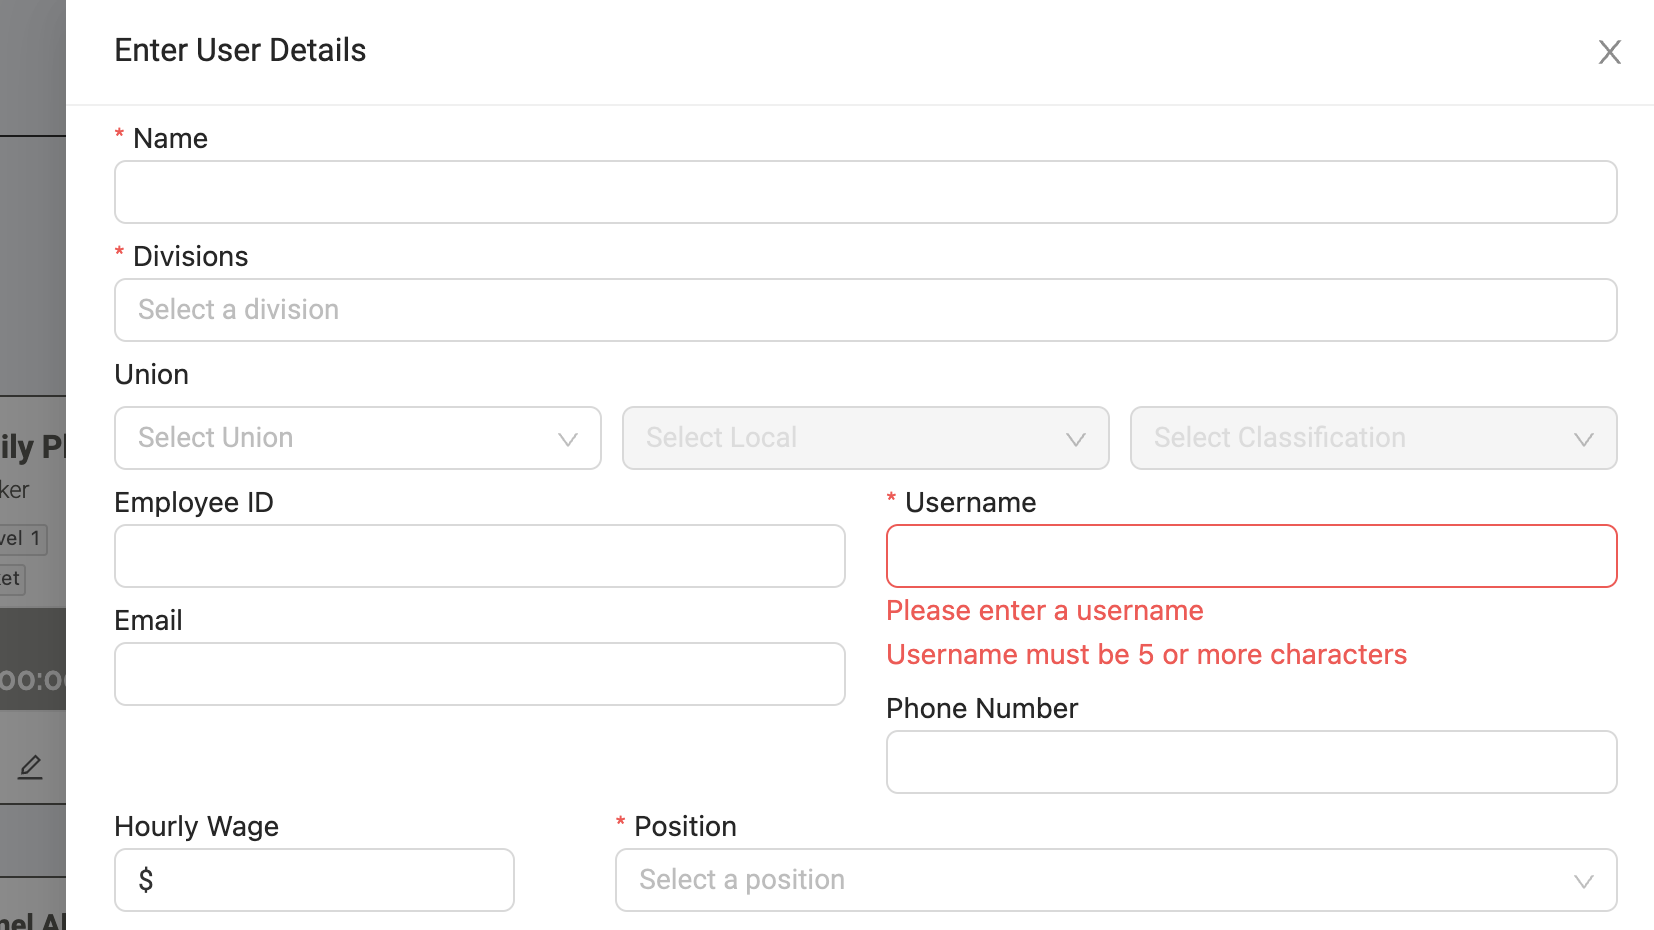
User profiles in Ontraccr have the following available fields during profile creation (fields with * next to them are required for import):
- Name*
- Employee ID
- Email
- Although email addresses are not required, we do recommend adding every user's email address into their Ontraccr profile. This will ensure that they receive an automated welcome email with their username and password for login and that they can also recover their passwords easily.
- Username
- You can choose to add a naming convention for every user's username. However, if your import file doesn't include desired usernames, our support team will auto-generate usernames for everyone.
- Phone Number
- Position
- This is the user profile's role within Ontraccr. If no position/role is indicated in your import file, all users will be created under the 'Worker' position/role type by default.
- Hourly Wage
In your import file, simply ensure that you clearly identify the columns which match the above fields for user profiles.
Importing projects
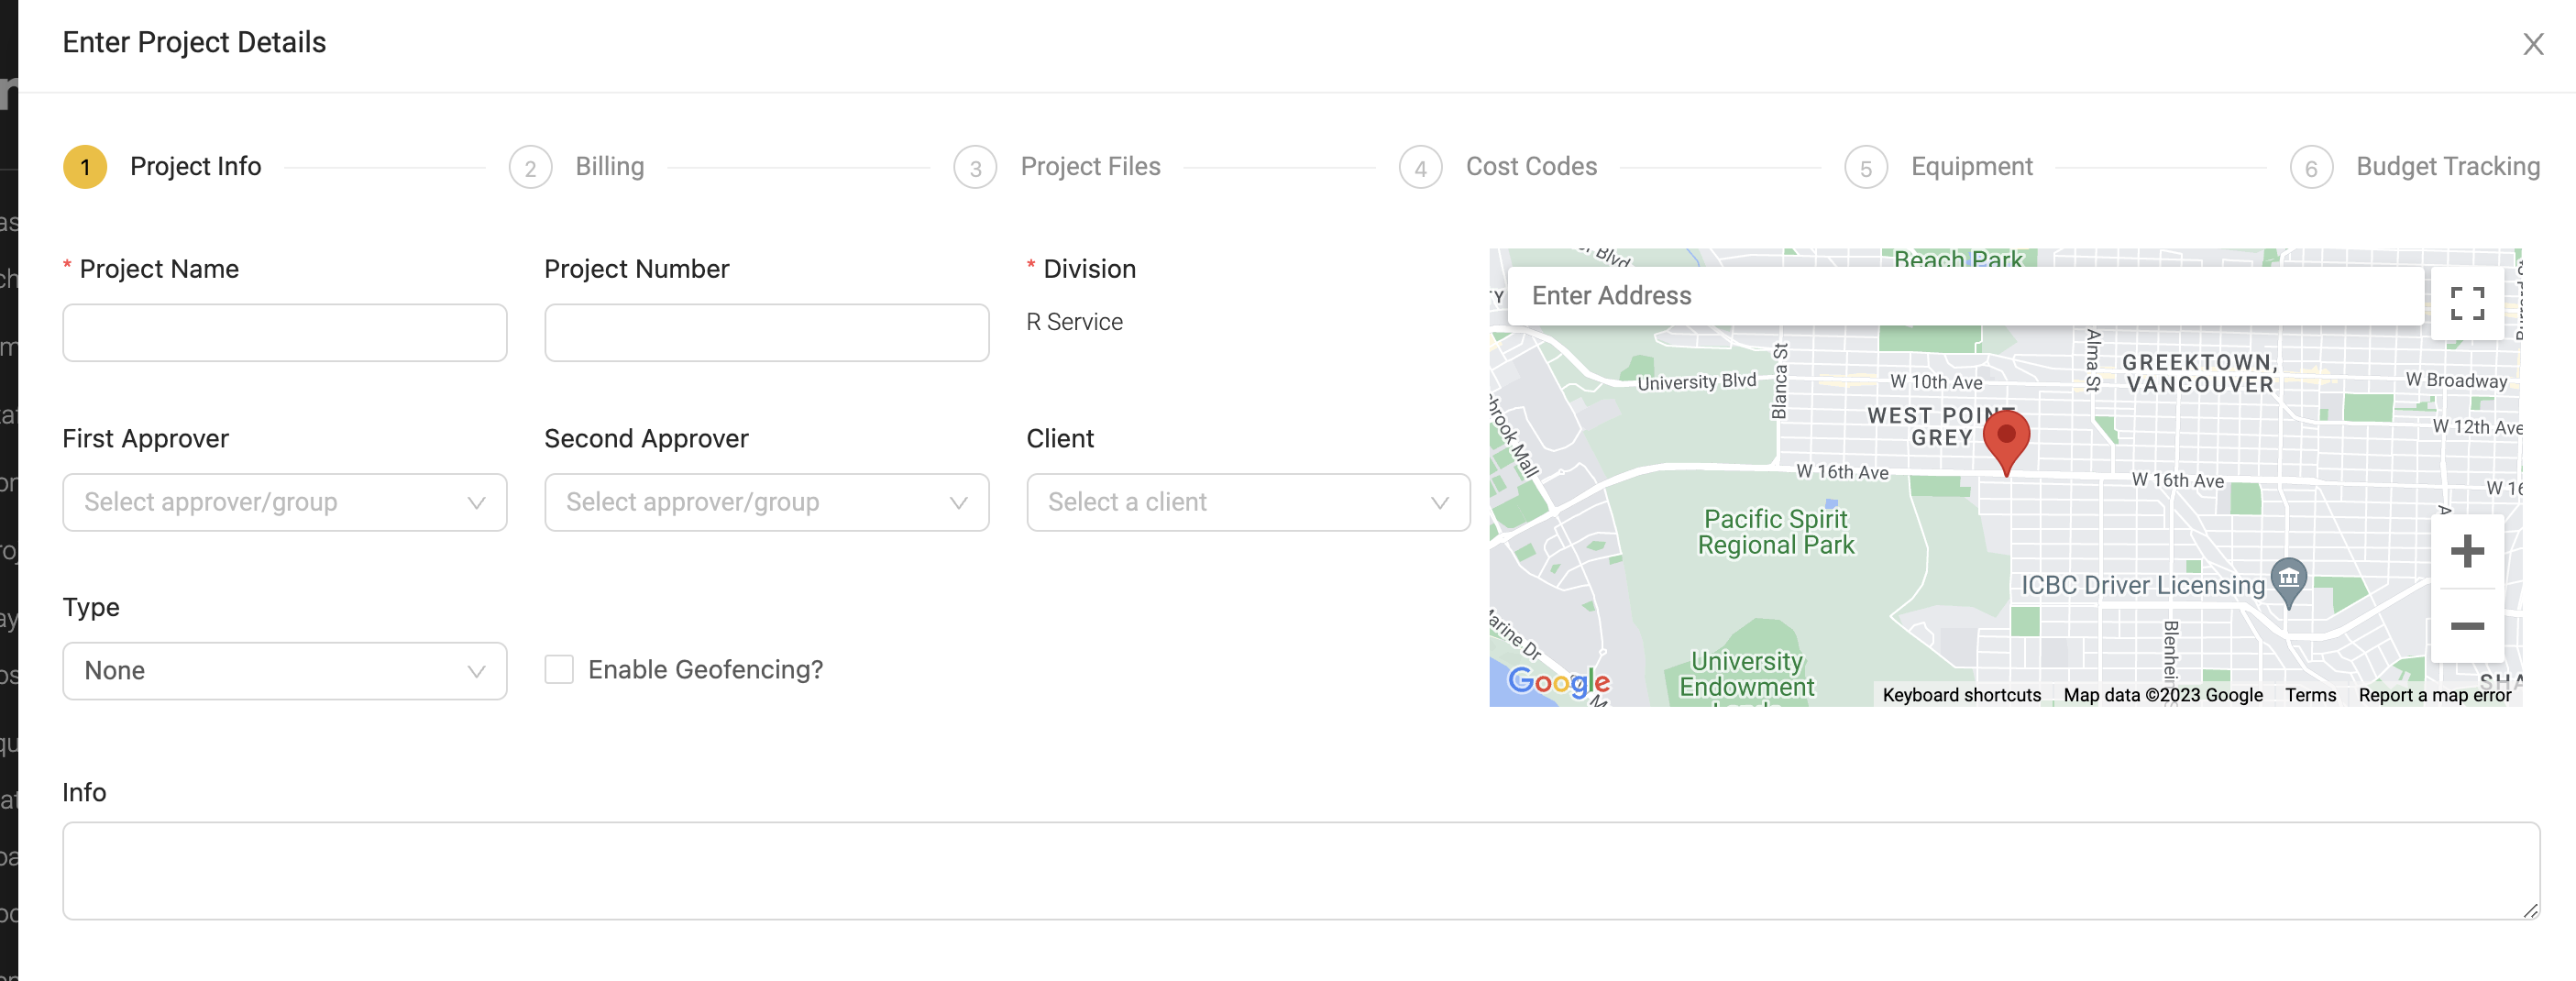
Project profiles in Ontraccr have the following available fields during profile creation (fields with * next to them are required for import):
- Project Name*
- Project Number
- Address
- Info
- This is a generic field which can include any kind of notes for the project.
- Billing Contact
In your import file, simply ensure that you clearly identify the columns which match the above fields for project profiles.
Importing cost codes
Cost codes can be mass imported into Ontraccr directly within the Ontraccr web app, so there's no need to submit a separate import request for your cost code import.
To mass important your cost code list into Ontraccr:
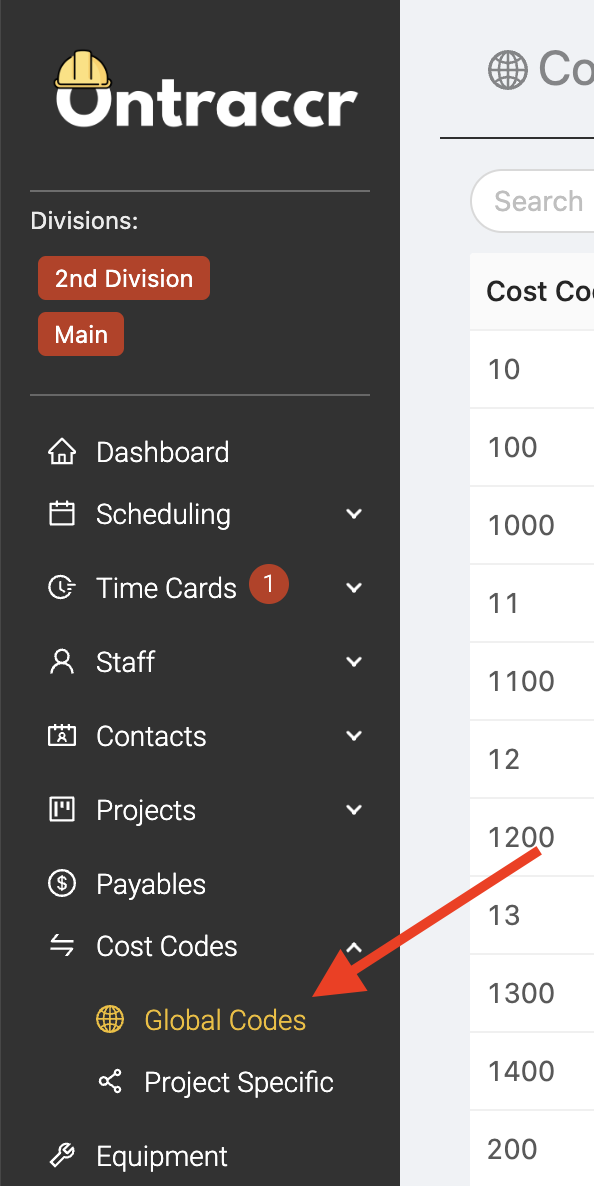
1. Open the Cost Codes > Global Codes page.
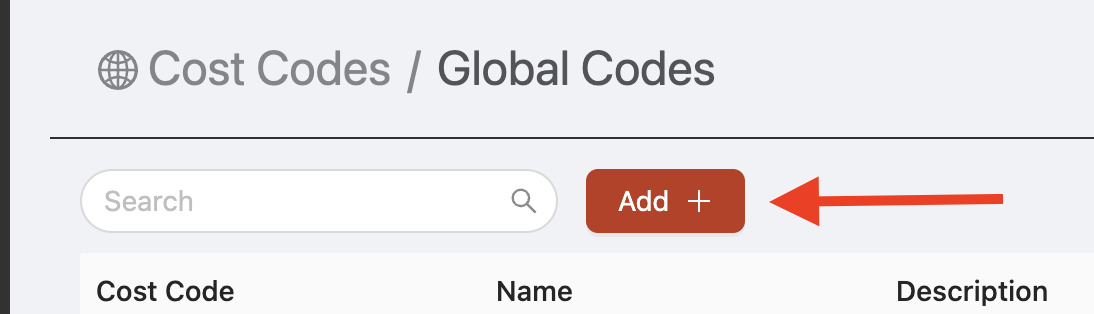
2. Click the 'Add' button at the top of the page. This will open the cost code creation slider.
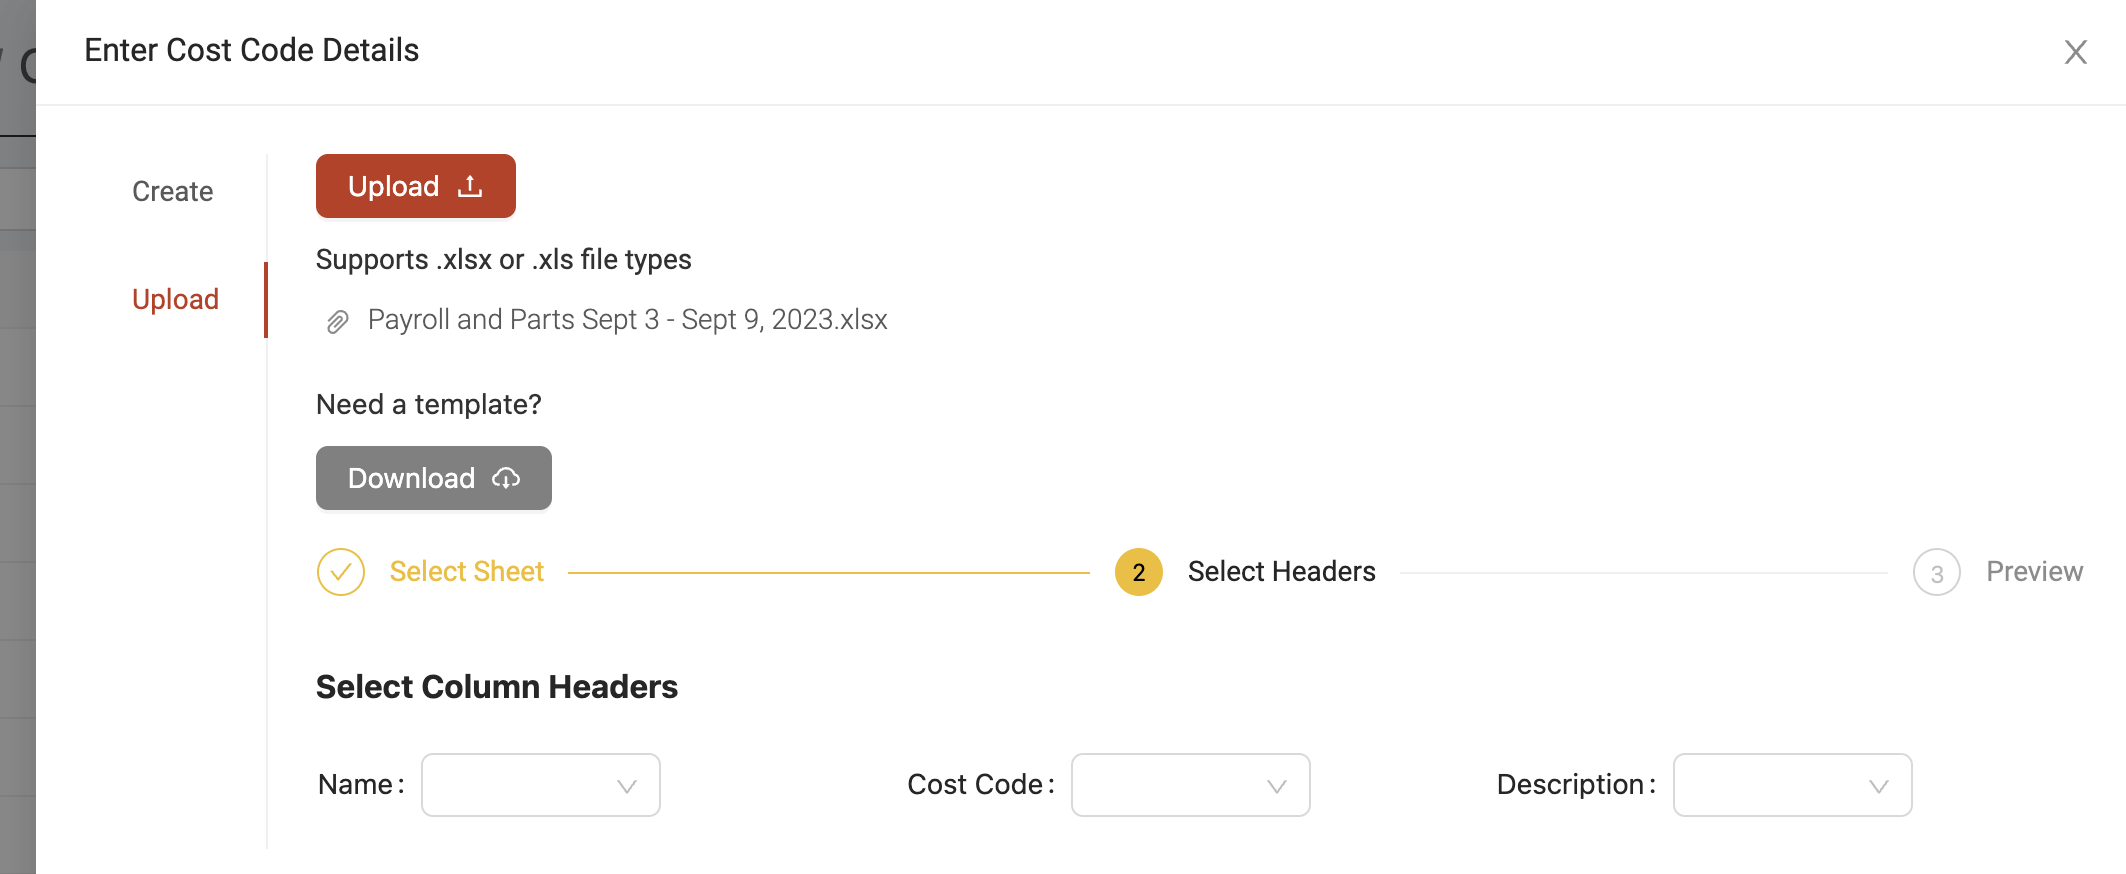
3. Click the 'Upload' section of the slider. This is where you can upload your spreadsheet-based list of company cost codes. There is also a template available for you to download to make it easier to import your cost codes in the required format. Click the 'Upload' button to begin uploading your list of cost codes.

4. Start by selecting which sheet of the spreadsheet you want to import. Click 'Next' to continue.
5. Next, map the columns in the spreadsheet to the required cost code name, cost code, and description fields in Ontraccr. Click 'Next' to continue.
6. The final step will show you a preview of how the cost codes will be imported into Ontraccr so you can make any necessary corrections or adjustments to the formatting. Once you're ready to import the data, simply click 'Submit' to begin the import. Once the import is finished, you may need to refresh your web app to see the newly imported cost codes.
Importing customers
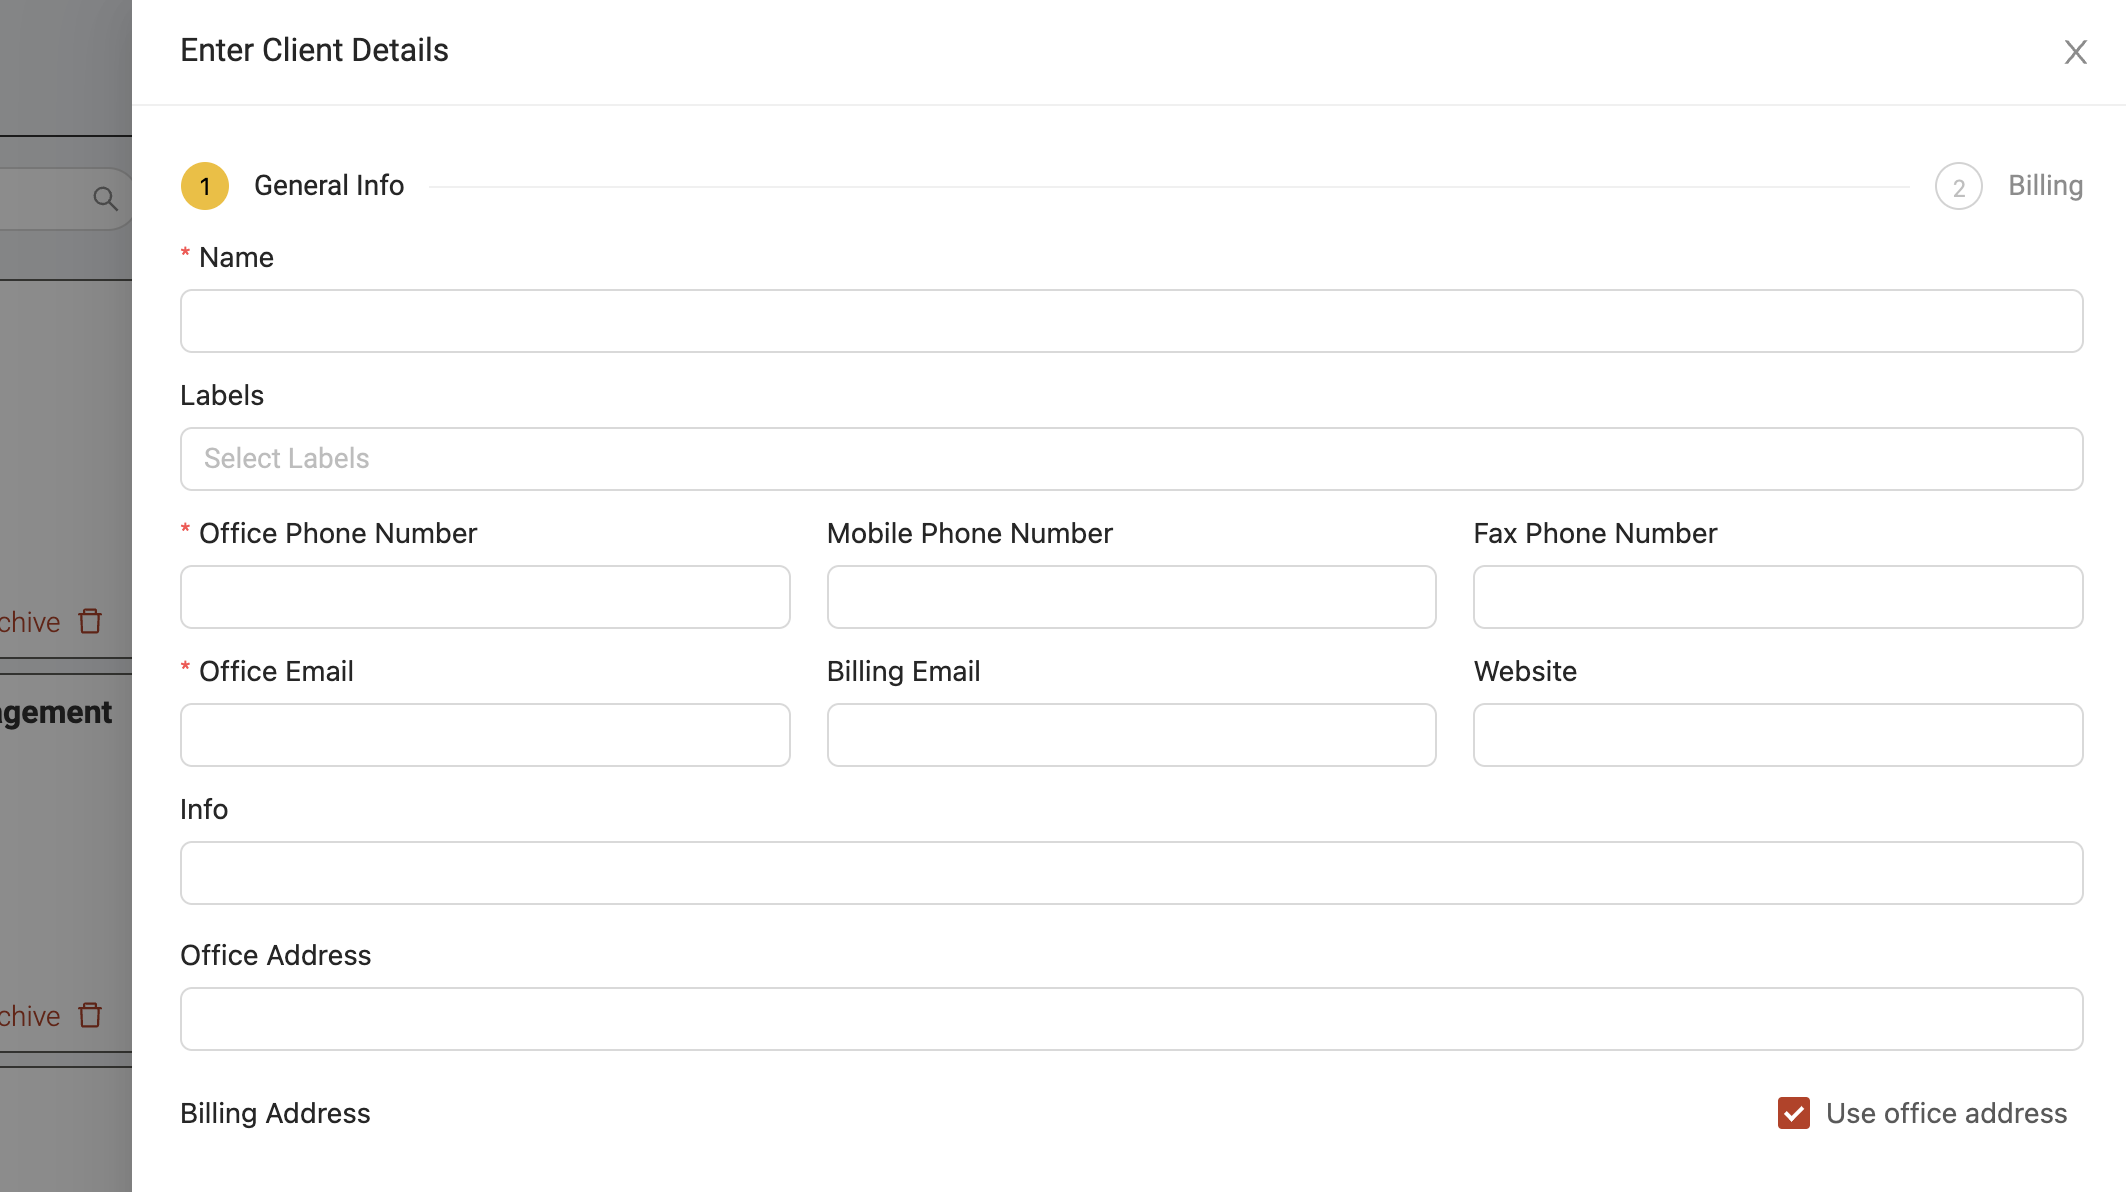
Customer profiles in Ontraccr have the following available fields during profile creation (fields with * next to them are required for import):
- Name*
- Office Phone Number*
- Mobile Phone Number
- Fax Phone Number
- Office Email*
- Billing Email
- Website
- Info
- This is a generic field which can include any kind of notes for the customer.
- Office Address
- Billing Address
In your import file, simply ensure that you clearly identify the columns which match the above fields for customer profiles.
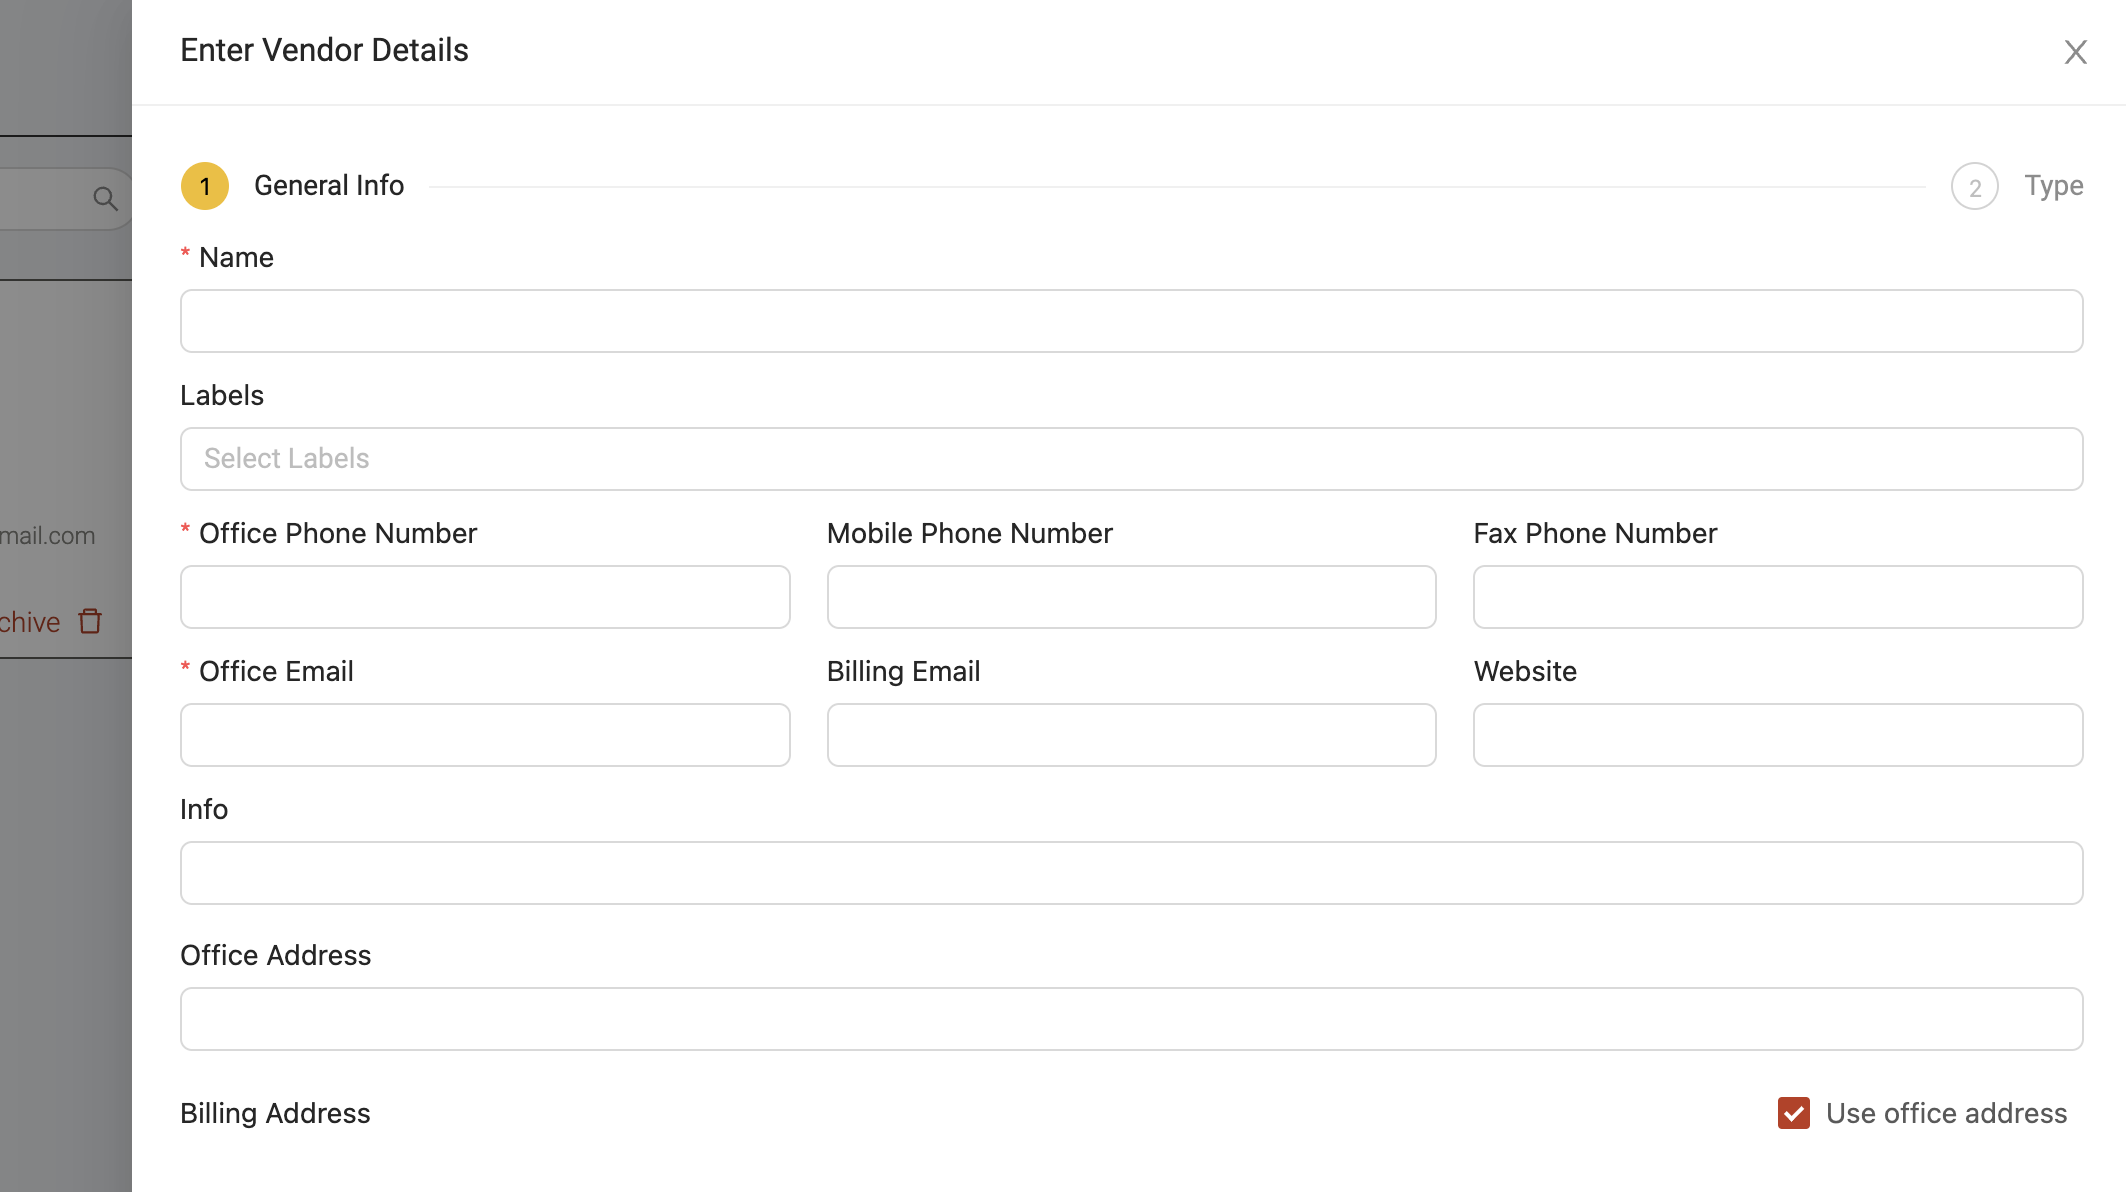
Importing vendors
Vendor profiles in Ontraccr have the following available fields during profile creation (fields with * next to them are required for import):
- Name*
- Office Phone Number*
- Mobile Phone Number
- Fax Phone Number
- Office Email*
- Billing Email
- Website
- Info
- This is a generic field which can include any kind of notes for the vendor.
- Office Address
- Billing Address
- Type*
- Vendors in Ontraccr can either be a subcontractor or supplier. If your import file does not indicate which of these two types a vendor is, the import will default all the vendor profiles to supplier.
In your import file, simply ensure that you clearly identify the columns which match the above fields for vendor profiles.
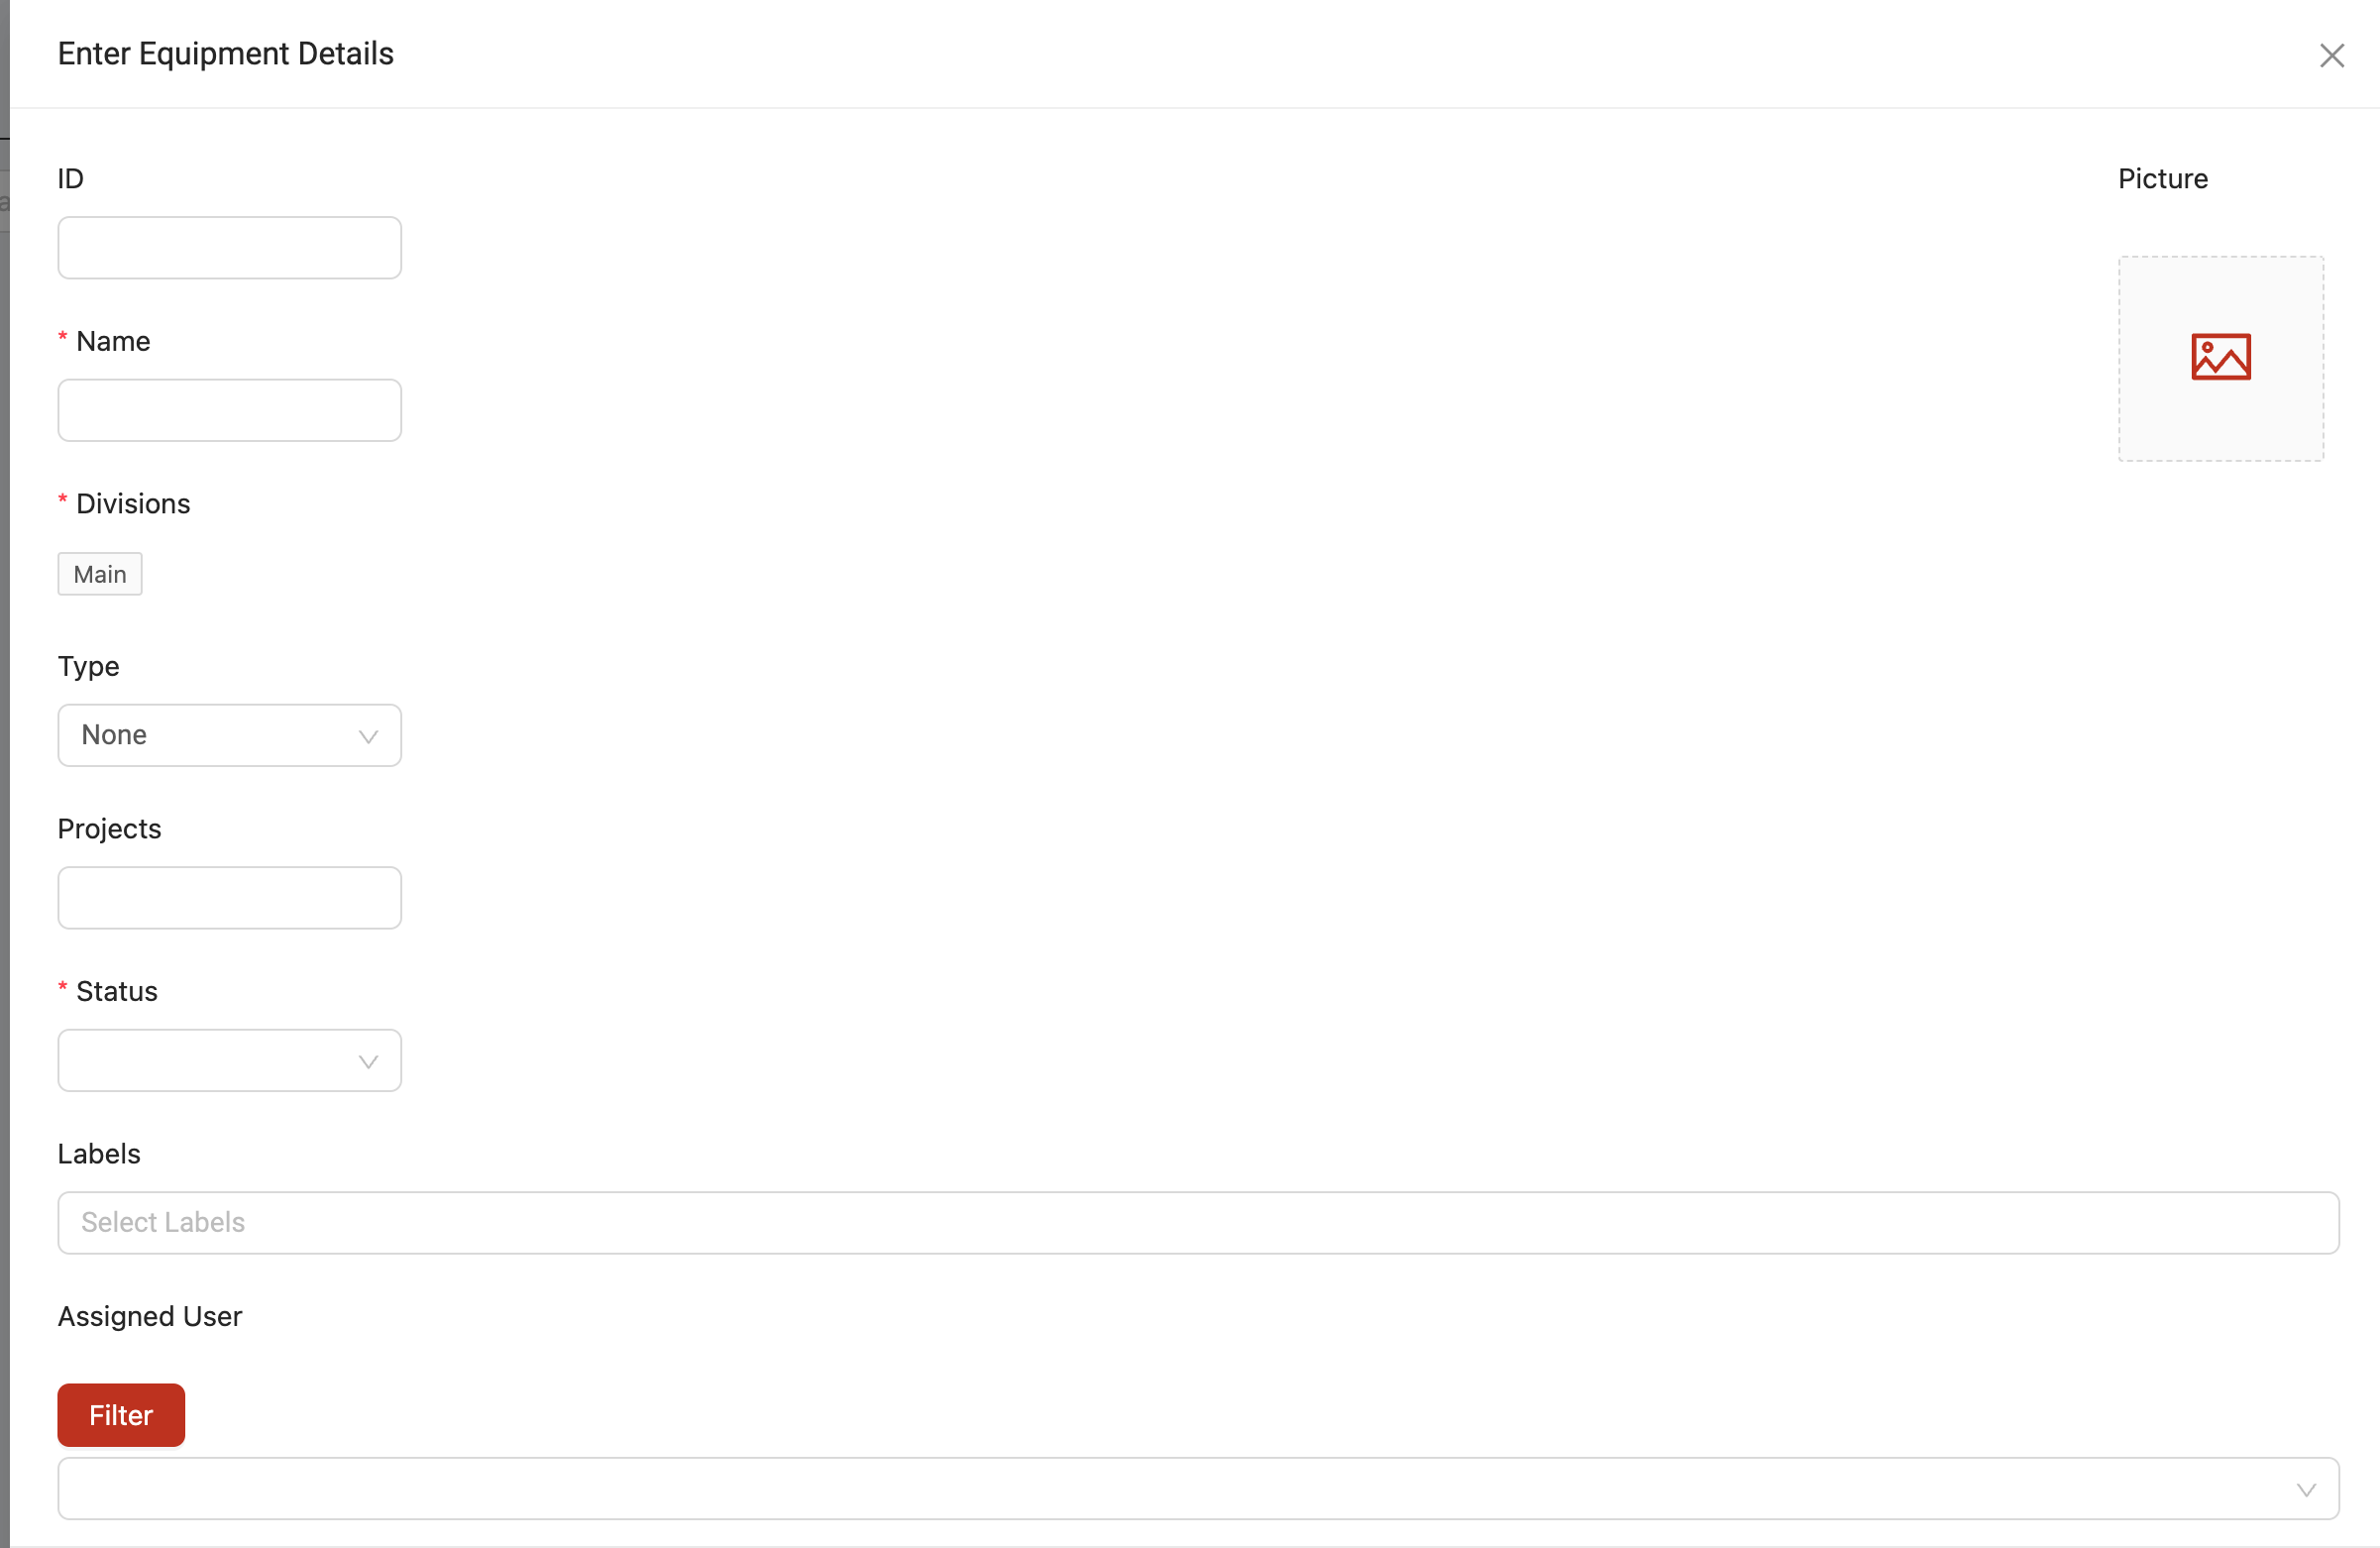
Importing equipment
Equipment profiles in Ontraccr have the following available fields during profile creation (fields with * next to them are required for import):
- ID
- Name*
- Type (if applicable)
- Hourly Cost
- Hourly Billing Rate
- Daily Cost
- Daily Billing Rate
Note: By default, all equipment profiles mass imported into Ontraccr will have an 'Active' status, but you can change each status easily as soon as the profiles exist in Ontraccr.
In your import file, simply ensure that you clearly identify the columns which match the above fields for equipment profiles.
Importing materials
Materials can be mass imported into Ontraccr directly within the Ontraccr web app, so there's no need to submit a separate import request for your materials import.
To mass important your materials list into Ontraccr:
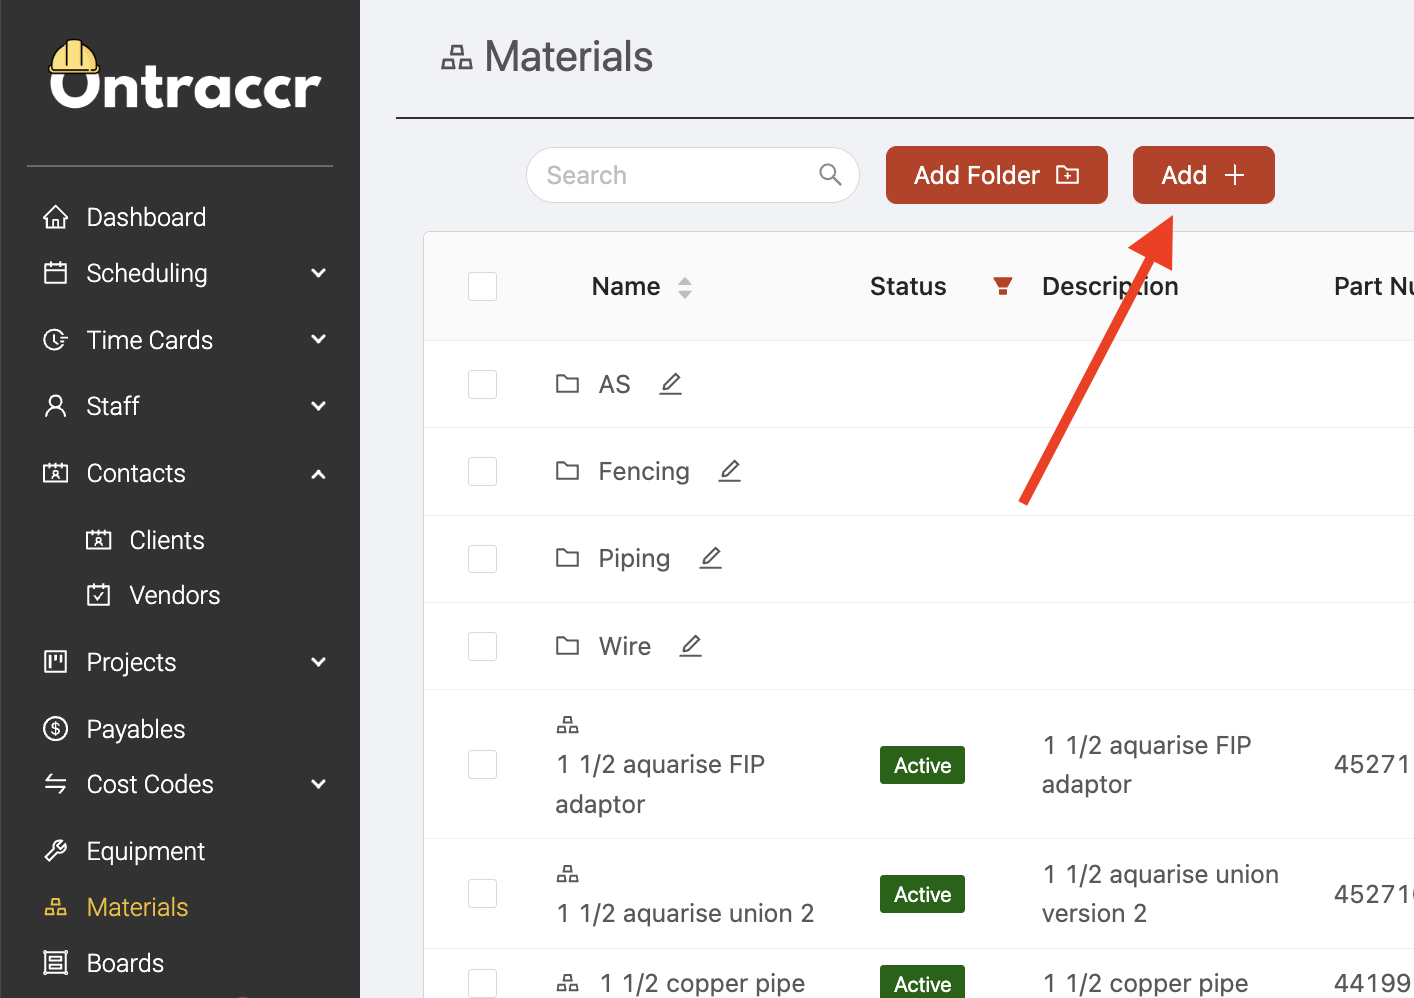
1. Open the Materials page.
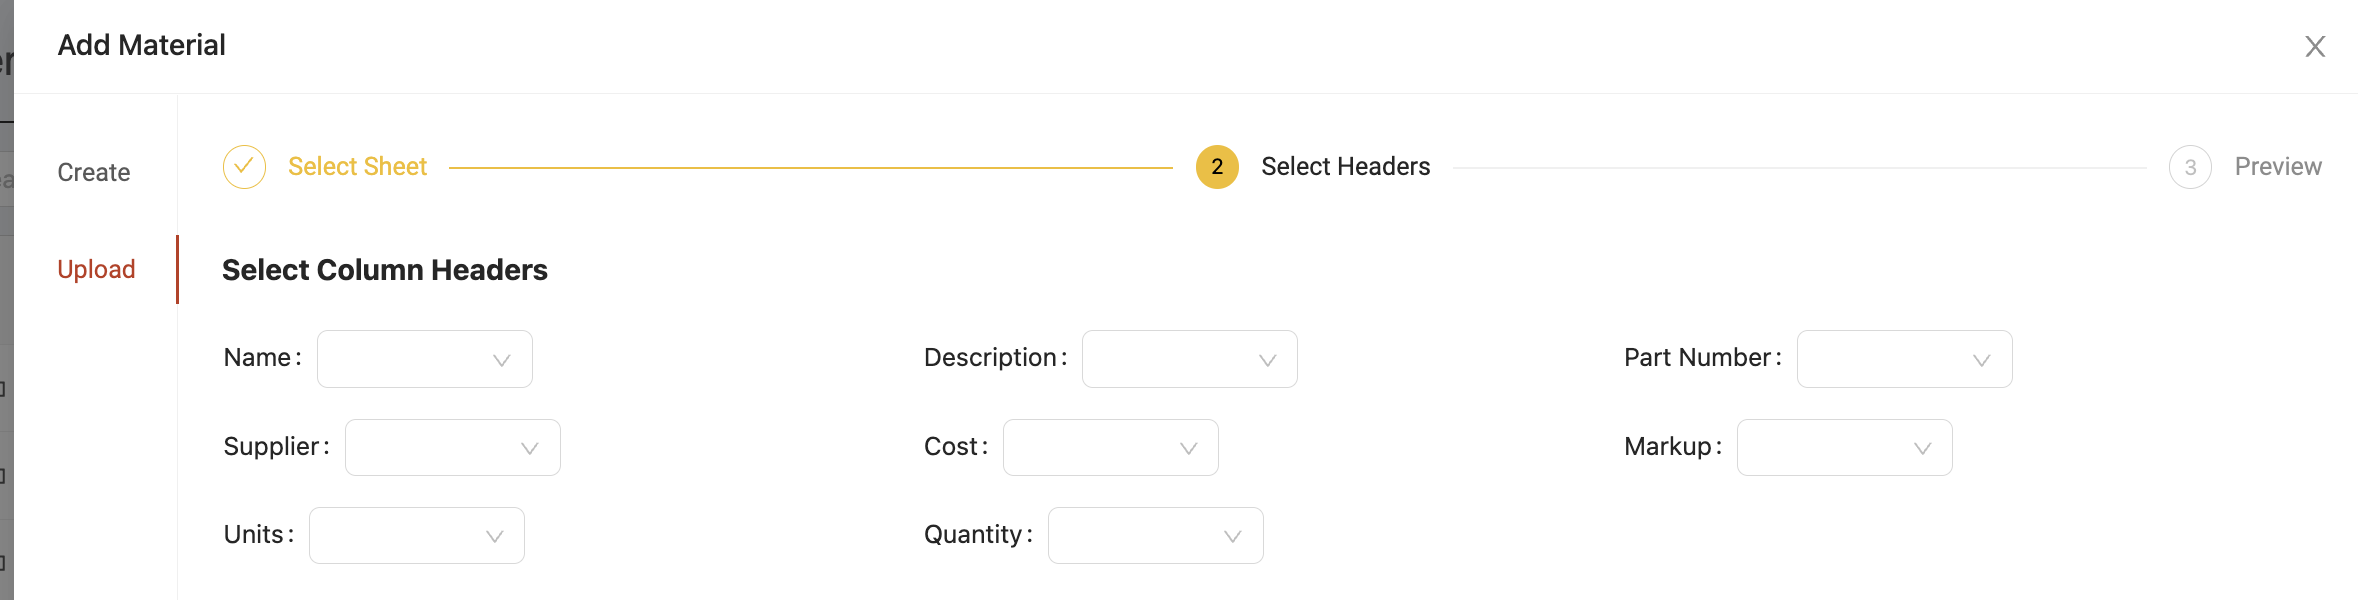
2. Click the 'Add' button at the top of the page. This will open the material creation slider.
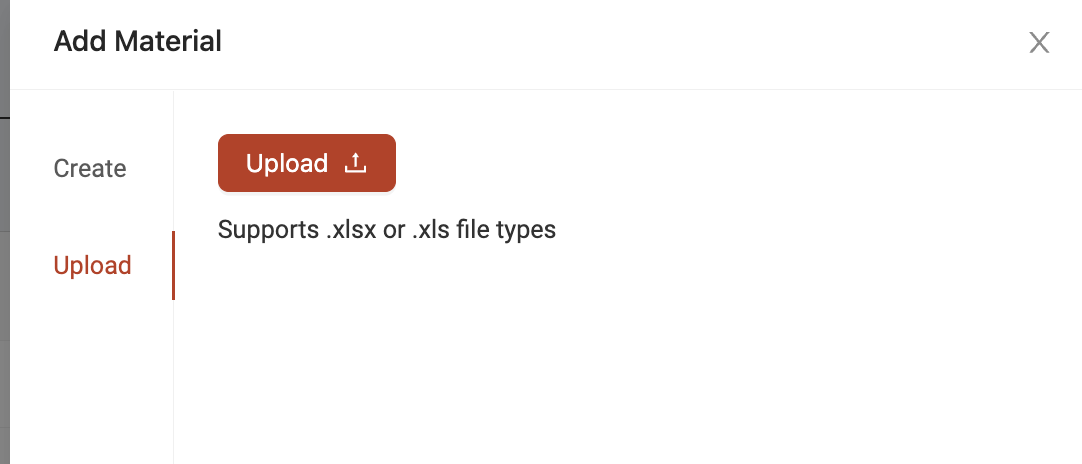
3. Click the 'Upload' section of the slider. This is where you can upload your spreadsheet-based list of company materials. There is also a template available for you to download to make it easier to import your materials in the required format. Click the 'Upload' button to begin uploading your list of materials.
4. Start by selecting which sheet of the spreadsheet you want to import. Click 'Next' to continue.
5. Next, map the columns in the spreadsheet to the available fields in Ontraccr (only name, part number, and description fields are required, the rest are optional). Click 'Next' to continue.
6. The final step will show you a preview of how the materials will be imported into Ontraccr so you can make any necessary corrections or adjustments to the formatting. Once you're ready to import the data, simply click 'Submit' to begin the import. Once the import is finished, you may need to refresh your web app to see the newly imported materials.