Managing users
You can access your company’s user list by navigating over to the Staff > Manage Users page.
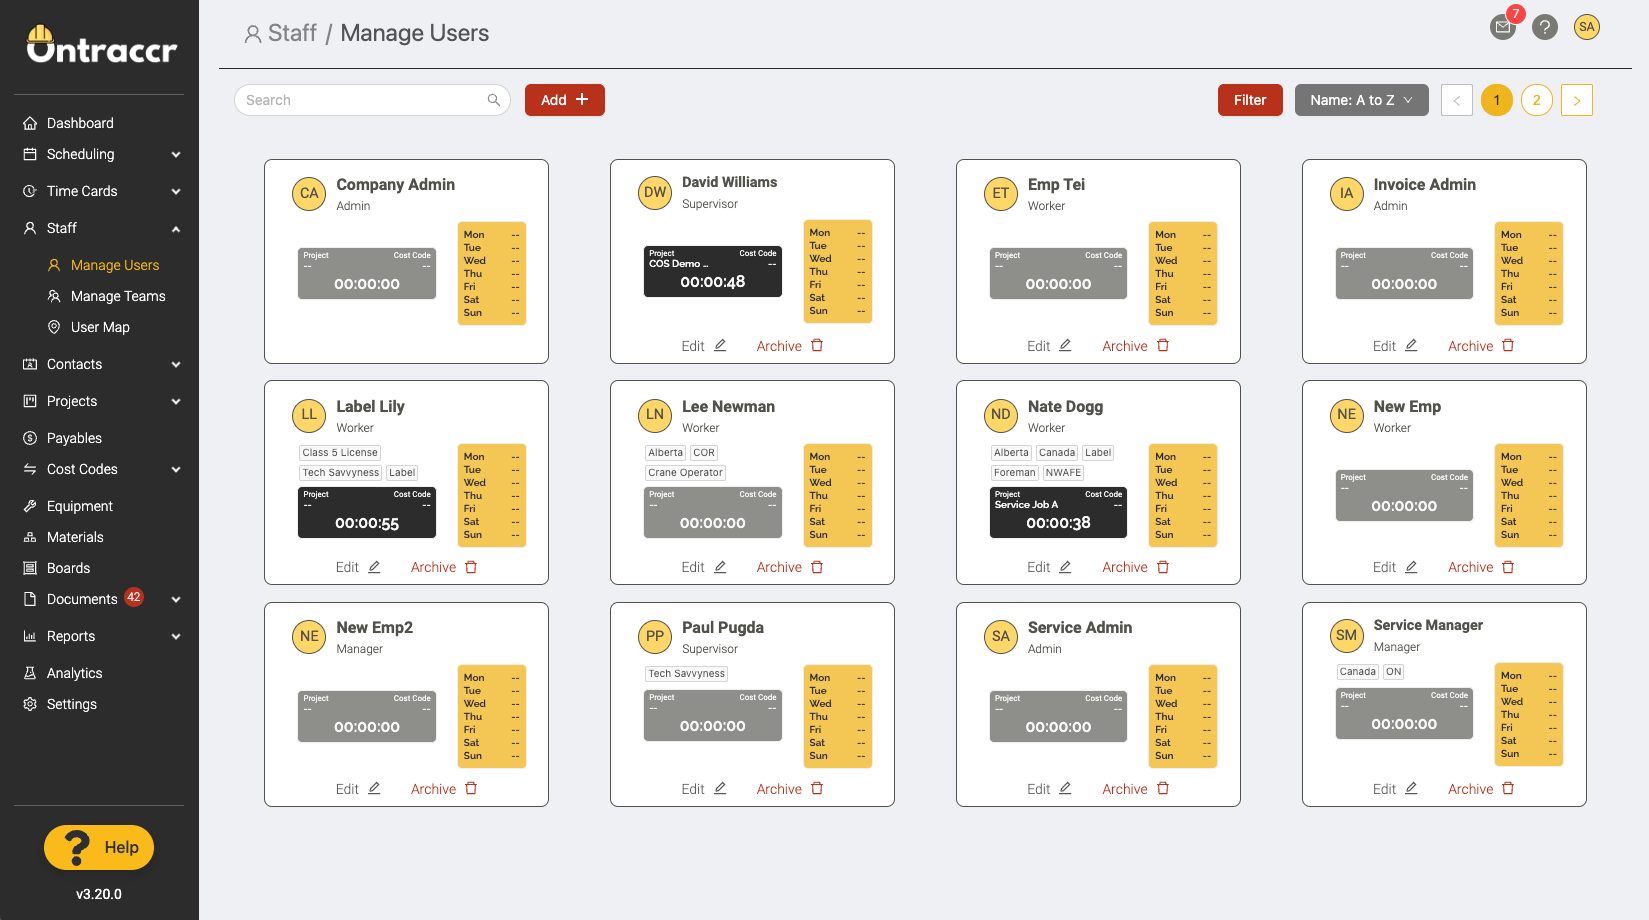
Each user has their own card in this page, which shows some basic information about them such as their name and role.
Creating users
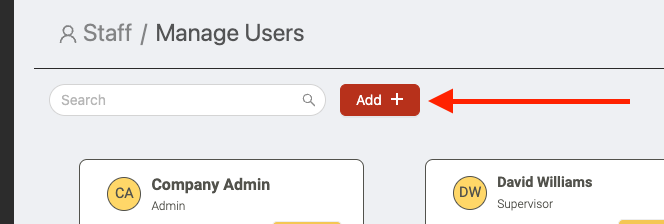
To add a new user, simply click the ‘Add’ button at the top of the page.
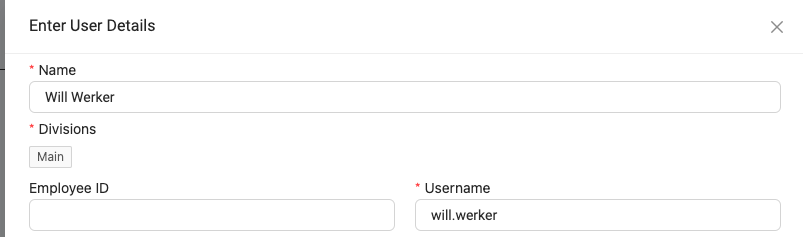
Fill in the user’s information. Start by entering their full Name and their Username. The username is what they will log in with and it must be unique, Ontraccr will warn you if the username is already taken.
Enter their Email address. The email address is required for two reasons: to onboard the user and allow them to recover their account credentials in the future. As long as their email address is entered, once you create their profile, they will immediately receive an automated email from Ontraccr which gives them a link to download the Ontraccr app and lets them know their login information.
You could also add their Phone Number if you’d like.

Next, enter their hourly Wage. This is needed in order for Ontraccr’s time tracking system to accurately calculate payroll.
(Note that if you are managing your payroll outside of OnTraccr, then you don’t have to input the exact wage here. In such cases, entering wage here purely serves as a means to help you budget more accurately so the more accurate the wage, the better.)
You must also assign the user to a role (Position). The four default roles are Admin, Manager, Supervisor, and Worker. You can easily create custom roles with any names you want in the company’s 'Roles & Permissions' settings. Each role has its own set of permissions and access levels that define exactly what the user can and can’t do in OnTraccr.

Next, enter and confirm the initial Password for them to log in to their account.
(Note that they can always change their own password easily after they log in and this will always allow you to give them a new password in case they forget.)

If your company is using Shared Tablet mode to track time, you have the option to assign the user with their own 4 digit pin to log in to the tablet device.
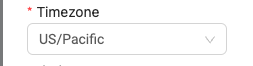
Select the user's Timezone, this is important to ensure accuracy in their time tracking data.
The Labels field lets you assign any labels you want for the user. Labels are basically a great way to organize your users. You can add labels for anything you want, including different regions, skills, certifications, seniority levels, or attributes for the user.
Next, you also have the option to assign the user to a project and/or team.
(Note that you can still add users to projects and teams from both the projects and teams pages too.)
If you want to add any notes for the user, you can type them in to the ‘Notes’ field.

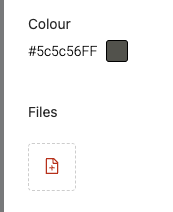
The Colour option lets you give the user a specific colour. This colour is used in various parts of the Ontraccr app, such as in the Schedule page and in any Boards the user is assigned to.
Lastly, you can attach any relevant Files for the user such as CVs or anything else you want to store for the user.
Click ‘Submit’ when you’re ready to save the profile.
Editing & archiving users
Editing users
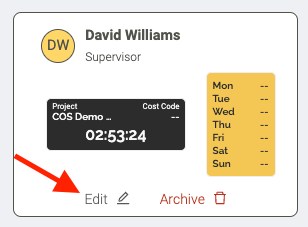
To edit any existing users, select the user from the list and click the ‘Edit’ button on the user's profile. You can then make changes to the user as needed.
Managing archived users
Archiving users
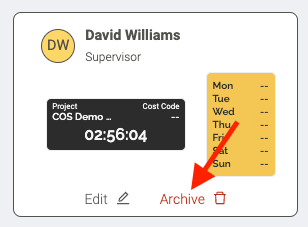
If you’d like to archive a user, click the ‘Archive’ button on the user's profile.
Viewing archived users
To view archived user profiles, navigate to the top right and click the ‘Filter’ button. Apply the archived filter and deselect the active filter. You will then see all archived users show up in the list.
Reactivating or permanently deleting archived users
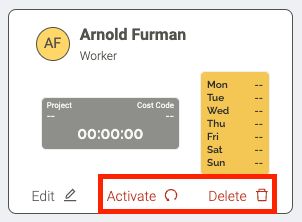
In an archived user's profile, at the bottom you will see two buttons to either re-activate the user profile (Activate) or permanently delete it (Delete).
User card shortcuts
Each user card displays some shortcuts that make it quicker to view data for the user.
The clock shortcut will display the user's real-time clock so you can view their current task and time for the day. Click this to update the user's clock and/or add a manual entry.
The Time card summary shortcut displays a quick summary of the user's time entries for the past week. Click this to open the user's full set of Time Cards for the current pay period.