Managing purchase orders
Prerequisites
In order to manage purchase orders in Ontraccr:
- You must have at least one purchase order form template set up in your company account. The purchase order form must have a 'PO' form type. Every Ontraccr account includes access to a purchase order form template that can be imported easily. You can also design any workflow around the purchase order form however you'd like, using the form workflow designer, where you can control actions such as approvals, emails, and more for the purchase order process.
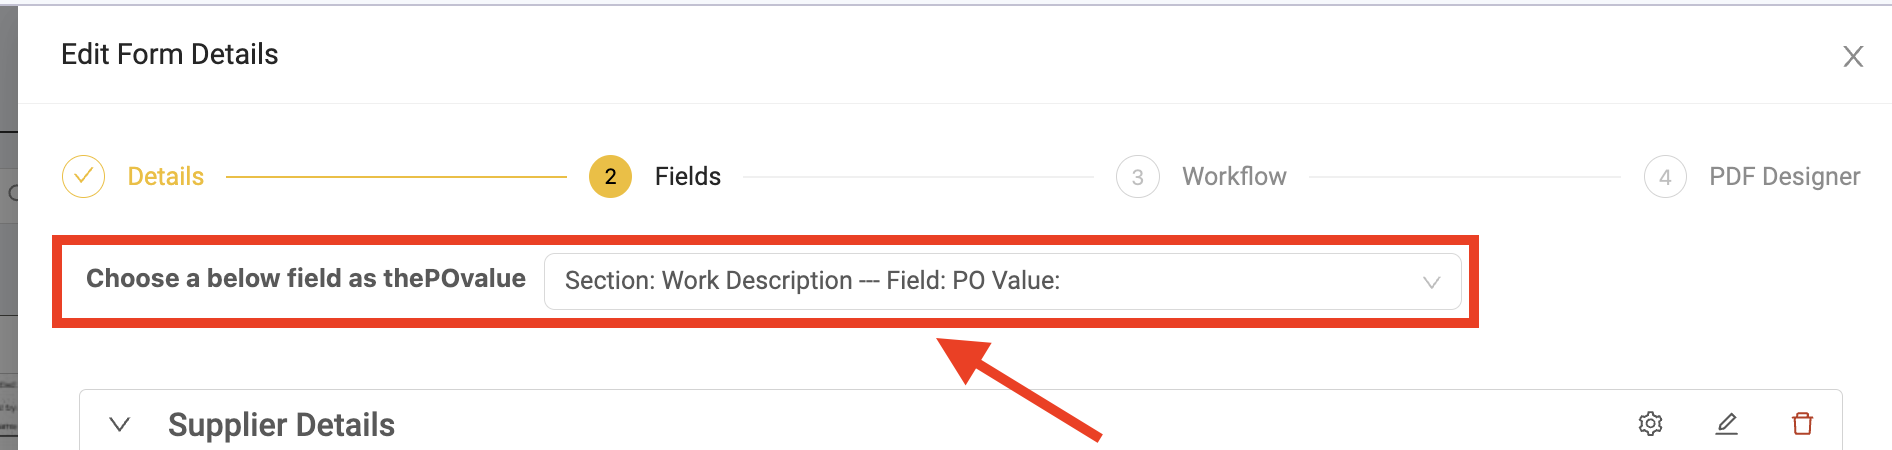
- In the fields section of the purchase order form template, the 'PO Value' must be linked to a text or calculation field in the purchase order form template by selecting from the available field options in the 'Choose a below field as the PO value' drop-down field, as shown below. This tells Ontraccr which field should represent the overall value of the purchase order.
Creating and managing purchase orders through the 'Payables' page
The Payables page is a great way to stay on top of all your payable transactions across the company. The Payables page is divided into three sub-pages: Invoices, Purchase Orders, and Sub-Contracts.
In this article, we will focus on the Payables > Purchase Orders page and how you can use it to track purchase orders easily. In this page, the purchase order log is where you can find any and all purchase orders uploaded into Ontraccr across all projects. By default, the purchase order log is filtered by pay period but you can use the date filter in the top right corner to filter by any time frame and the purchase order log is also fully searchable using the search bar at the top.
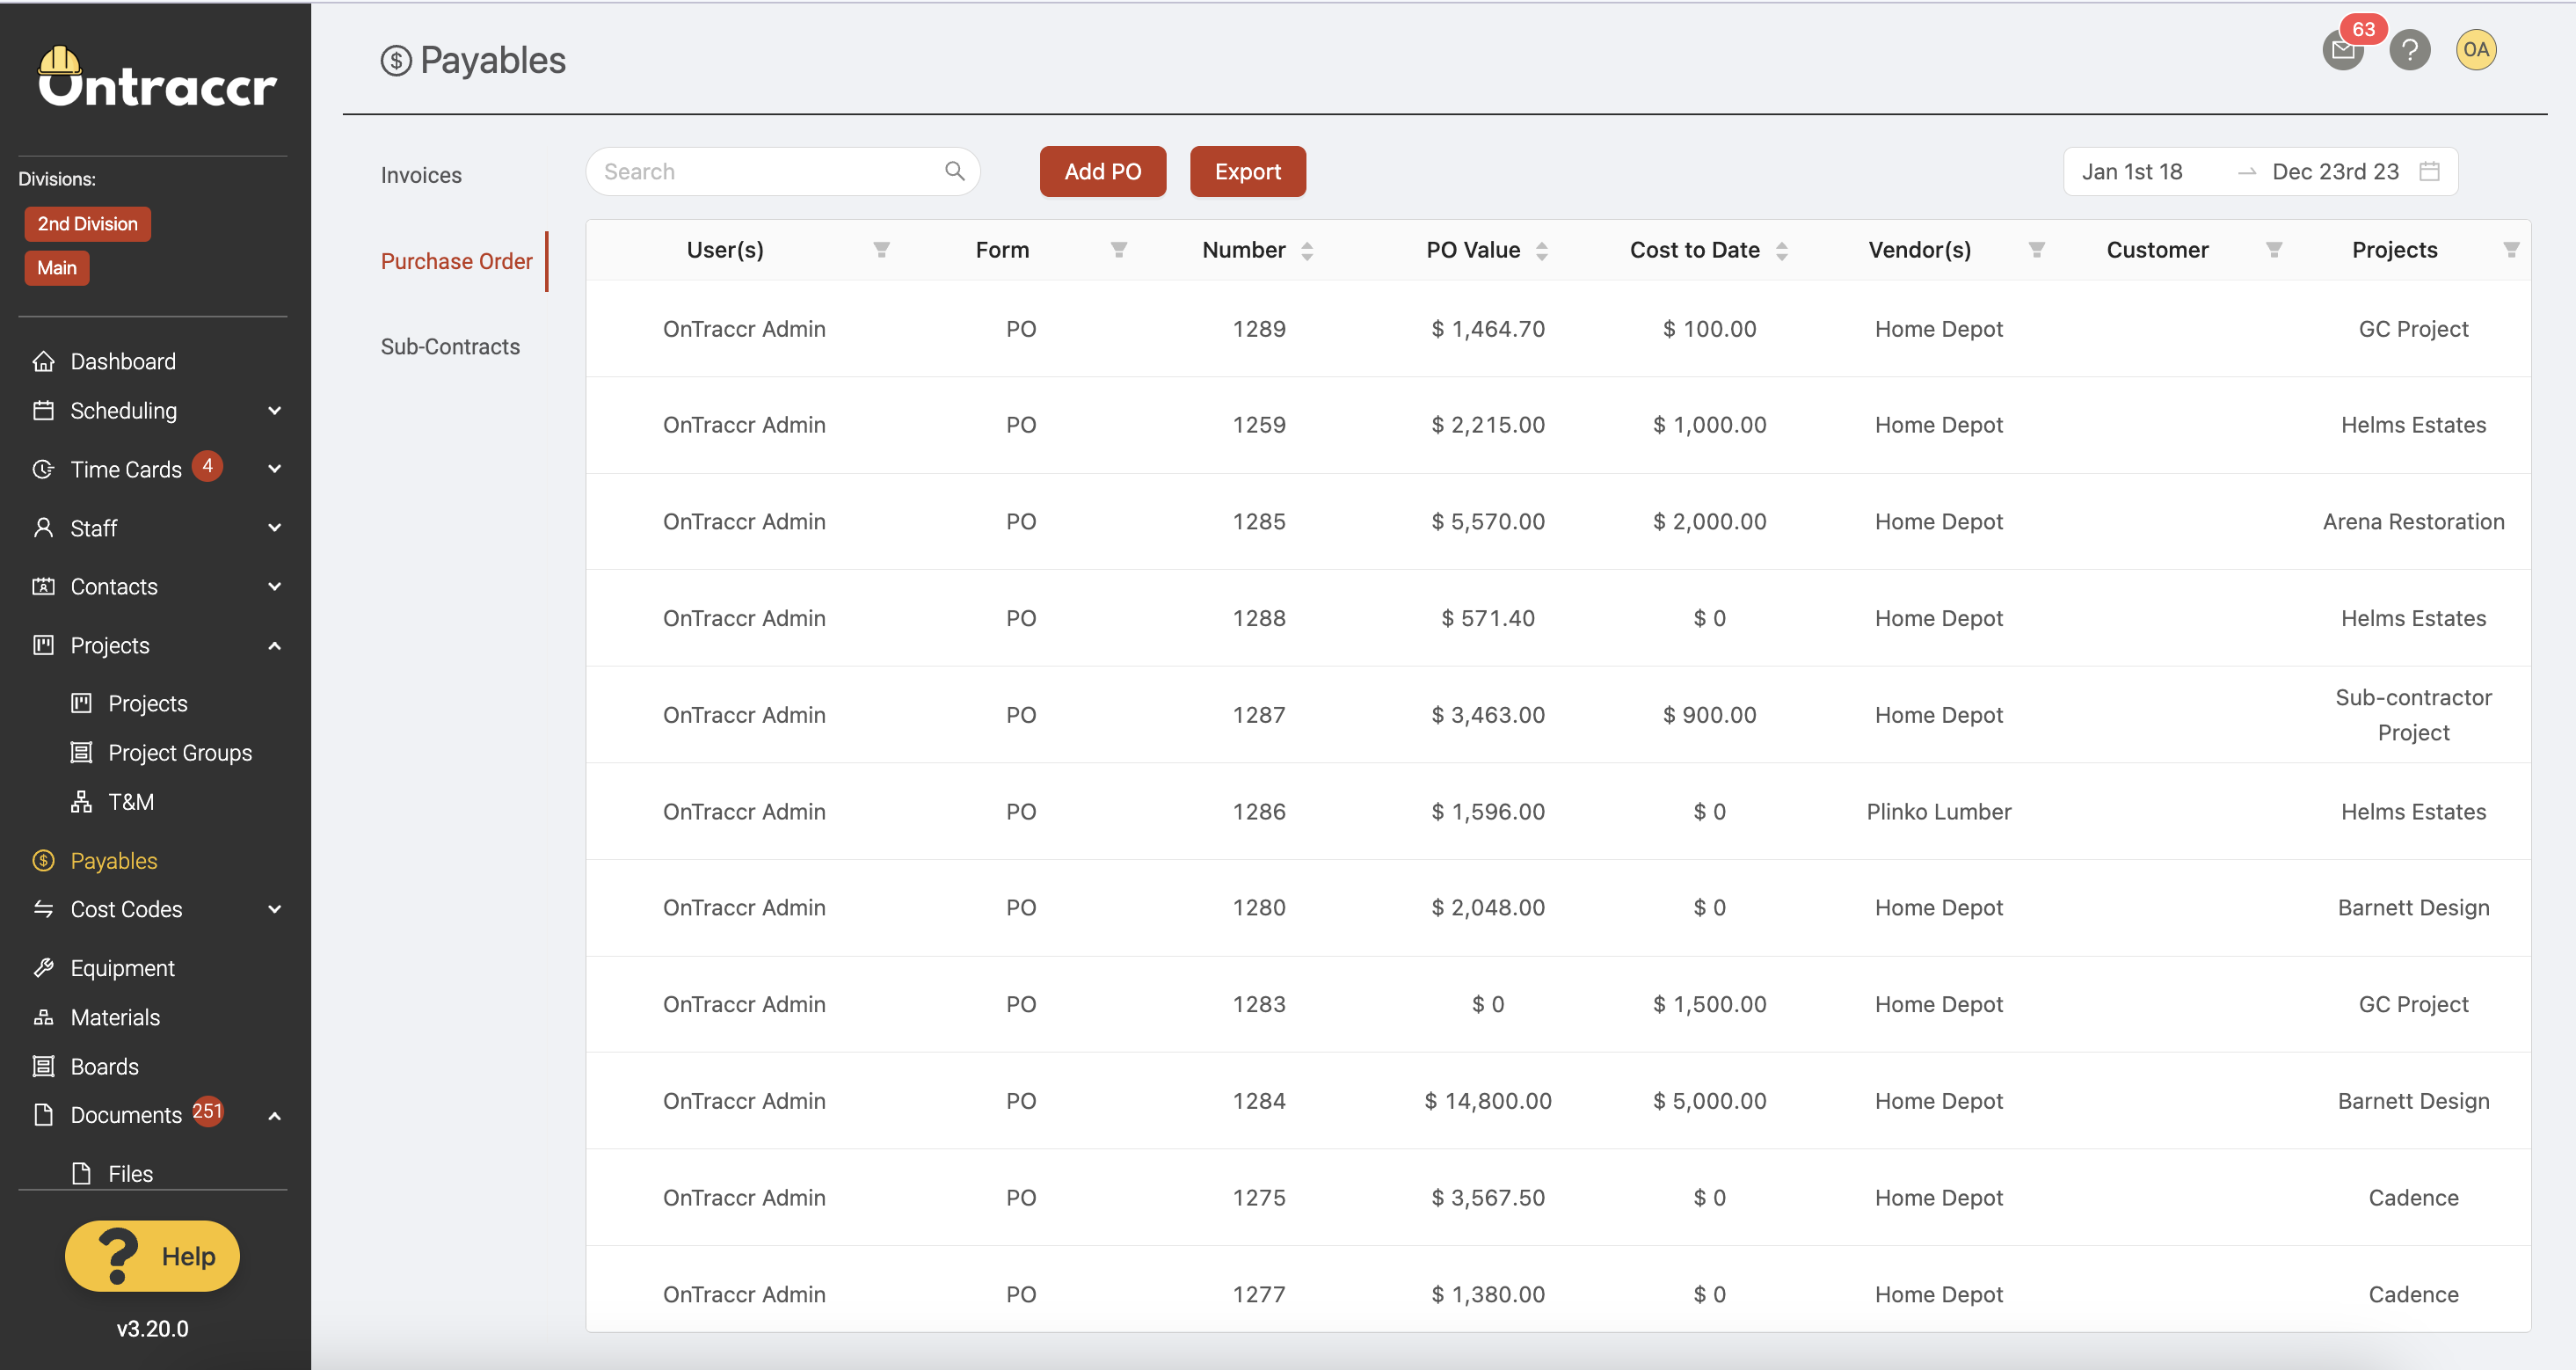
To add a purchase order, click the 'Add PO' button at the top of the page.

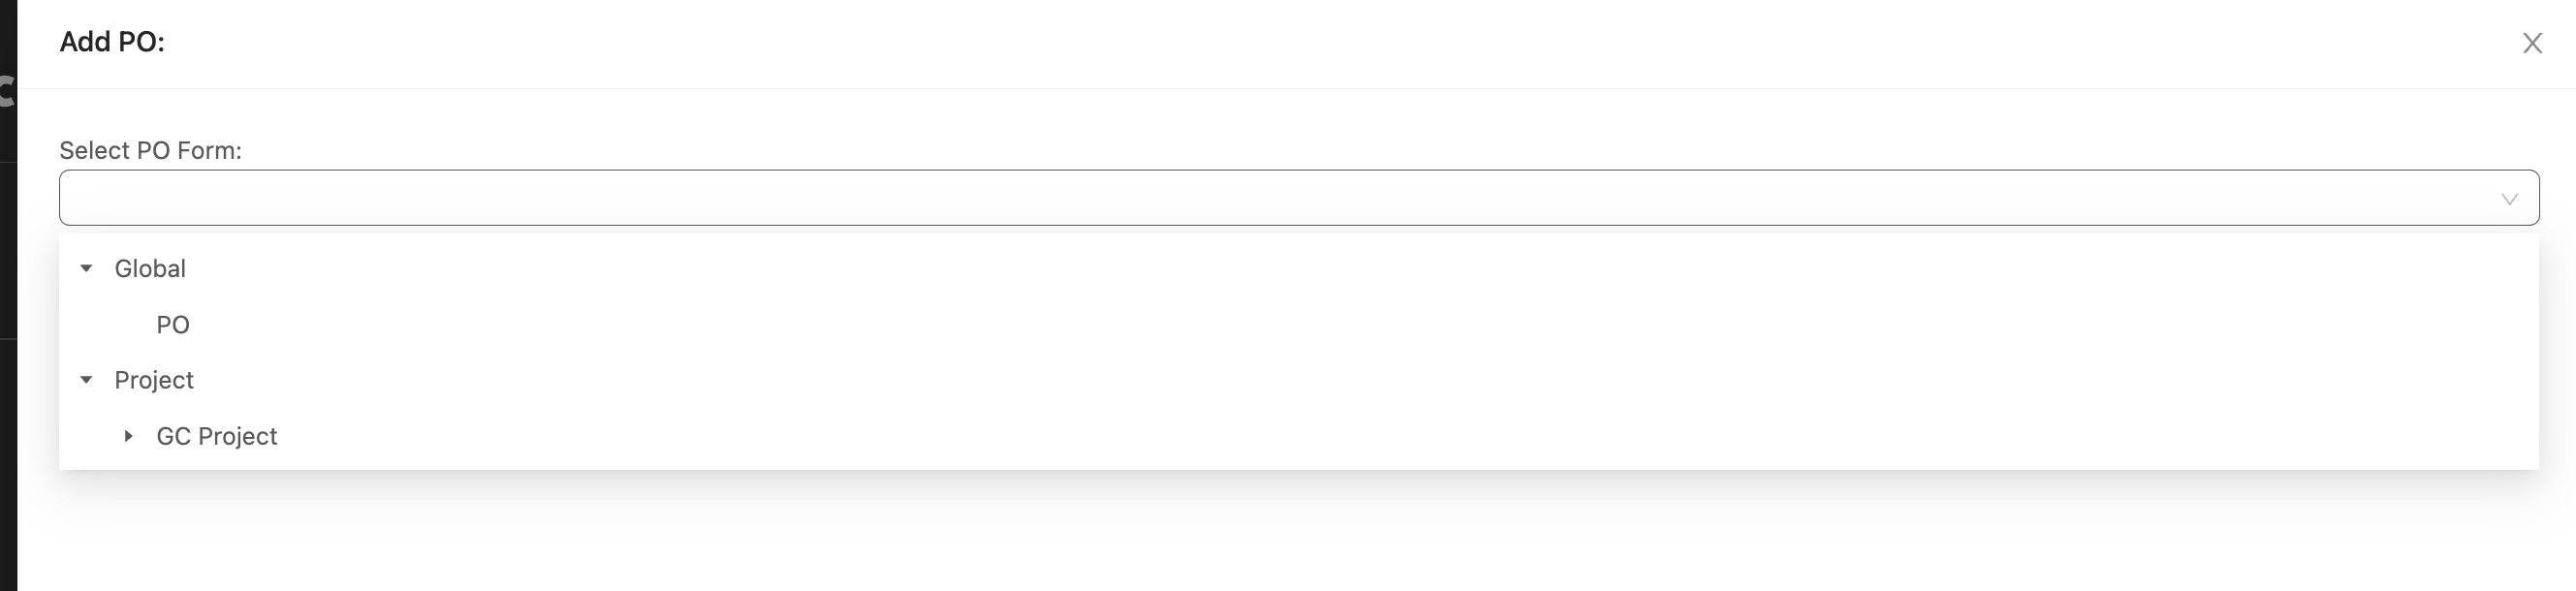
Next, in the Add PO slider, select the purchase order form template you want to fill out by using the 'Select PO Form' drop-down. You can pick from any available global or project-specific purchase order form templates. Click 'Submit' to continue.
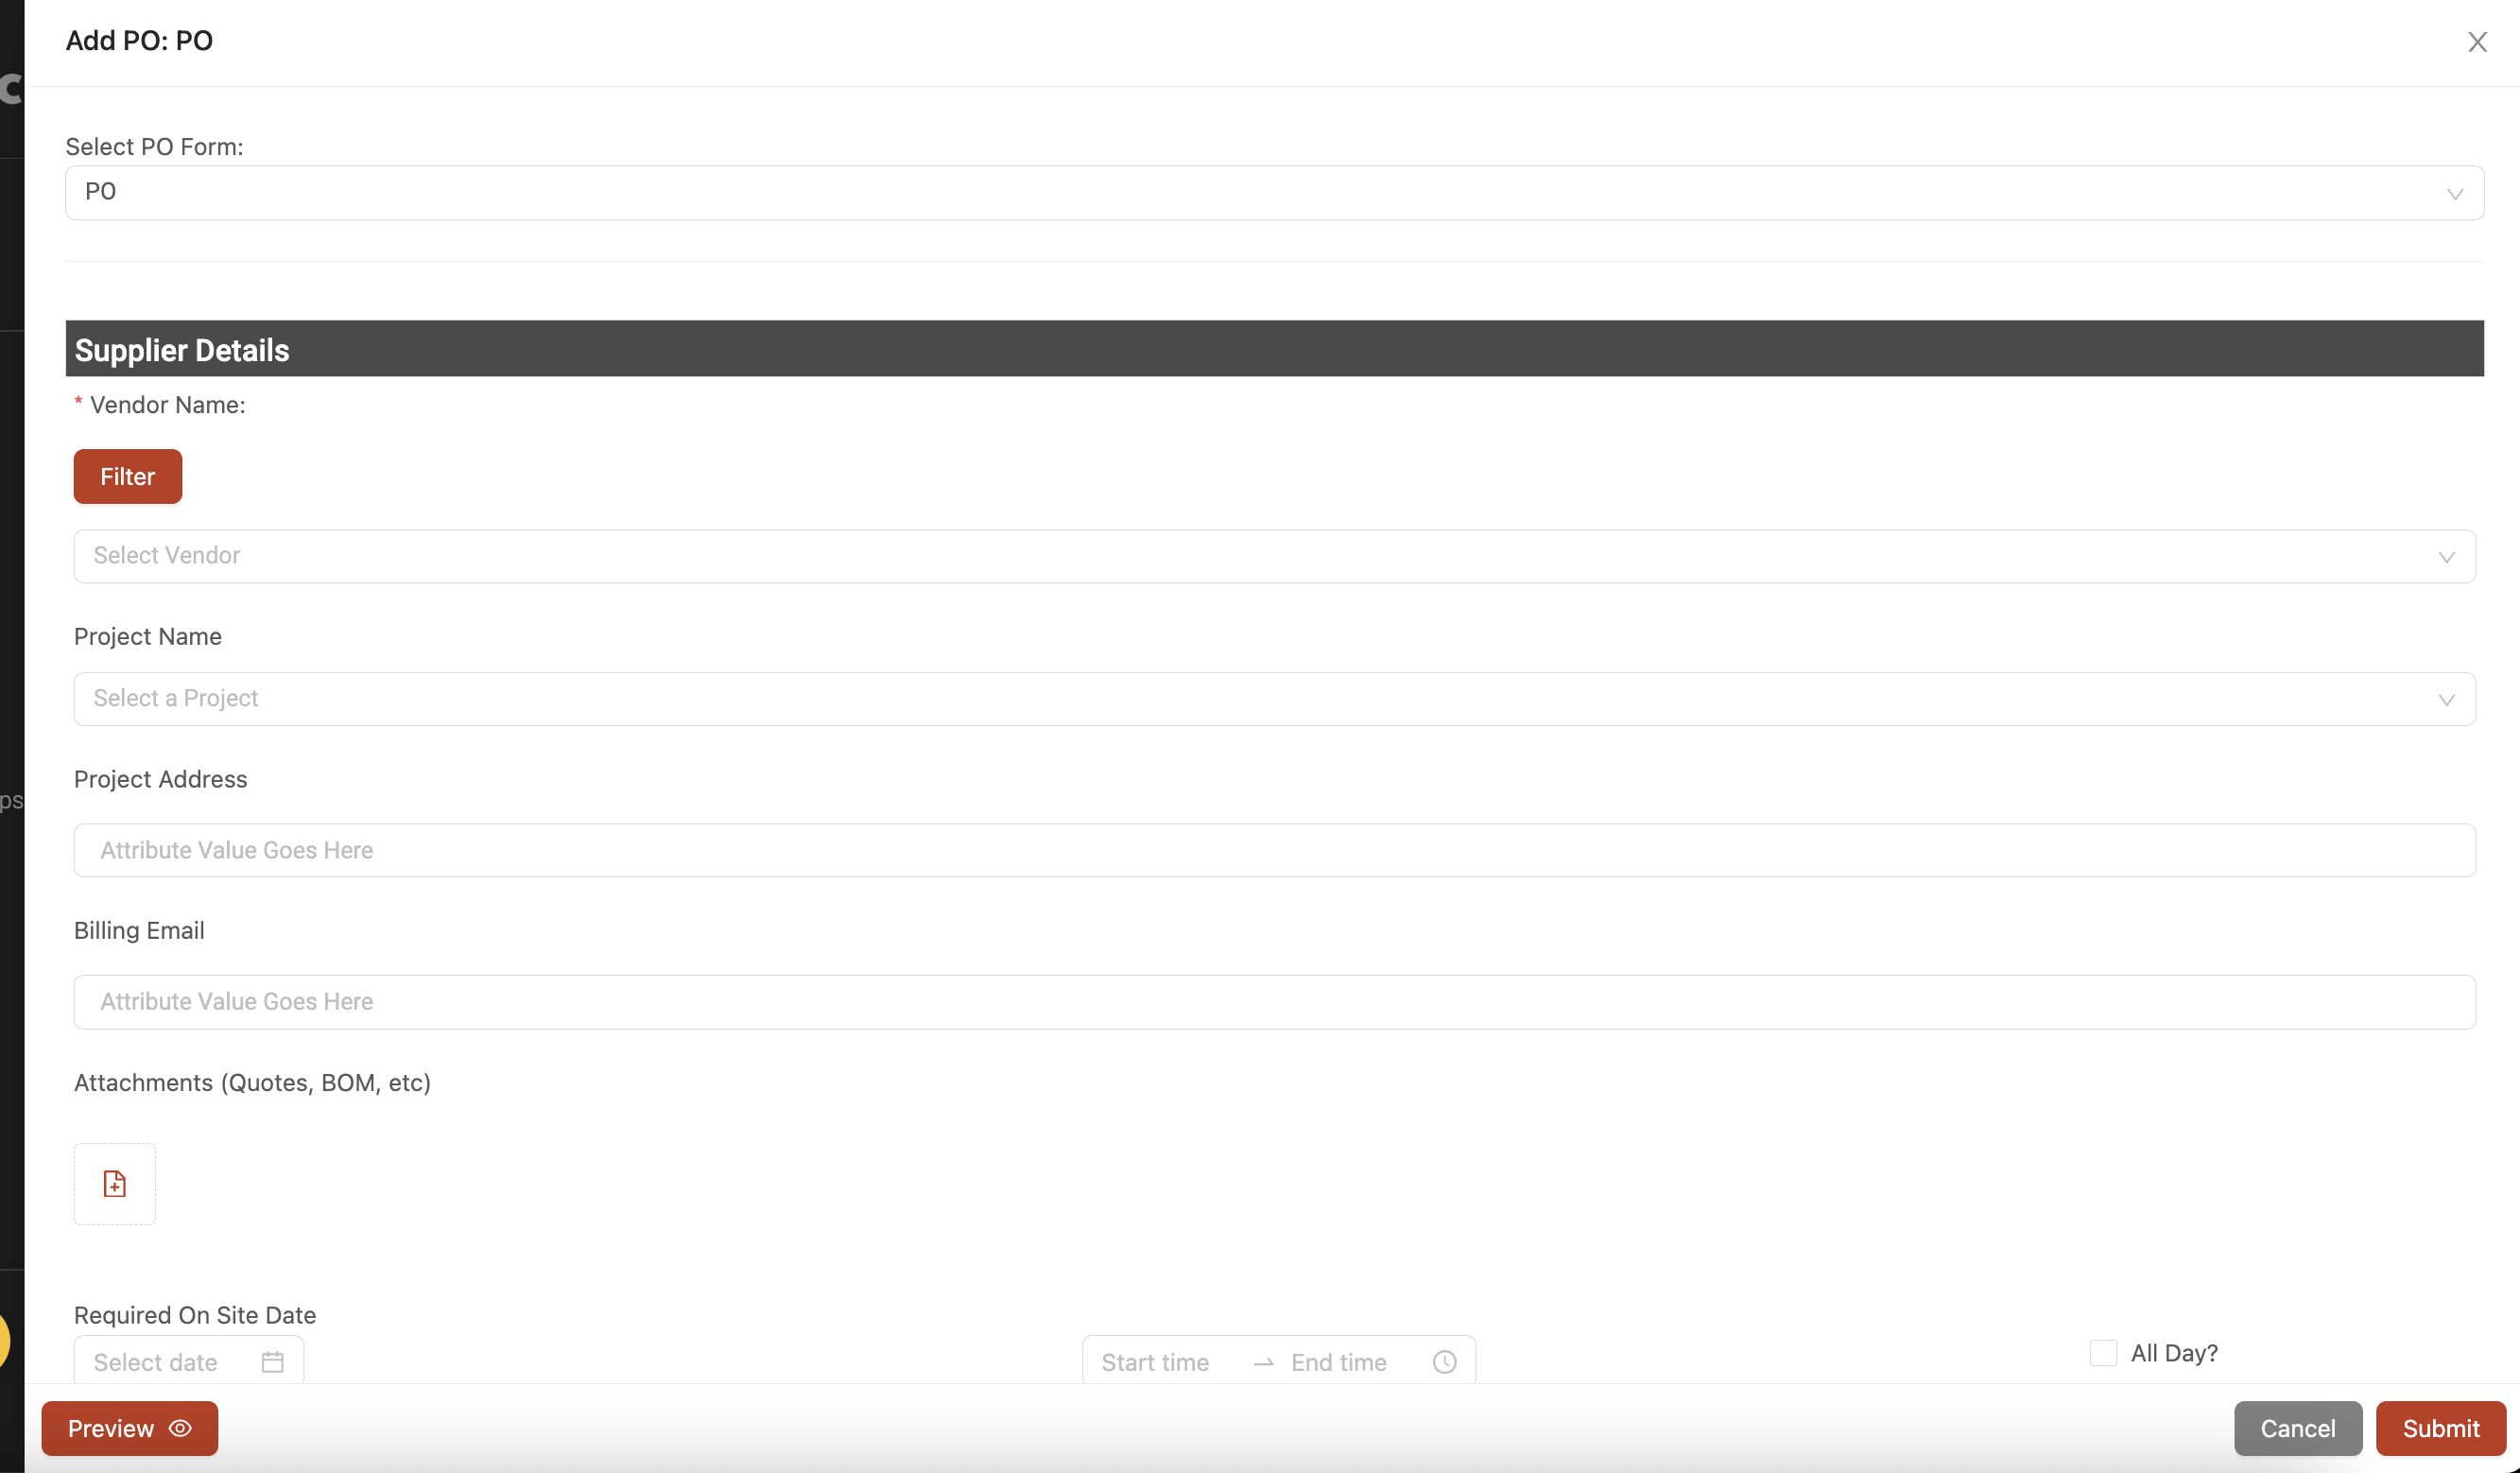
Once you select the form template, the slider will then load the purchase order form's fields.
Creating a purchase order
A purchase order works the same way as any other form workflow in Ontraccr. This means that, in addition to doing it through the Payables > Purchase Orders page, you can also generate a new purchase order through the forms pages. To complete a purchase order, simply fill in all the fields in the purchase order form template and click 'Submit' to submit the purchase order.
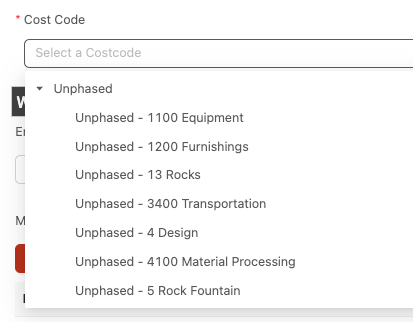
The key data fields of the purchase order form template are the cost code selection and the 'PO value' field.
The cost code selection is where you can link the purchase order to any global or project-specific cost codes. Once a purchase order is linked to cost codes, you can distribute the cost of any invoices for the purchase order across the set of cost codes selected in the purchase order.
The 'PO value' field is the 'committed cost' of the purchase order. This field is customizable in the purchase order form template, and you can decide to define this as either a pre or post-tax dollar amount if you'd like.
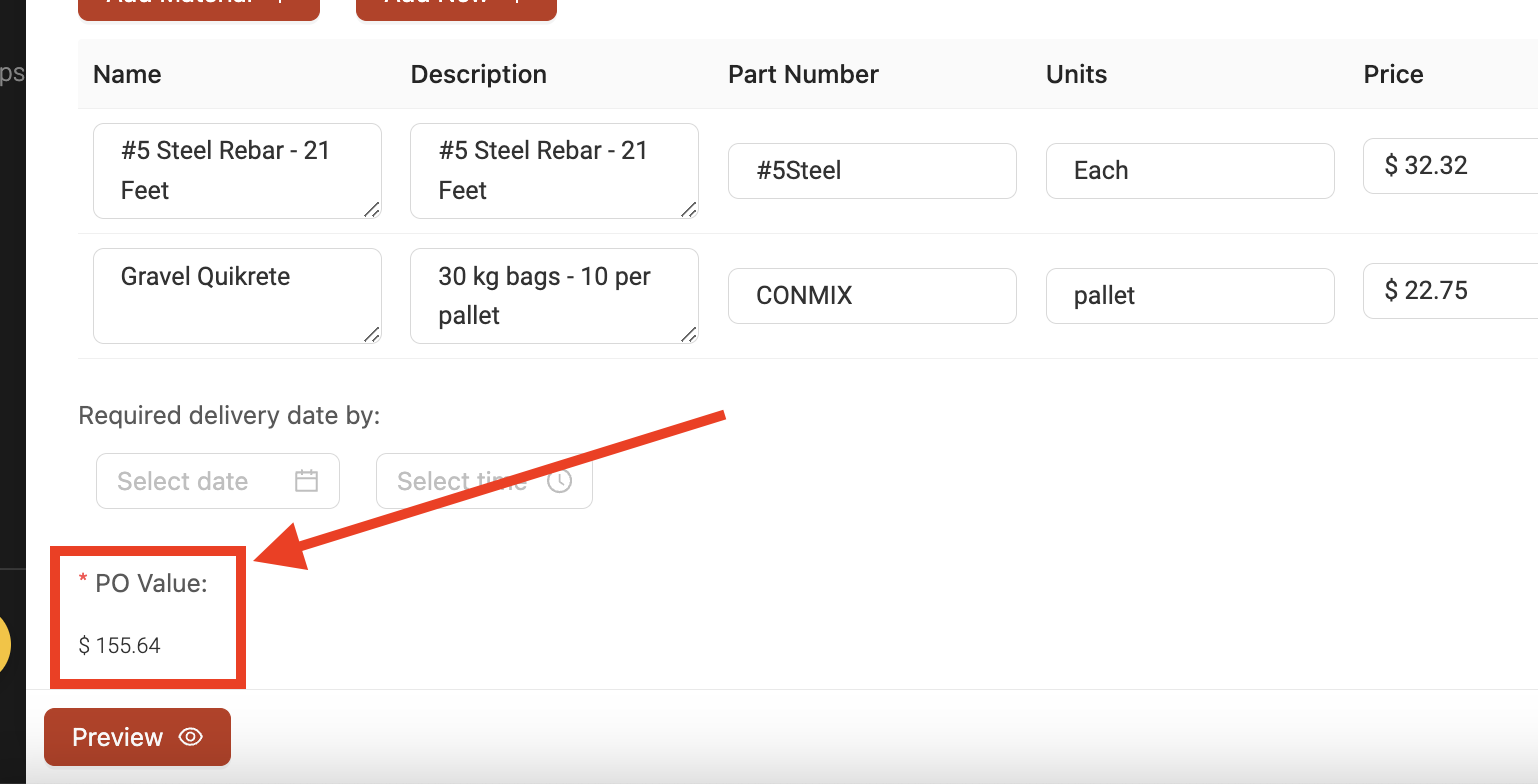
Once you're ready to create the purchase order, click 'Submit' to submit the form.
Viewing a purchase order
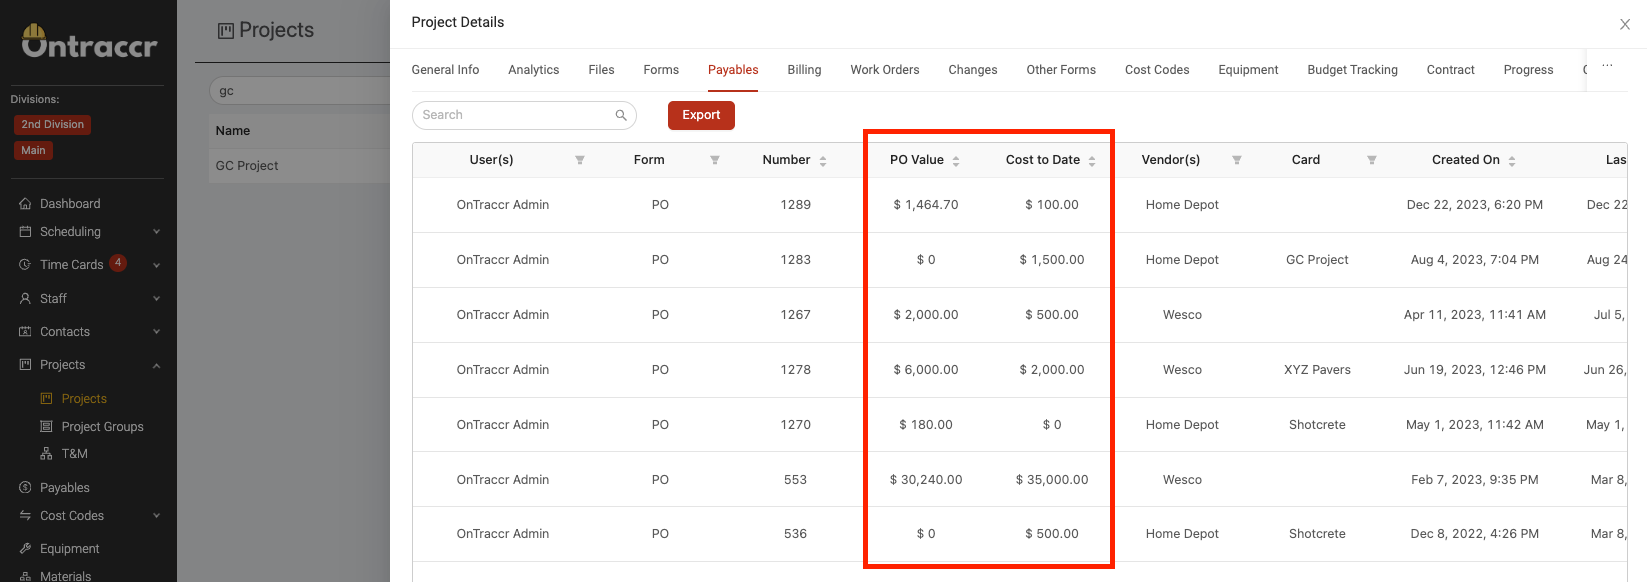
Submitted and active purchase orders will be accessible in the purchase order log in the Payables > Purchase Orders page and in the 'Payables' tab in any customer/vendor/project profile in Ontraccr. You will see the PO value of the purchase order and the Cost to Date field will show you all tracked costs/invoices logged to the purchase order to-date.
Uploading invoices for a purchase order
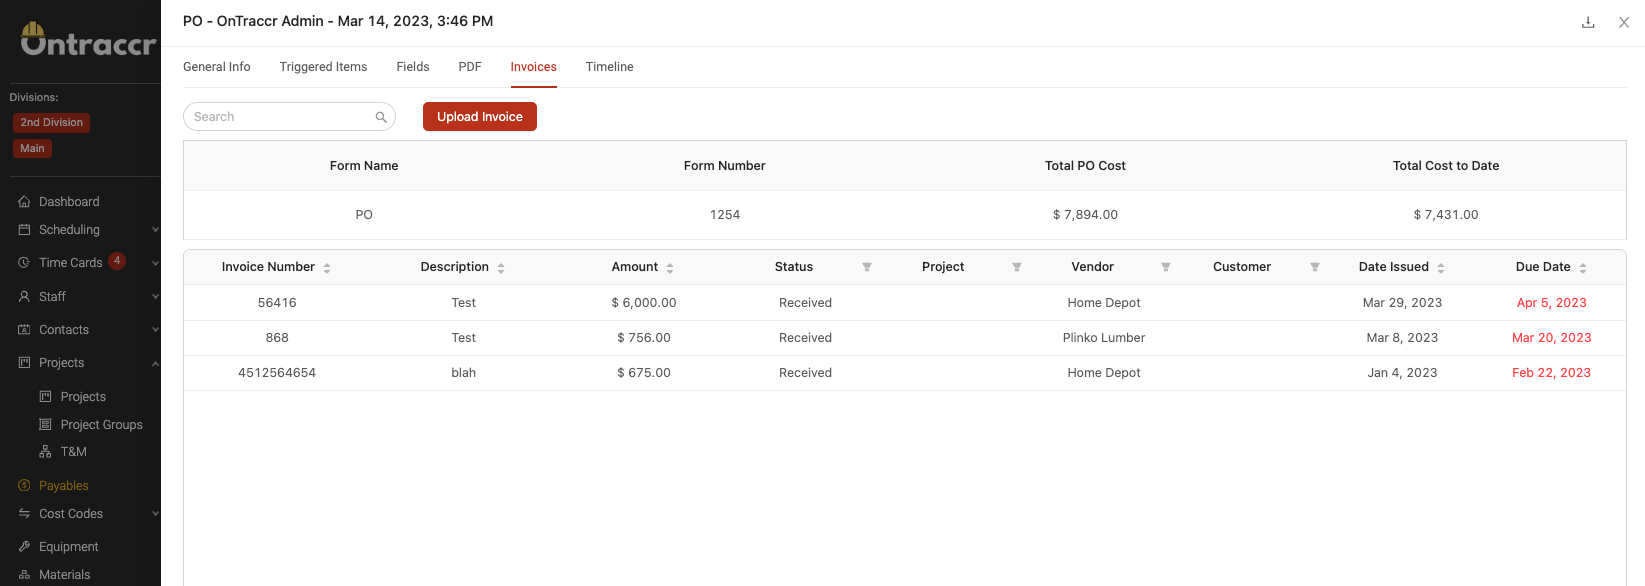
To update a purchase order and record transactions/costs to it, simply open the purchase order from the purchase order log and open the 'Invoices' tab. This tab will show you the Total PO Cost (PO value) and the Total Cost to Date (the total value of all invoices uploaded to the purchase order to-date), you can click into any of the invoice record to view and edit the details of the invoice as needed.
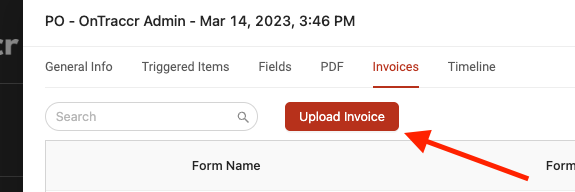
To upload a new invoice for the purchase order, click the 'Upload Invoice' button.
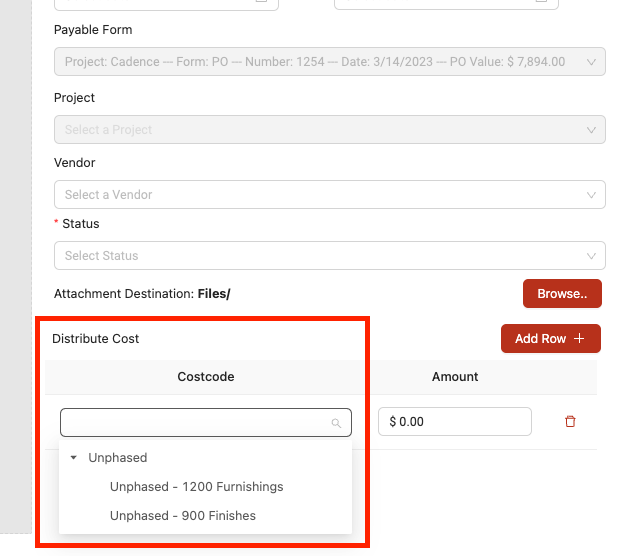
This will open the invoice upload slider where you can proceed to upload and configure the invoice details. The 'Payable Form' field will already be pre-populated with the purchase order, be sure to distribute the cost of the invoice to the purchase order's cost codes using the 'Distribute Cost' section at the bottom.
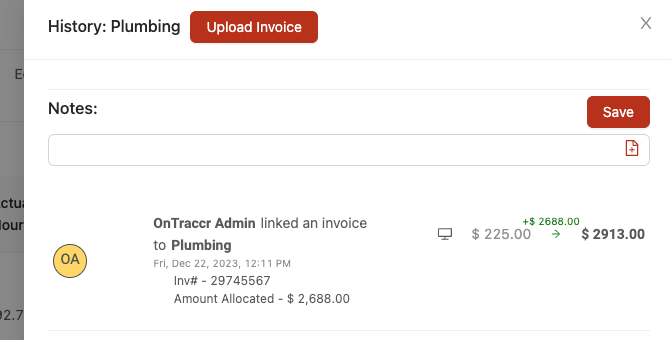
Whenever an uploaded invoice is linked to a purchase order's cost code for a project, the invoice cost will be tagged to and processed for the cost code in the project's 'Progress' tab automatically. You will see a new record added to the cost code's history log with the full details.
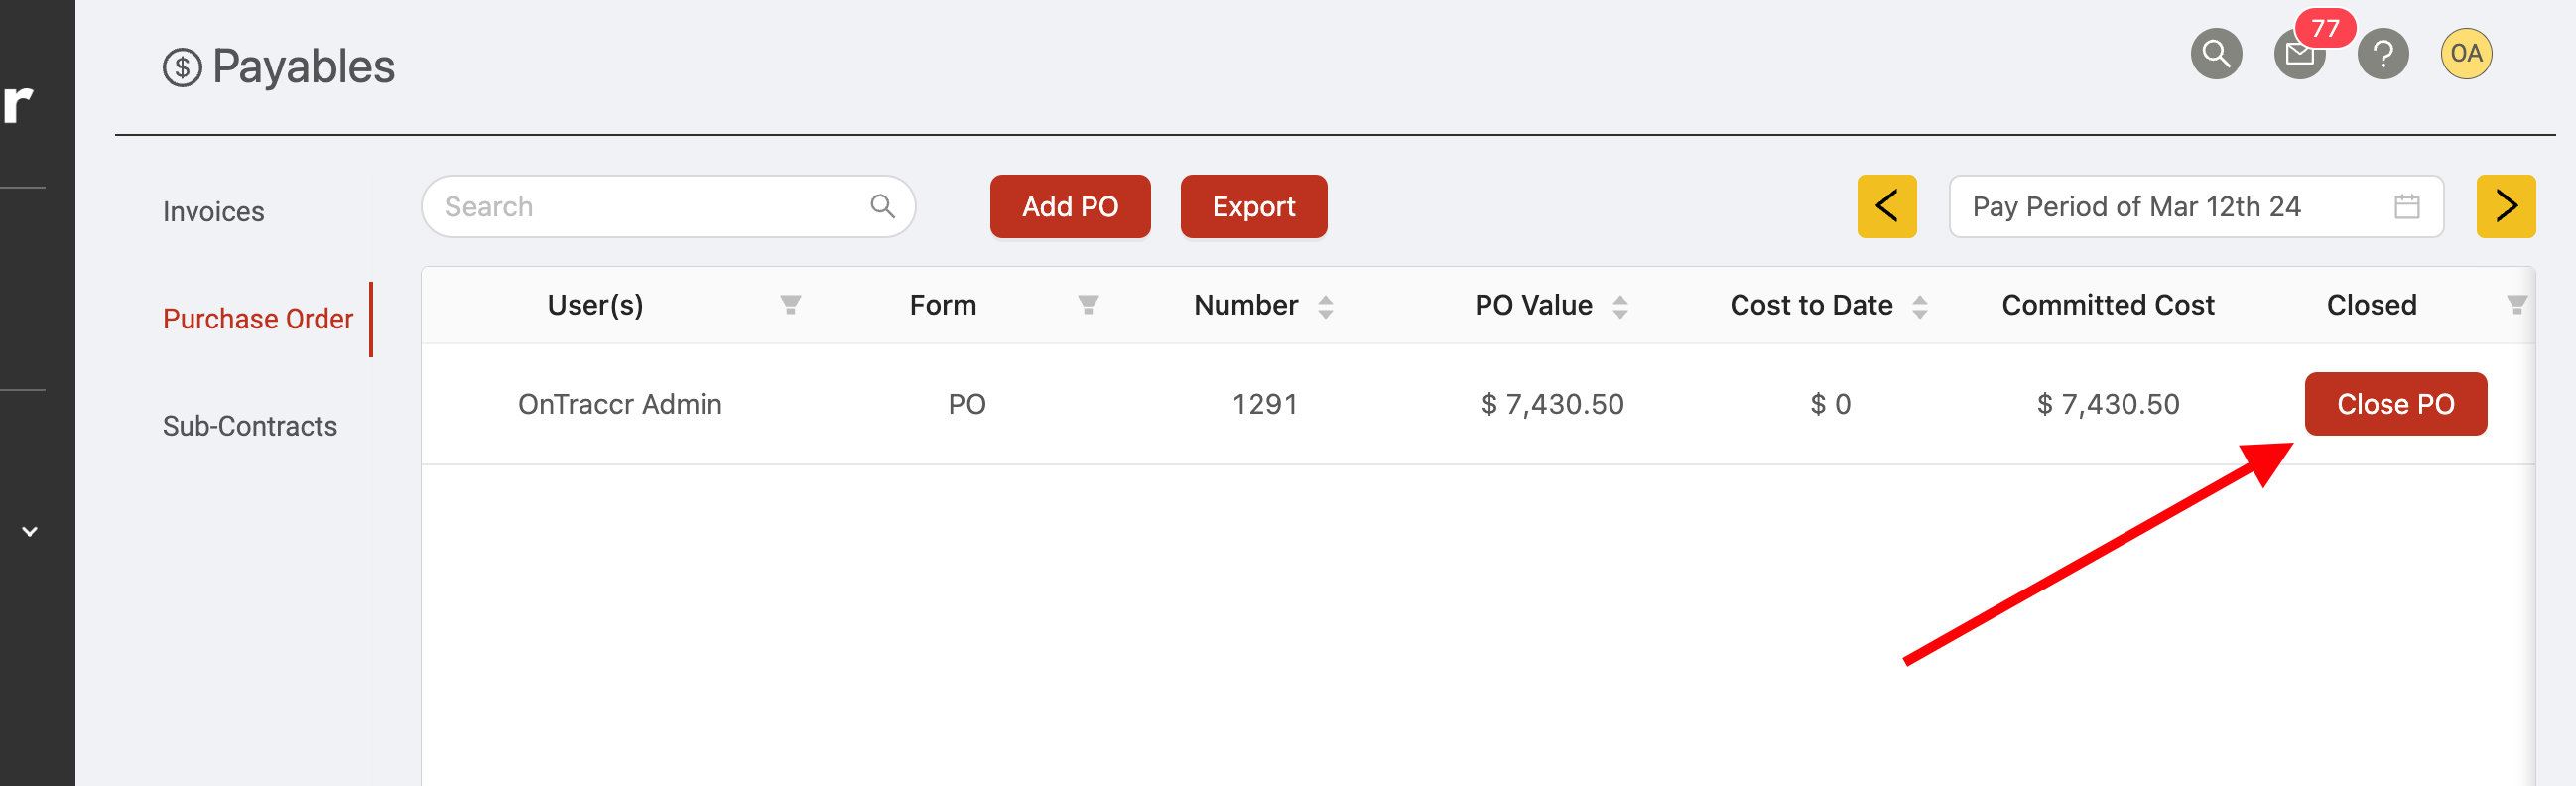
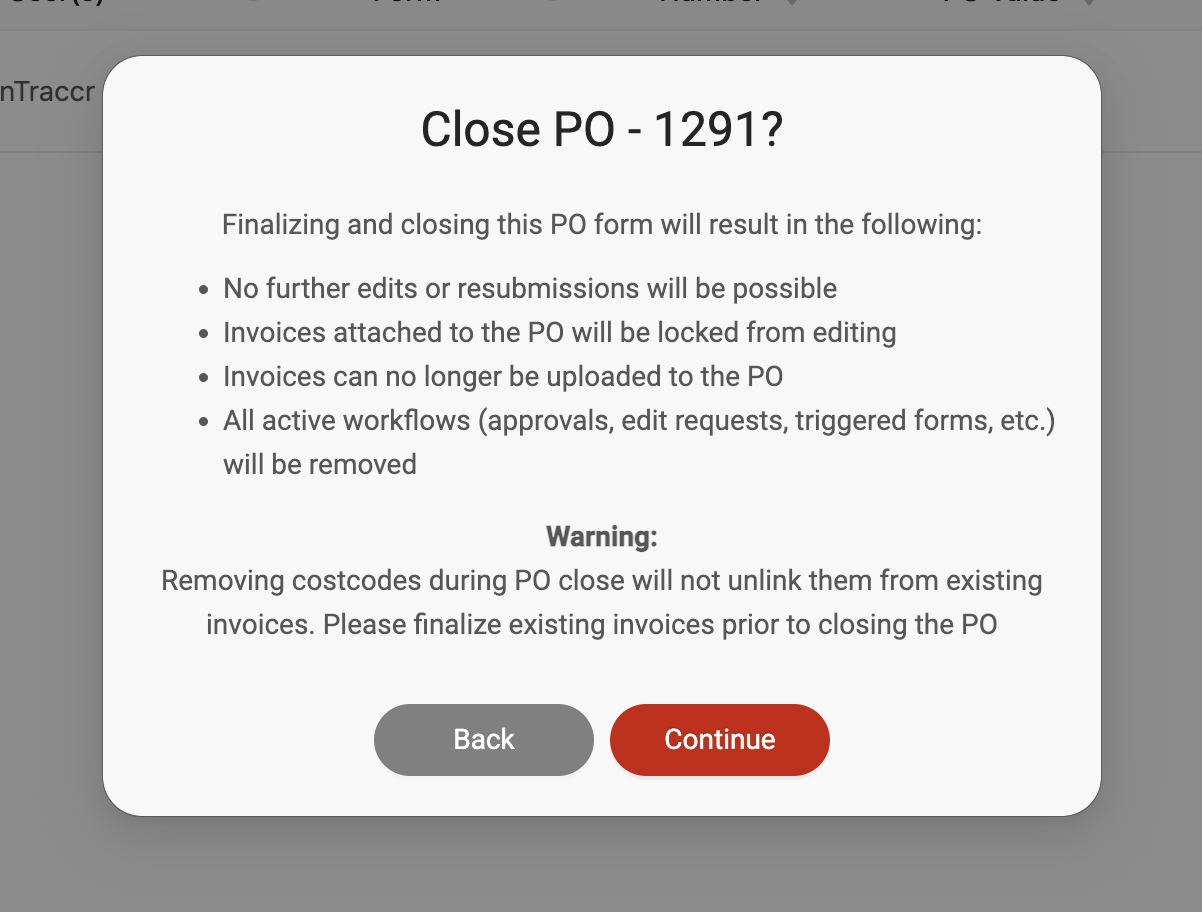
Closing a purchase order
You can also 'close' a purchase order, closing a purchase order will prevent any further updates or edits. To close a purchase order, simply click the 'Close PO' button in any of the PO form's logs in Ontraccr.