
Using job costing templates
Instead of creating a brand new job costing outline for each new project that is added in Ontraccr, you can also create global job costing templates within your company settings and quickly import those templates into any new projects.
Creating and managing job costing templates
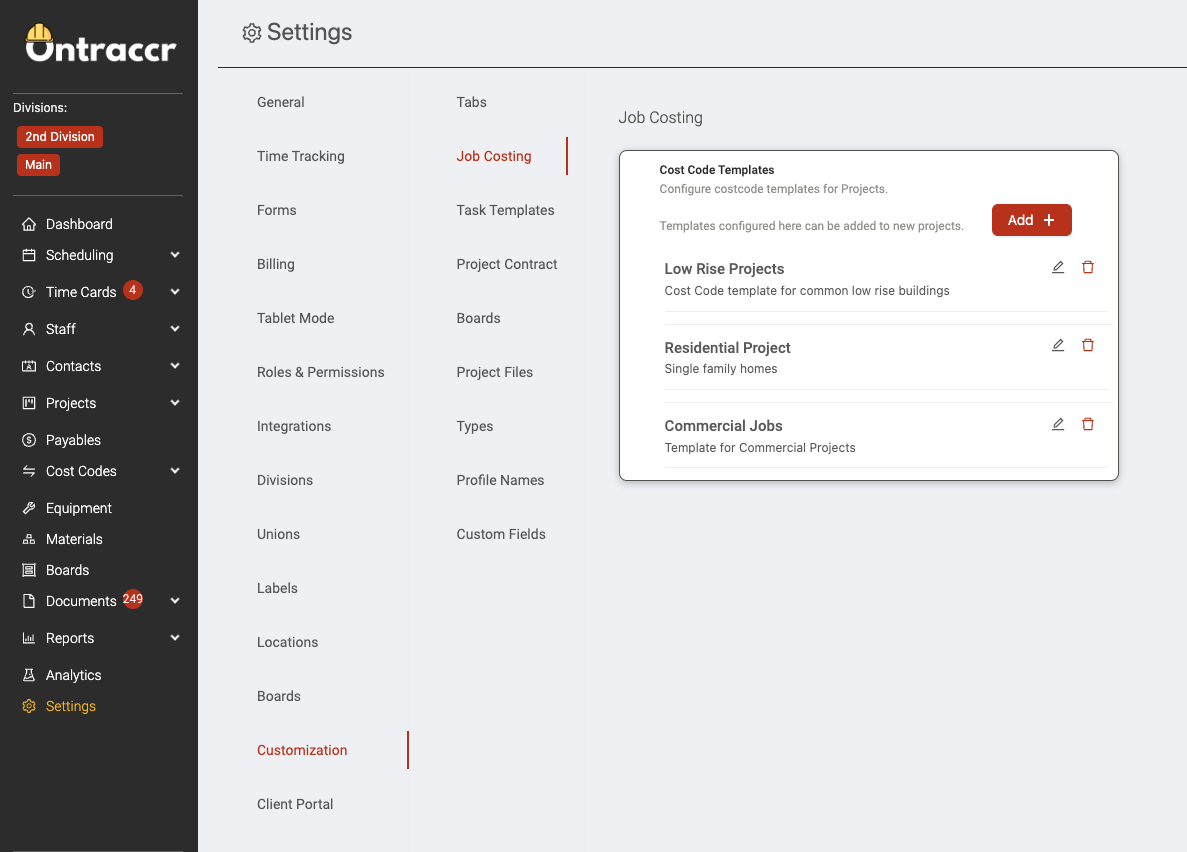
To create a job costing template, navigate to the new Settings > Customization > Job Costing page. This is where you can manage all of your job costing templates moving forward.
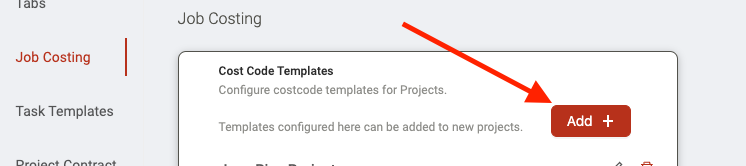
Click 'Add' to create a new template.
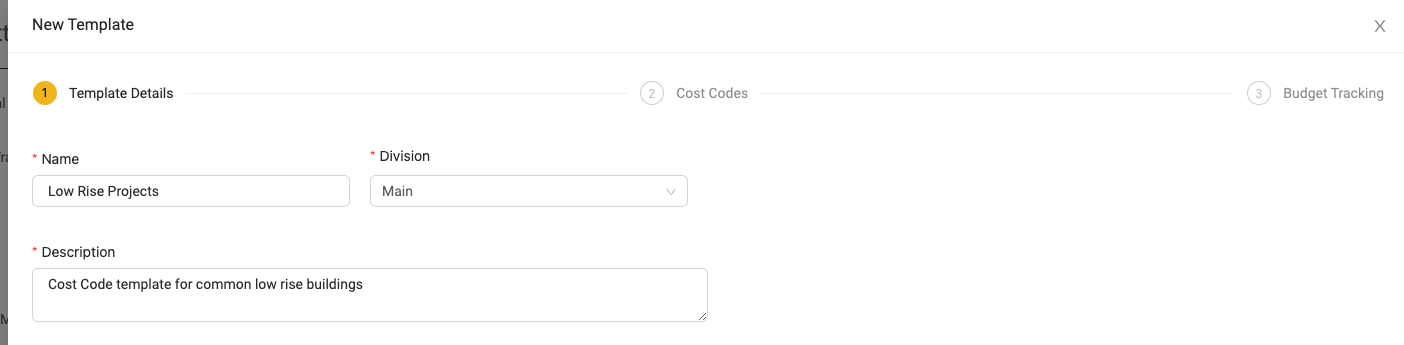
There are three steps to creating a job costing template. First, in the Template Details step, give the template a name and description. For companies with multiple divisions, you can also select the division the template should be used for. Click 'Next' to continue.
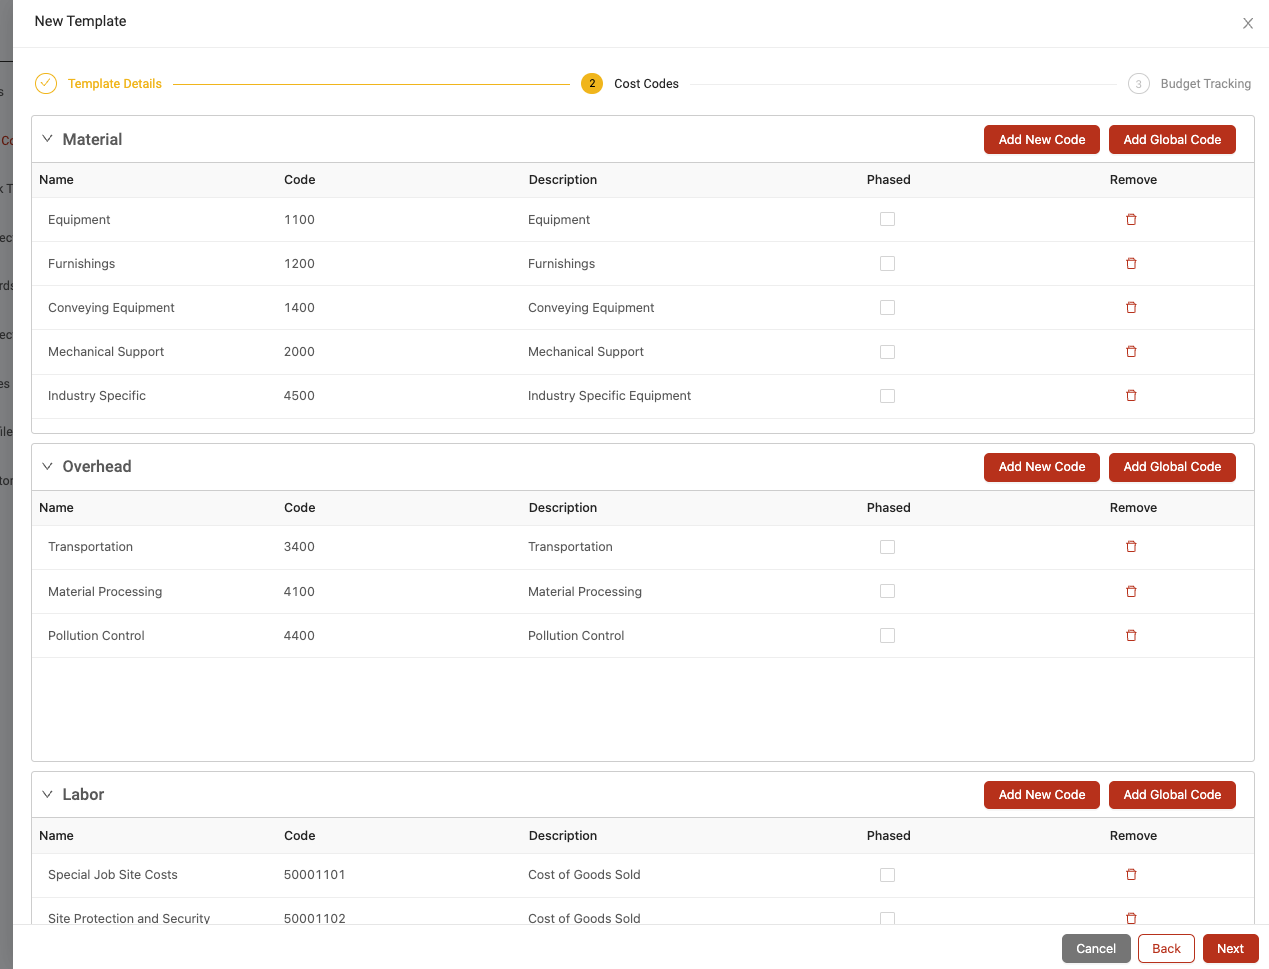
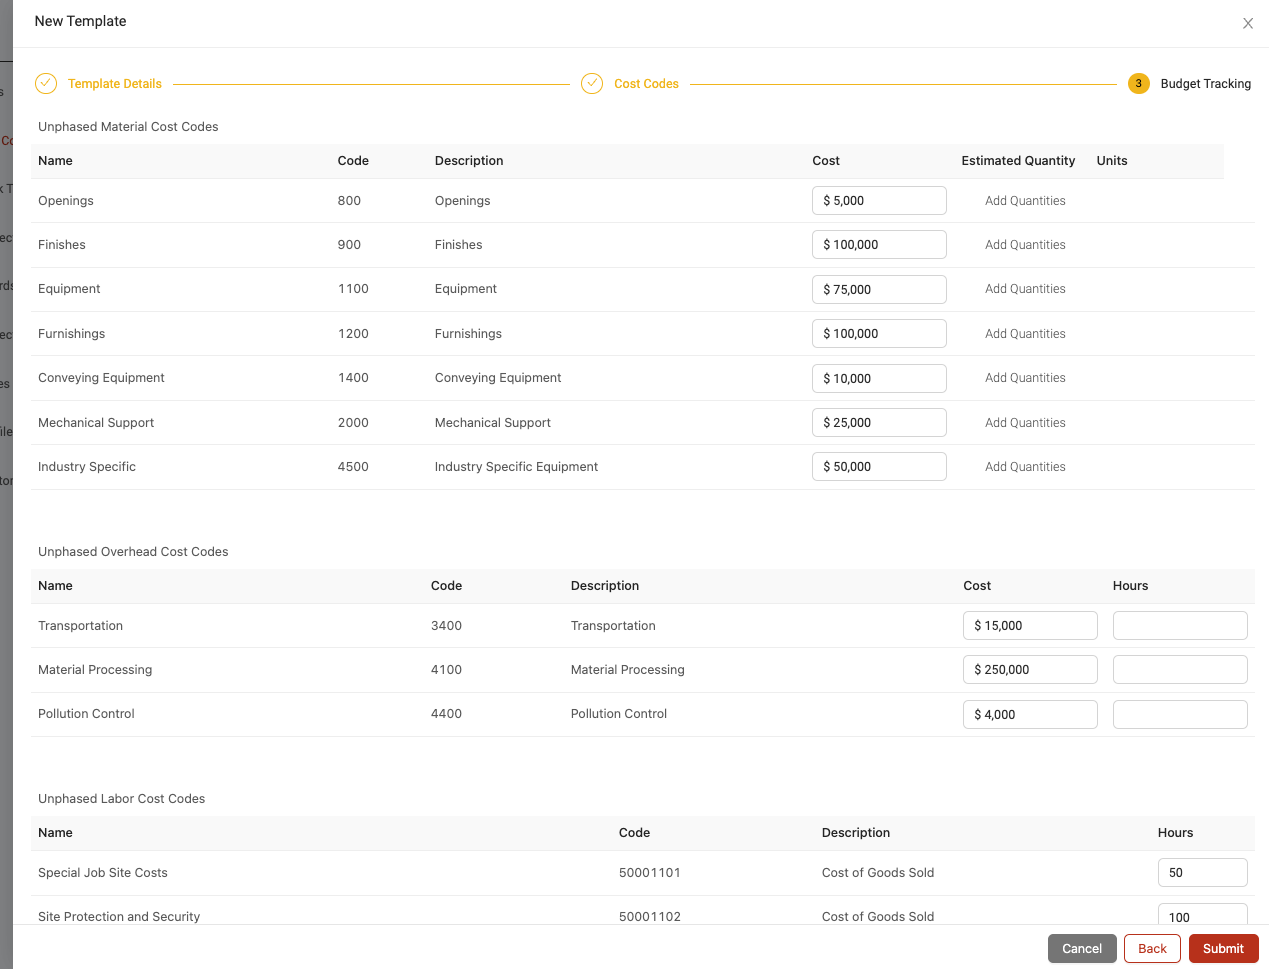
Next, in the Cost Codes step, add your set of cost codes to the template just like you would within the project profile's cost code setup. Click 'Next' to continue.
The third and final step is to set up your Budget Tracking profile. Add your budget tracking system to the template as needed, designing the full set of cost codes. The only missing pieces you will need to add when using the template within a project profile are the high-level estimates. Click 'Submit' to finish and save the template.
Adding a job costing template to your project
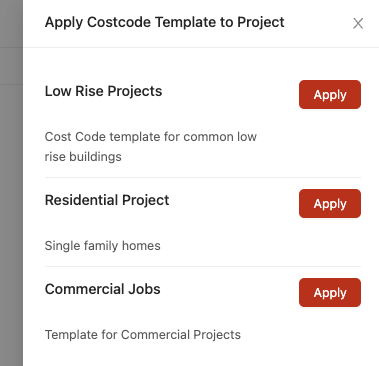
Once your templates are created, you can add them during project creation by clicking the ‘Apply Costing Template’ button during the Cost Codes step.

Pick the template you’d like to apply.
After the template is applied, it will pre-populate the rest of the Cost Codes and Budget Tracking steps during the rest of your project creation process. During the Cost Codes step, you can still add or remove any of the cost codes as needed for the specific project. During the Budget Tracking step, you can fill in the remaining information such as your high-level estimated costs and contract value for the project.