Uploading payable invoices
Payable invoices can be directly uploaded into Ontraccr and categorized correctly to give you a more complete picture of your job costs in real-time.
There are multiple ways and areas in which you can upload payable invoices into Ontraccr.
Uploading and managing invoices through the 'Payables' page
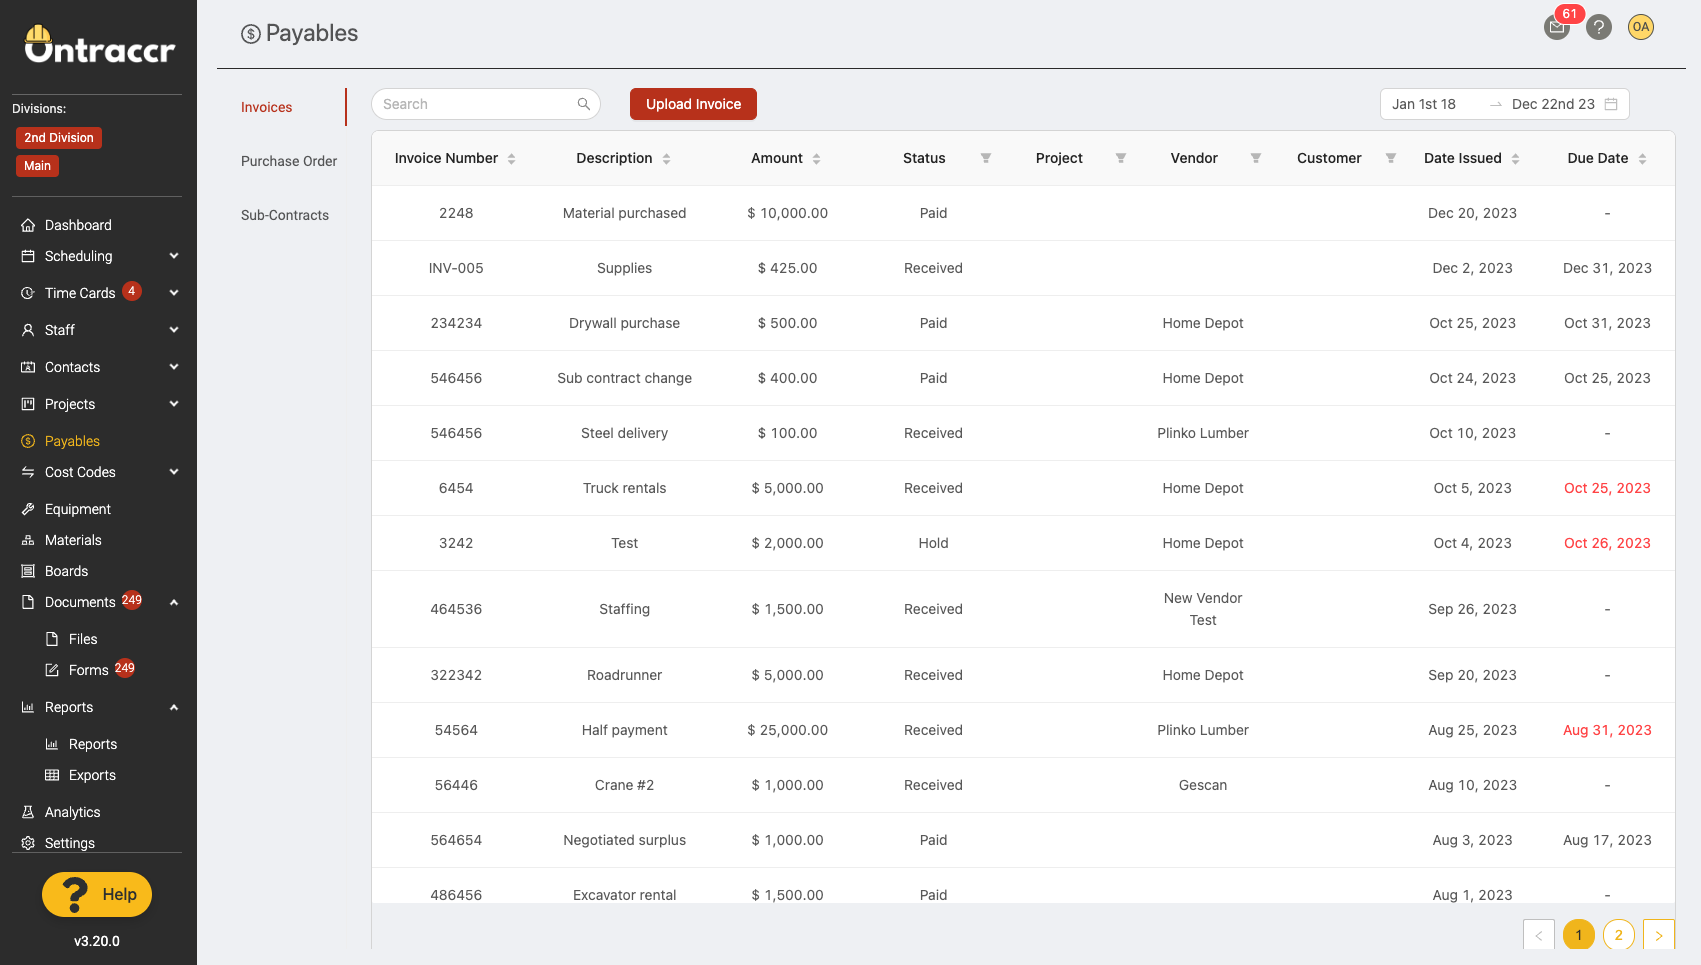
The Payables page is a great way to stay on top of all your payable transactions across the company. The Payables page is divided into three sub-pages: Invoices, Purchase Orders, and Sub-Contracts.
In this article, we will focus on the Payables > Invoices page and how you can use it to track payable invoices easily. In this page, the invoice log is where you can find any and all invoices uploaded into Ontraccr across all projects. By default, the invoice log is filtered by pay period but you can use the date filter in the top right corner to filter by any time frame and the invoice log is also fully searchable using the search bar at the top.
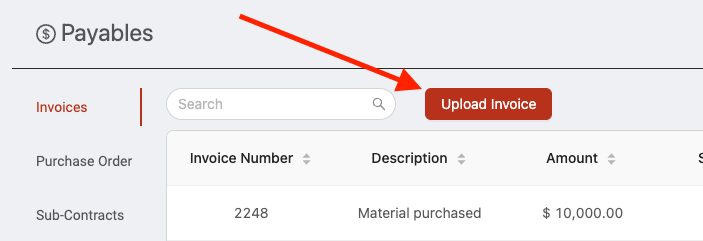
To upload an invoice, click the 'Upload Invoice' button at the top of the page. This will open the invoice upload slider.
Uploading an invoice
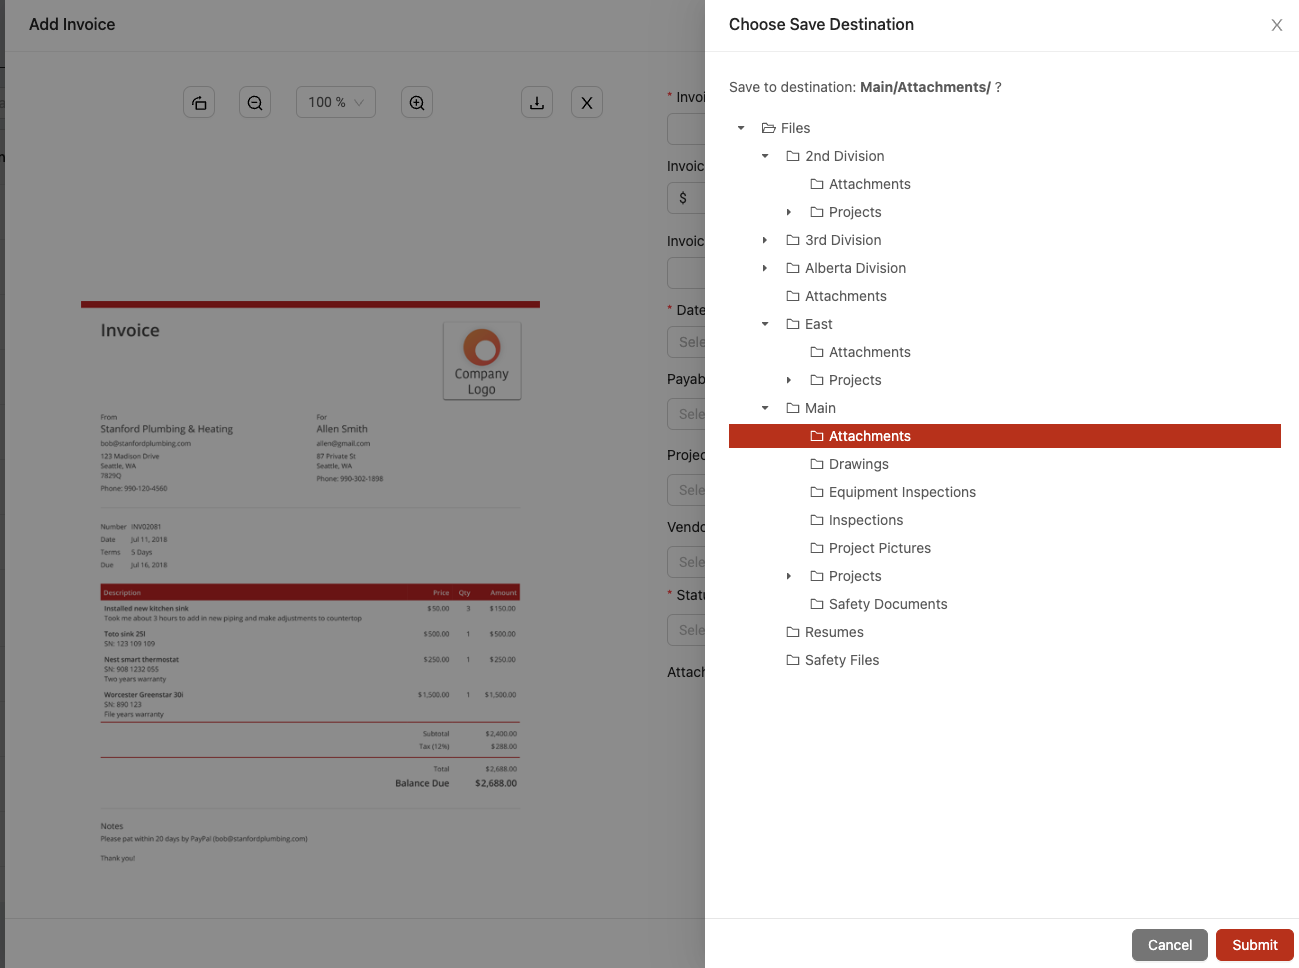
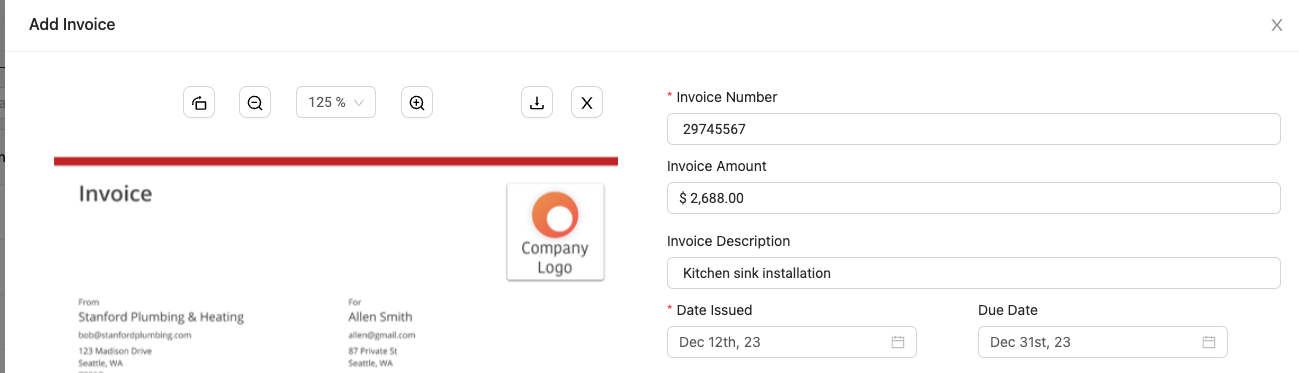
The invoice upload slider presents you with a clean side-by-side design where you can upload the invoice file on the left-hand side, and fill in the invoice details on the right-hand side.

To start, click the upload portion of the slider on the left-hand side to upload the invoice file. When uploading the invoice file, Ontraccr will immediately ask you where you'd like to save the file in the Ontraccr file storage system. Pick the desired folder and click 'Submit' to finish uploading the file.
Once the invoice is uploaded, begin entering the invoice details on the right-hand side.
Enter the Invoice Number you want to use to identify the invoice, the Invoice Amount, the Invoice Description, and select the Date Issued. You also have the option to add a Due Date.
Next, you can choose to link the invoice directly to a Project or a Purchase Order, which depends on how you want to track costs in Ontraccr. If you don't link the invoice to either of these options, then the invoice won't be tied to a specific project or the project's 'Progress' page. To link the invoice to a purchase order, select the purchase order from the drop-down menu.
To link the invoice directly to a project, select the project from the drop-down menu. As soon as you do this, you will see that the 'Distribute Cost' section at the bottom is enabled. This is where you can choose to distribute the cost of the invoice across the available cost codes for the project you've selected. If you don't distribute the cost of the invoice to any cost codes, then the invoice will still be linked to the project but will be categorized and tracked under 'Uncategorized Costs' in the project's Progress page.
To distribute the cost of the invoice across the project's cost codes, click the 'Add Row' button in the 'Distribute Cost' section. This will add a row to the table. Click into the drop-down to select the cost code(s) you'd like to distribute the invoice amount to and enter the amount(s) next to the cost code(s) as shown below.
You can also link the invoice to a vendor by selecting the available vendor profiles in the 'Vendor' drop-down. Lastly, select the invoice status using the 'Status' drop-down. You can easily add custom statuses here by typing in the status name under the 'Custom' section and clicking 'Add' to save the custom status.

Once you've finished configuring all the invoice details, click 'Save' to finish uploading the invoice.
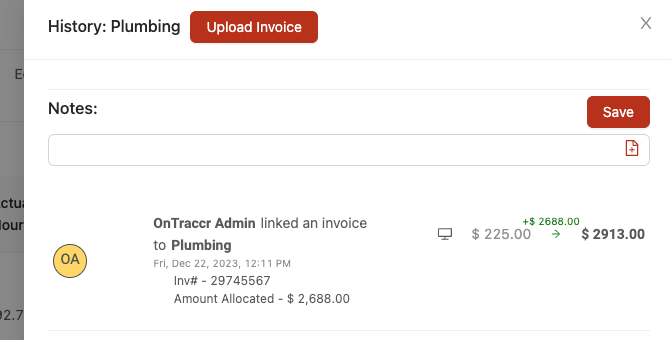
If you've linked the invoice to a project cost code, you will see a new record added to the cost code's history log with the full details as follows.
Updating an invoice
To update an invoice, you can click to open the invoice record from the invoice log in the Payables > Invoices page.
Once the invoice slider is open, you can click 'Edit' to make any changes. For example, you can change the status or re-distribute the cost of the invoice as needed.
Uploading invoices through the project's 'Progress' page
Although the Payables page is the central resource you can use to manage payable invoices across the operation, you can also upload invoices directly through the project profile's 'Progress' page.
At the top of the progress page, you can click the 'Upload Invoice' button to upload an invoice. This will open an invoice slider with the project pre-selected to the current project and allow you to upload an invoice quickly to any of the project's cost codes or as an uncategorized cost.

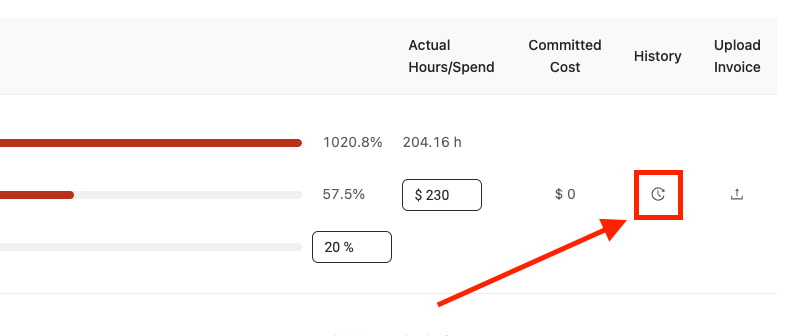
You can also upload an invoice to any of the cost codes by clicking the upload invoice icon next to the cost code you'd like to distribute the cost of the invoice to.