
Setting up budget tracking
Prerequisites
Before setting up a budget tracking system in Ontraccr, if you haven't already, we'd suggest reading this article for an overview of how job costing works in Ontraccr. In order to set up a budget tracking system in Ontraccr:
- You must first add cost codes to the corresponding project profile in Ontraccr. Please refer to this article for a full overview on how cost codes are configured in Ontraccr and how to add cost codes to a project.
How to activate budget tracking on a project
To set up your project's budget tracking system, after adding cost codes when adding or editing a project, proceed to the 'Budget Tracking' step in the profile.
Check the ‘Track budget?’ box at the top to get started.

Setting up budget tracking manually
Adding high-level estimates and values
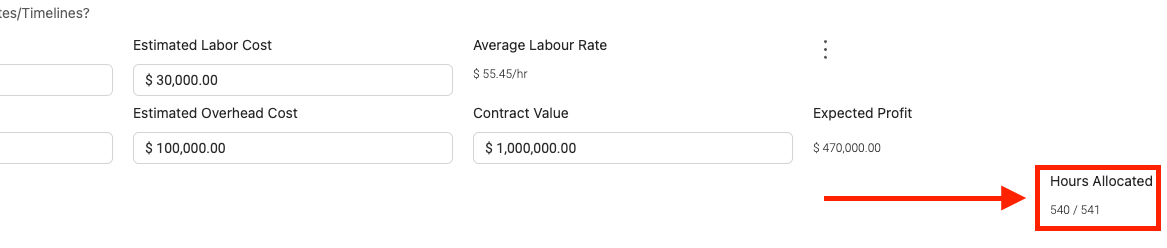
At the top of this tab, you will see options to add your high-level cost estimates for the project. Input the estimated labour hours and your cost estimates across the labour, material, and overhead cost categories and add the project’s contract value. After inputting your estimates and values, you will now see that the average labour rate and expected profit have been automatically calculated for you.

Underneath the high-level estimates, on the right hand side of the page, you will see an ‘Hours Allocated’ field. This will help you keep track of how many hours you have allocated to your labour cost codes based on the high-level estimate you entered. This is an important field to keep an eye on once you proceed to start distributing your allocated labour hours across the cost codes in the rest of the budget tracking page as outlined below.
Now you can start breaking down your high-level estimates across all the cost codes you have added to the project.
Adding unphased and/or phased cost code estimates
For the rest of this page and the budget tracking system, you can add your estimates under 'Unphased' or 'Phased' budget categories. A 'phased' cost category is only relevant if your project has many phases such as a multi-story building, as this helps you further break down your estimates across the various phases of your project and ensure that costs line up the way you expect them to. Otherwise, if your project does not require the use of phases, the default budget category is 'Unphased' and all your estimates and costs will always be tracked under this category for the project moving forward.
Adding unphased estimates
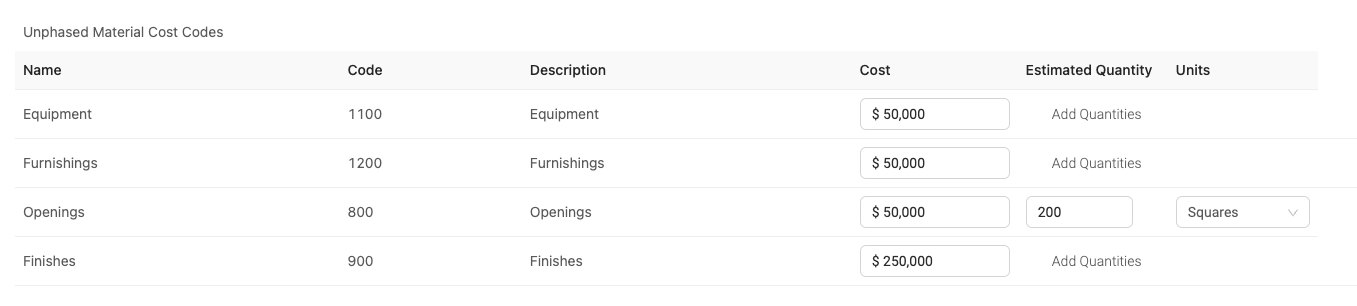
In the 'Unphased Material Cost Codes' section, add the estimated cost of each code. You also have the option to add a material quantity to the code so you can track material consumption if needed.
In the 'Unphased Overhead Cost Codes' section, add the estimated cost of each code. If any of the overhead cost codes require labour, you can also add the estimated number of hours the cost code will require.
The 'Unphased Labour Cost Codes' section shows you all of the labour codes added to the project's budget that will not be assigned to a phase. If you don’t use phases for the project, then all of your labour cost codes will just show up here. Next to each labour cost code, add the estimated hours you believe it will take to complete the specific activity. (This is where the 'Hours Allocated' field at the top of the budget tracking page will show you how much of your total estimated hours you've distributed across your cost codes as you go.)


Adding phased estimates
If you have split your project across different phases, the ‘Phases’ section at the bottom of the budget tracking page is where you can add the various phases and assign your phased cost codes to them.
To add a phase, give the phase a name and description. To add cost codes to the phase, click ‘Add’ next to the phase under the 'Cost Codes' column. You will now see all of the cost codes that you selected to be phased in the cost codes step earlier. Select the cost codes you want to add into the phase and click submit once finished. Click ‘Save’ next to the phase to save it.
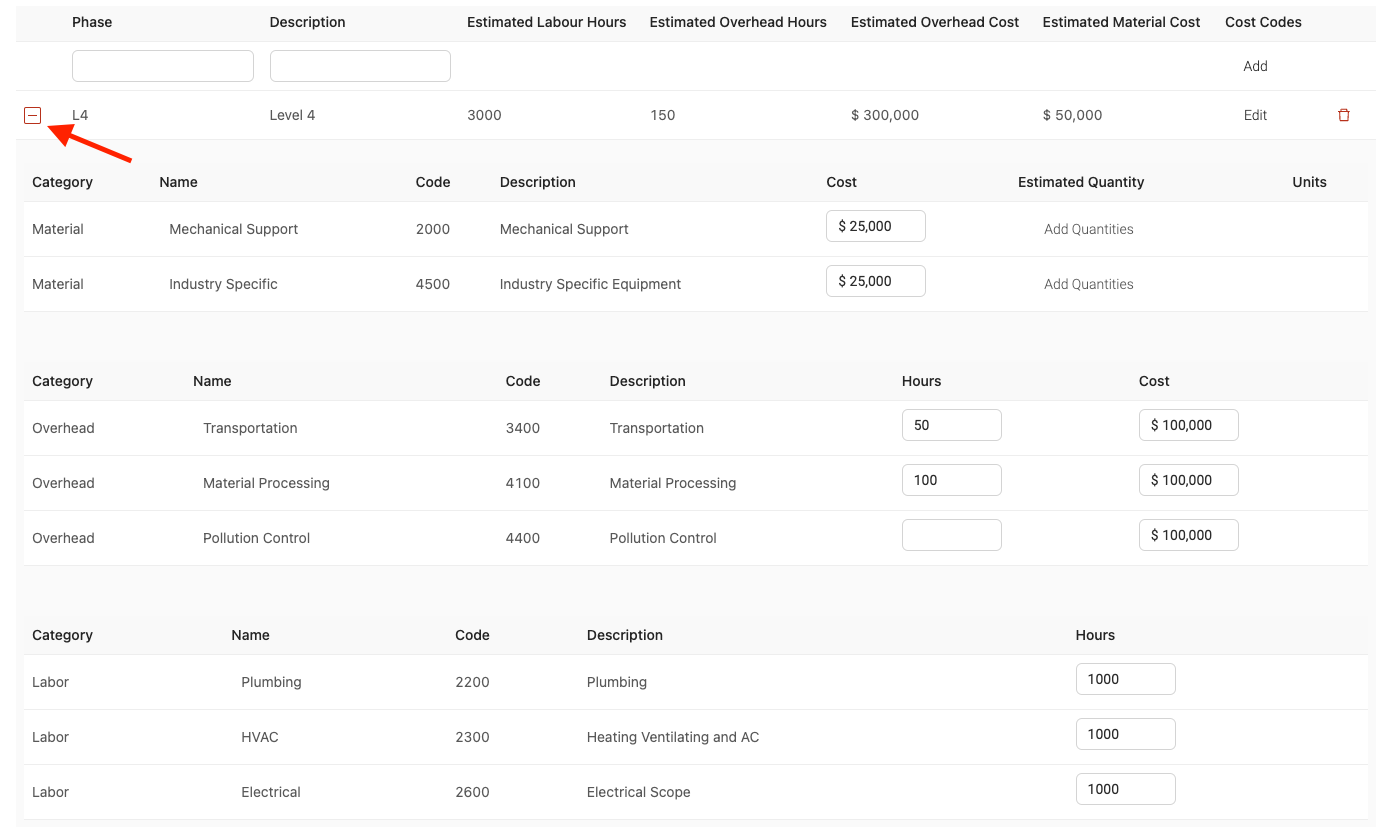
Once you've saved your phase, you can click the expand icon (plus icon) to the left of the phase name to see the full distribution of cost codes for the phase. Here, you can modify the estimates across all the cost categories to configure a more granular level of budget tracking across the project's various phases.
Importing budget tracking from a spreadsheet
Instead of creating the budget tracking system manually for the project, Ontraccr also allows you to create it by importing a spreadsheet file.
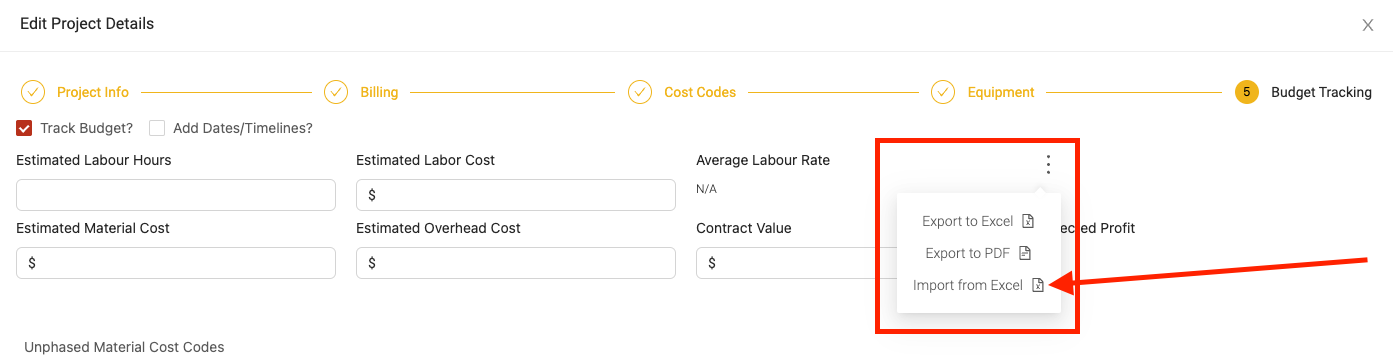
To import your budget from a spreadsheet, click the 'More' icon at the top of the budget tracking page. Click 'Import from Spreadsheet'.
This will open the import slider. When importing your budget tracking setup from a spreadsheet into Ontraccr, there's a specific format required in order for the import to work correctly. As an example, Ontraccr provides a template to show you how the spreadsheet file should be formatted, simply click 'Download' button to see the template.
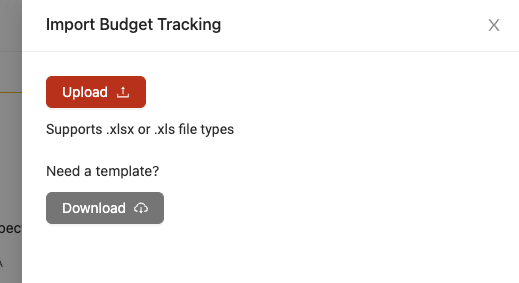
Once you're ready to import the file, click the 'Upload' button to get started.
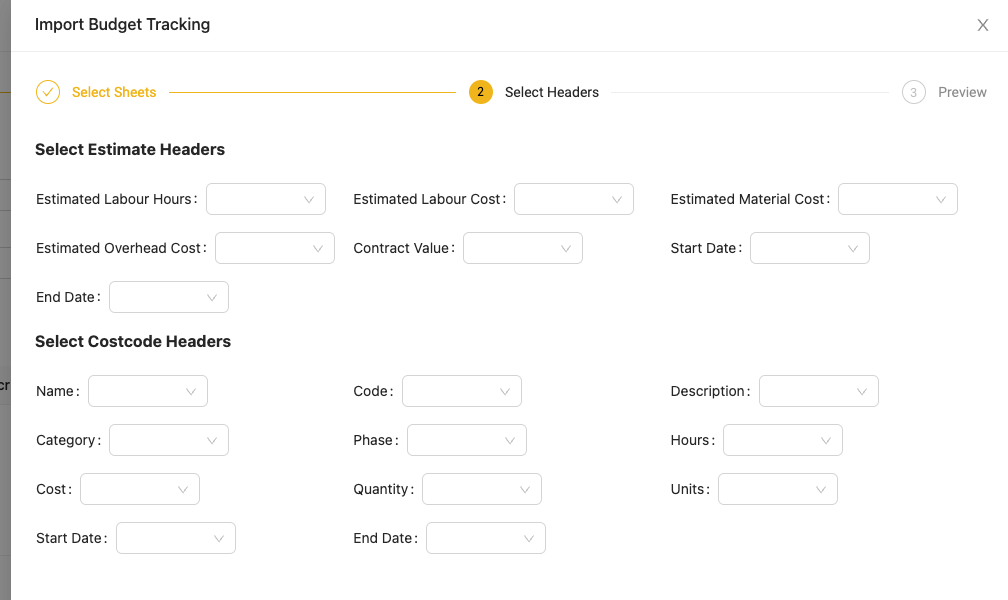
The first step is to pick the corresponding sheets of the spreadsheet file which will map to both the high-level estimates and the detailed cost codes of the budget tracking system. Once you've selected the sheets, click 'Next' to continue.

Next, map the columns in the spreadsheet to the required budget tracking fields in Ontraccr. Click 'Next' to continue.
The final step will show you a preview of how the budget tracking data will be imported into Ontraccr so you can make any necessary corrections or adjustments to the formatting. Once you're ready to import the data, simply click 'Submit' to begin the import.