Board workflow automations
You can also add several automations to your boards to save your team a ton of time and eliminate double entry across the Ontraccr platform.
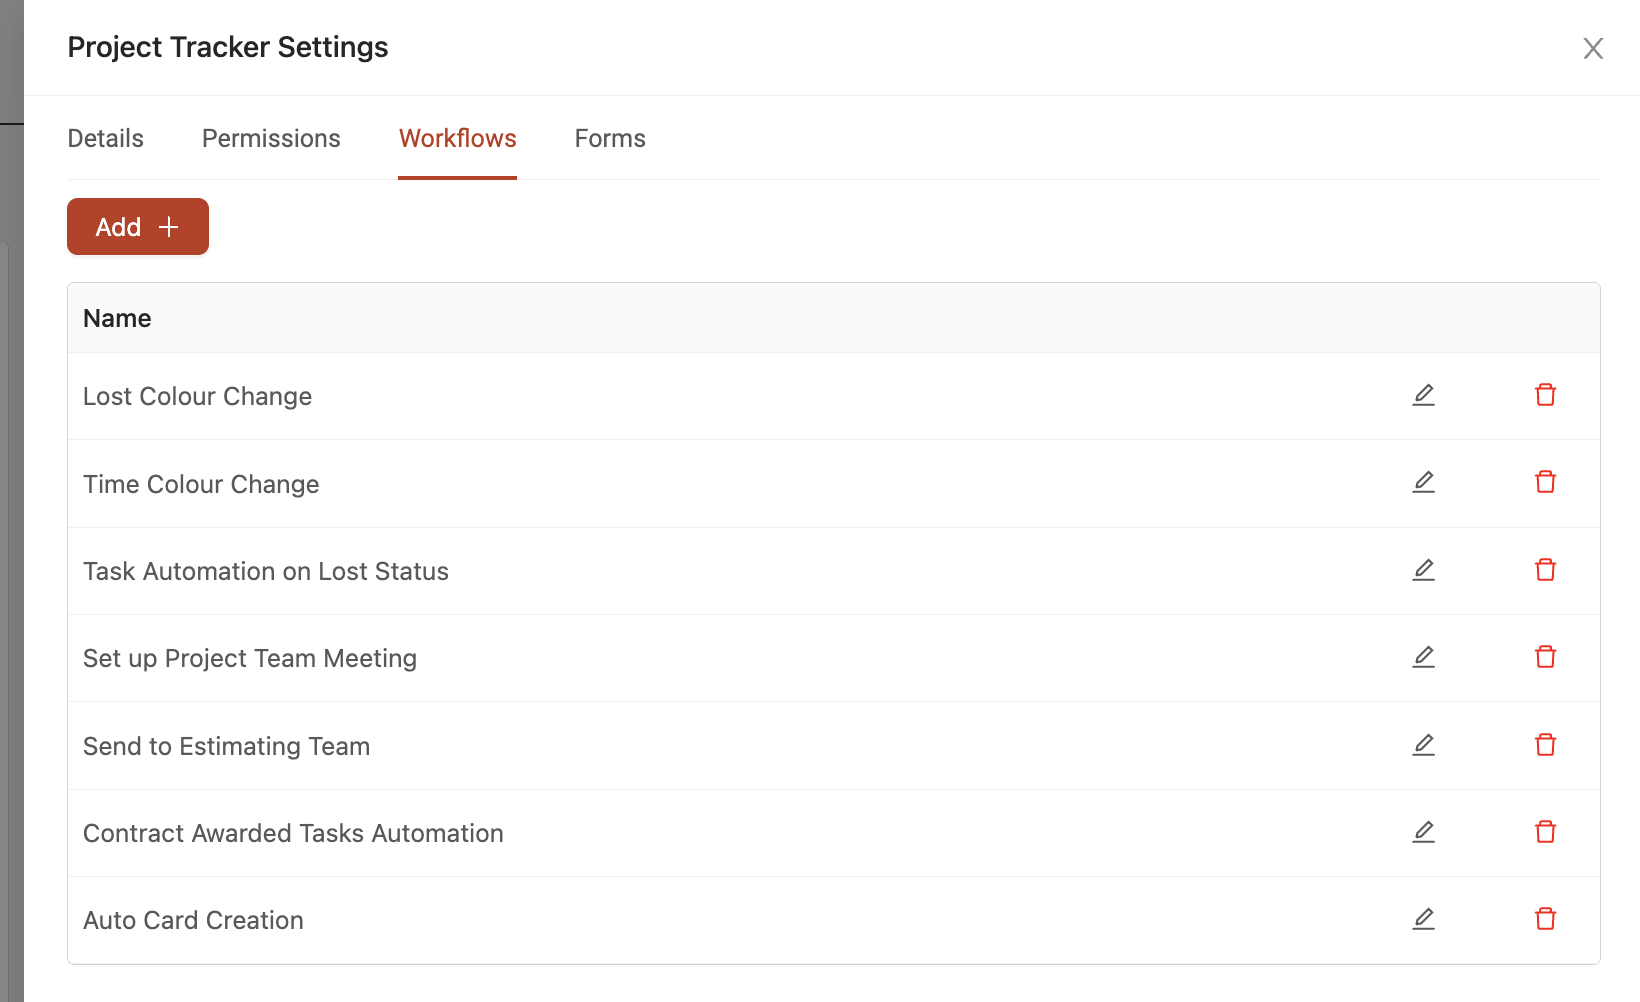
To create or modify any of your board's workflow automations, open the 'Workflows' tab in the board's 'Settings' slider. Click 'Add' to create a new workflow automation.
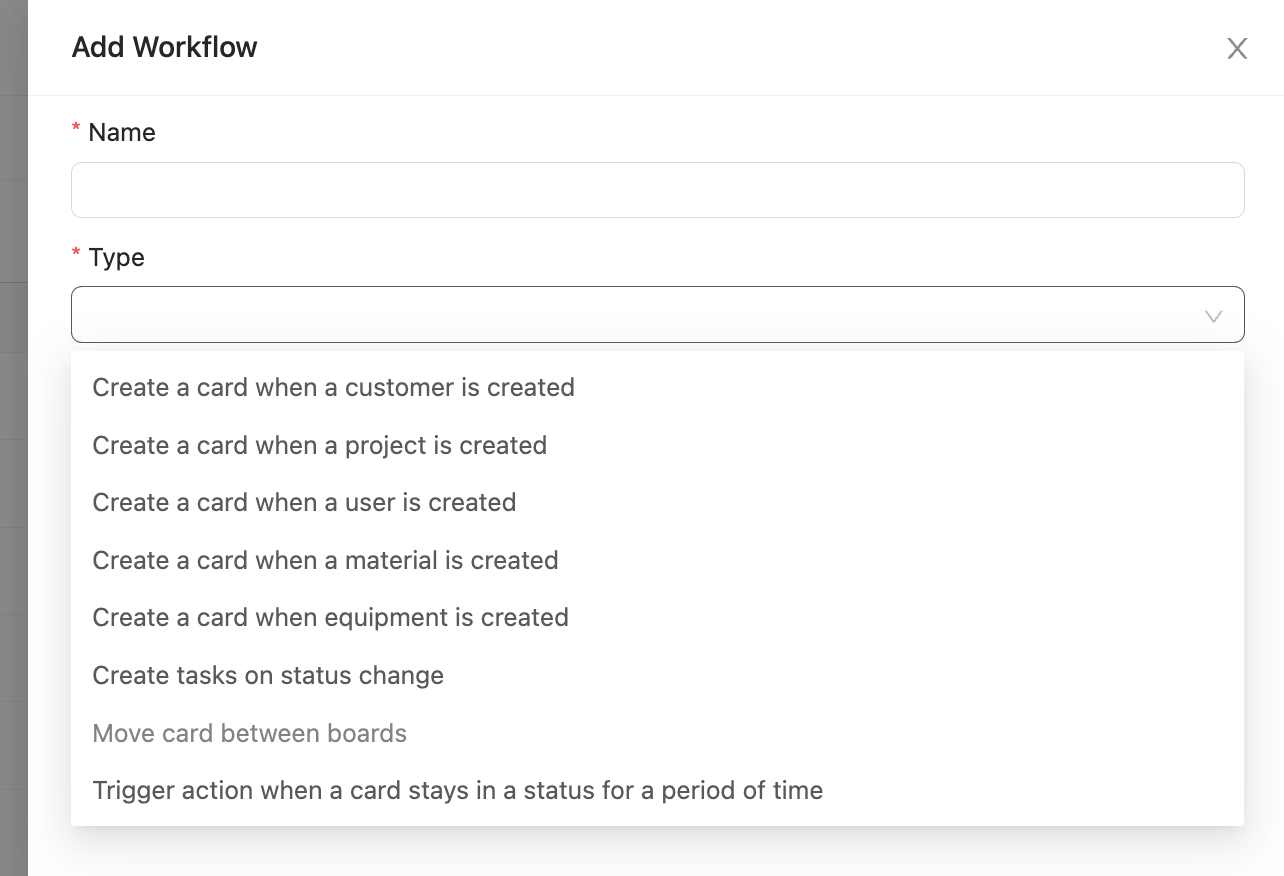
When creating a new workflow automation, give each workflow a name and select the 'Type' of workflow. In the rest of this article, we will walk through how to set up all the different board workflow types and how they work.
Create a card when a customer is created
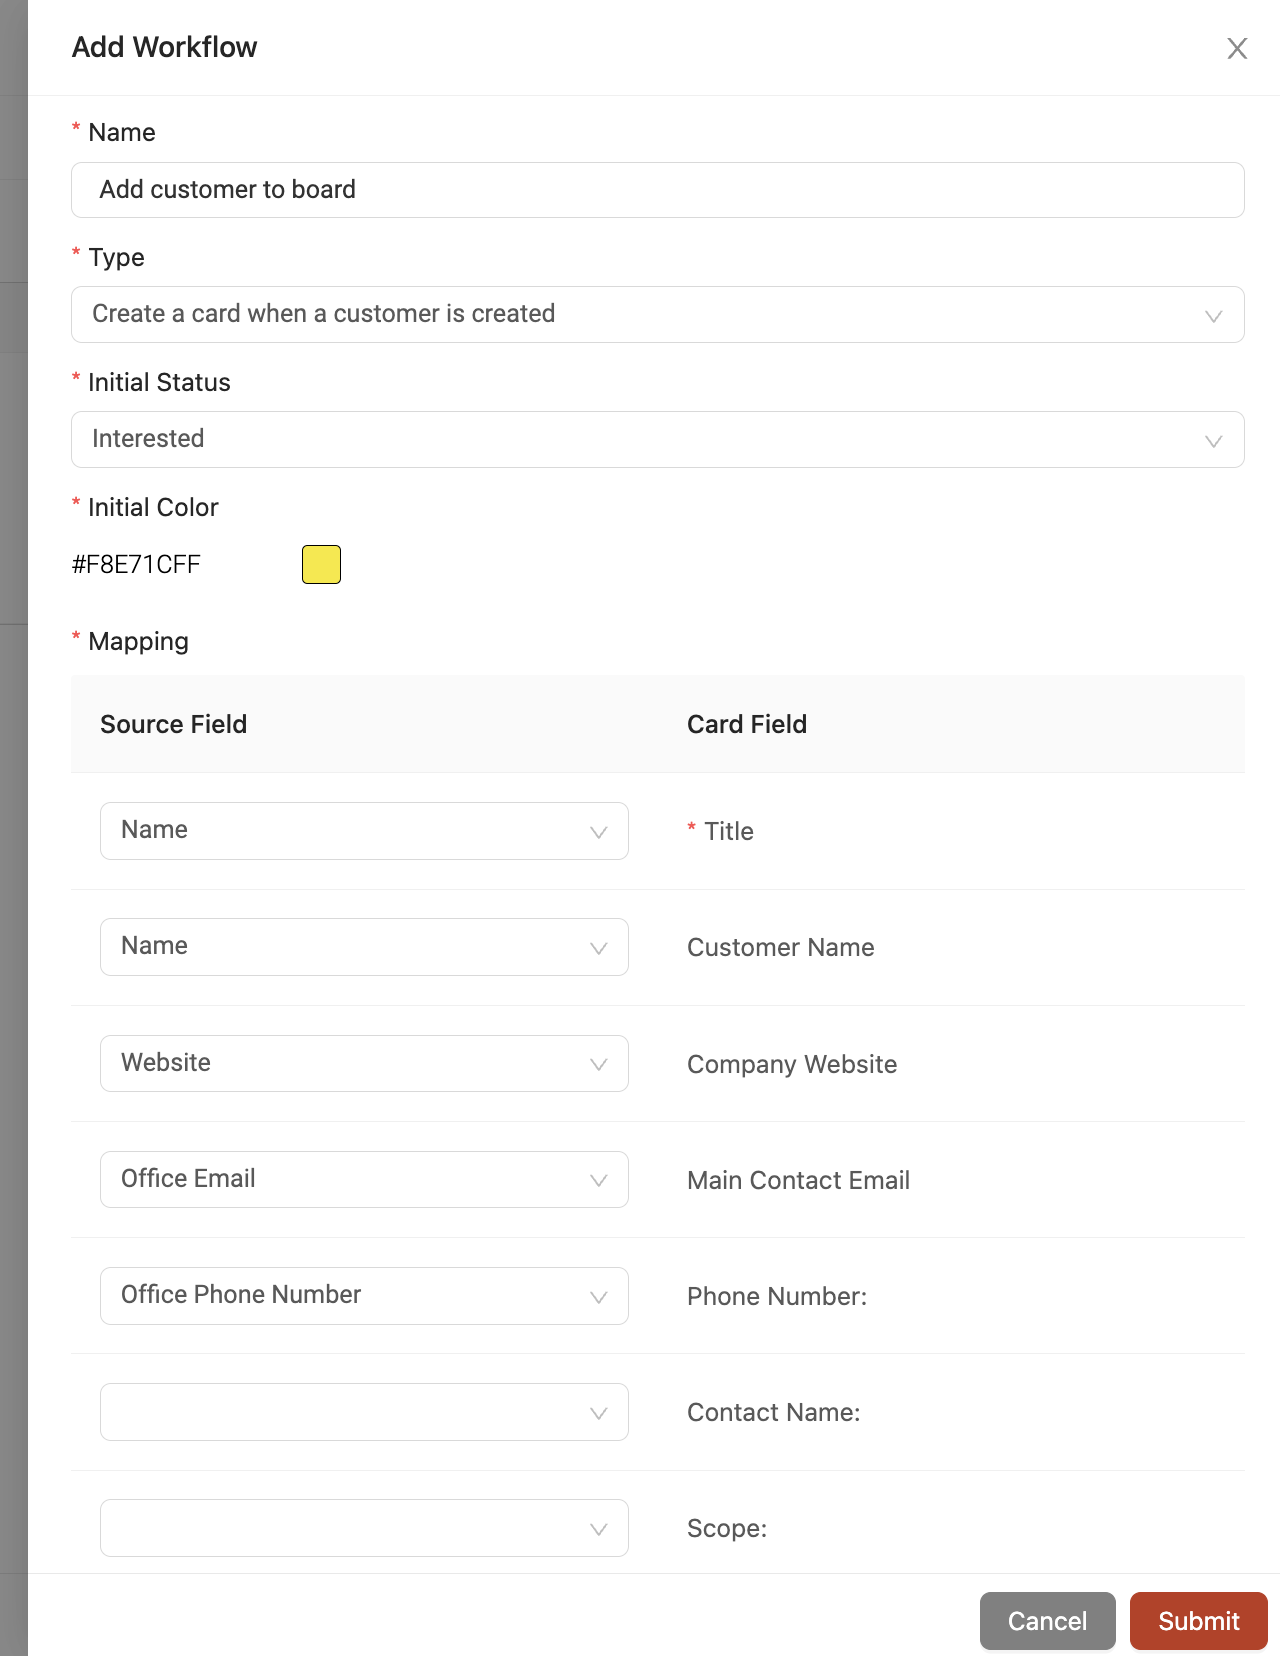
This workflow can add a card to your board automatically whenever a new customer profile is added to the 'Customers' page.
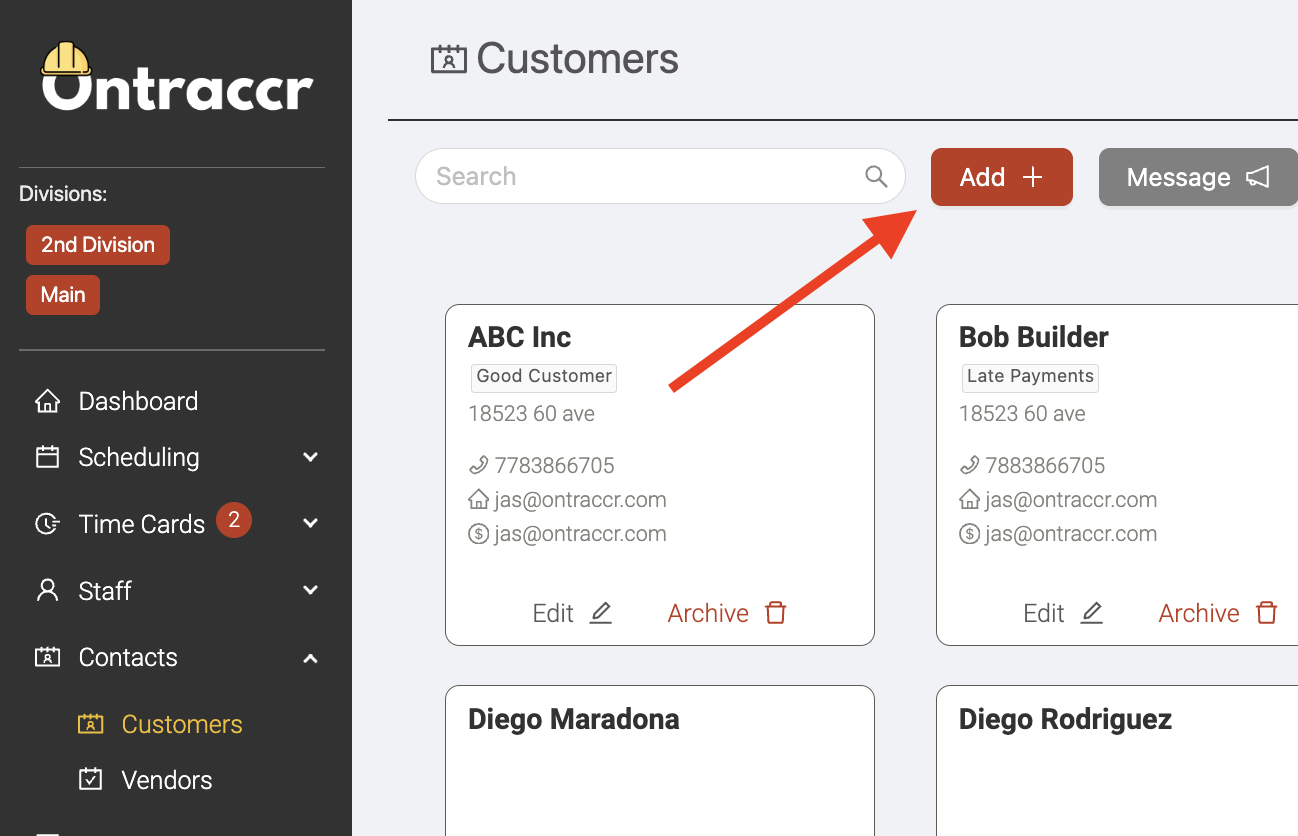
The 'Initial Status' field is where you can decide which status of the board that the card should be added to when it is automatically created. Choose from the available board statuses in this drop-down.
The 'Initial Color' field gives you the option to configure the color of the card when it is automatically added to the board.
Lastly, the 'Mapping' section lets you map information from the customer profile (the 'source' fields) into the fields of the board's card. This will automatically transfer the information from the customer profile into the card when it is automatically added to the board.
Create a card when a project is created
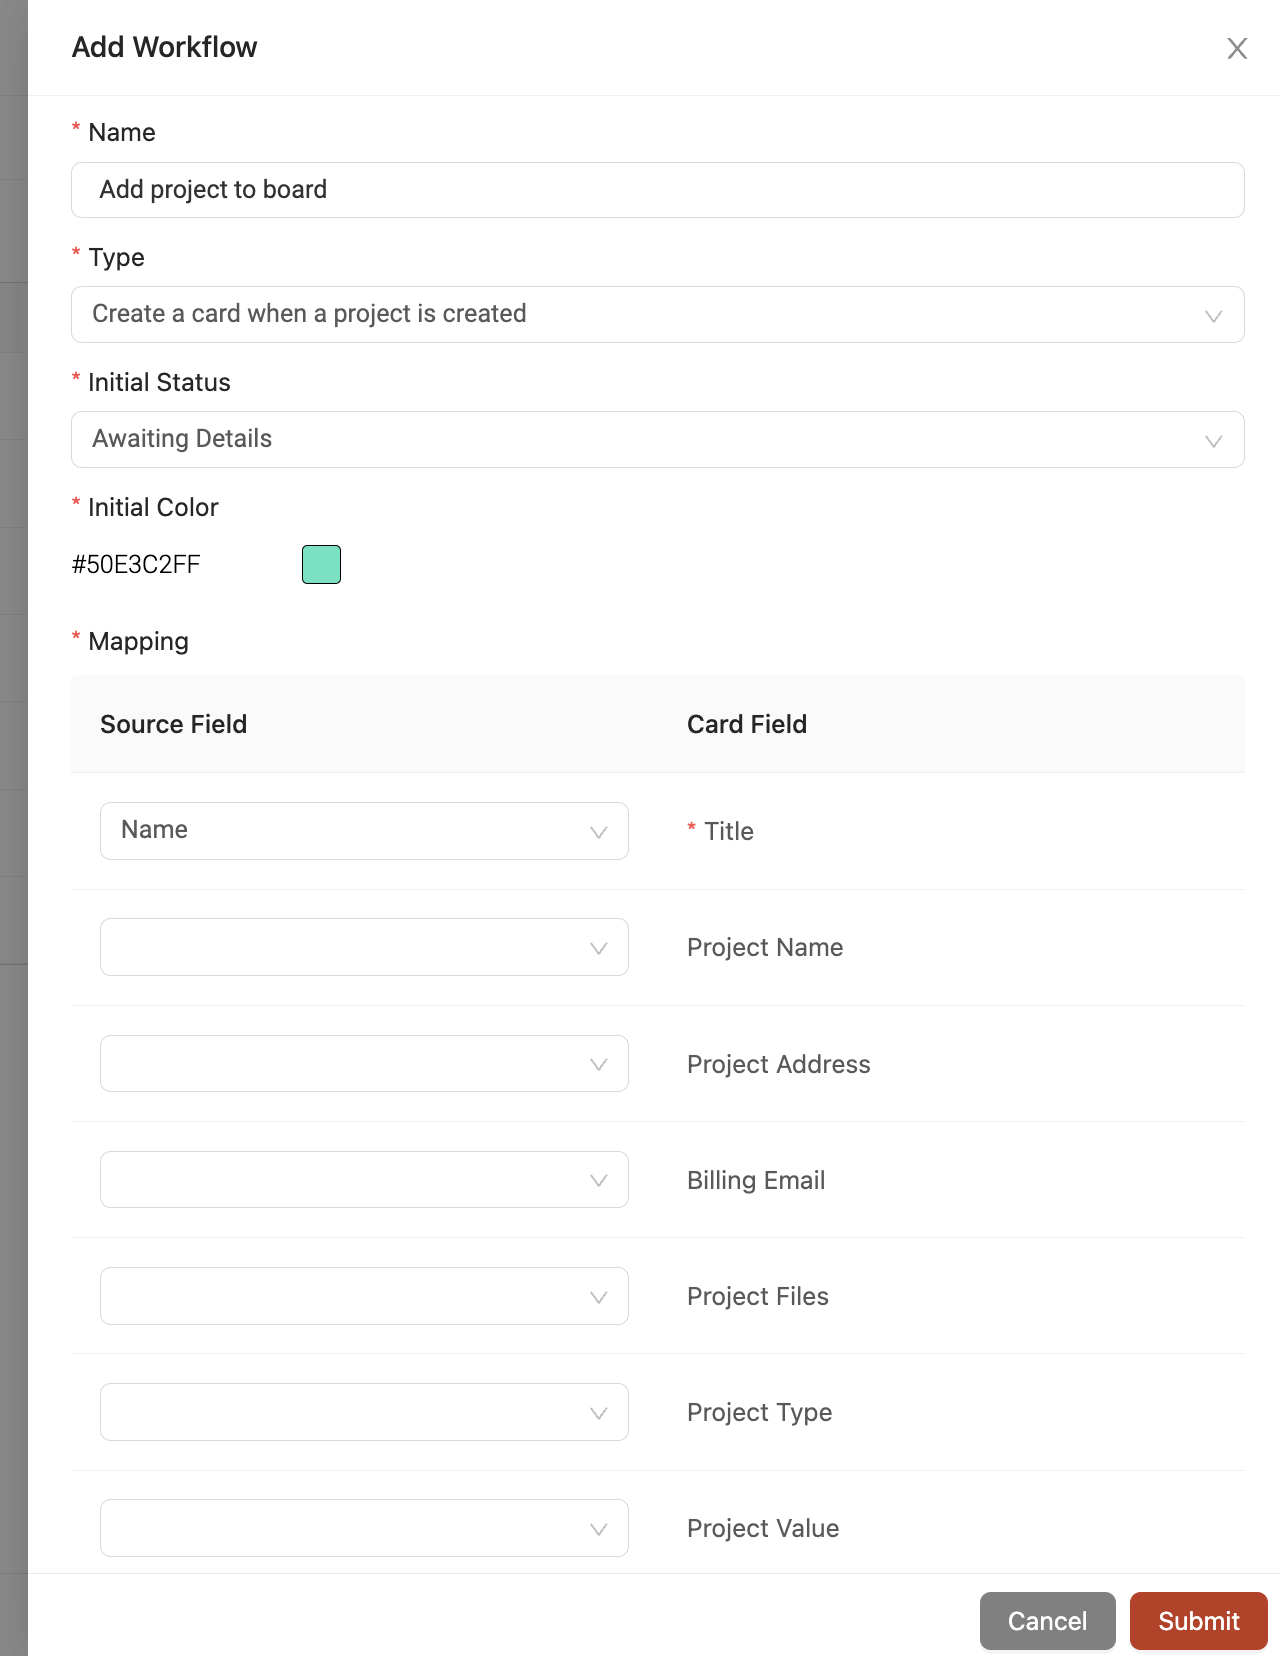
This workflow can add a card to your board automatically whenever a new project profile is added to the 'Projects' page.
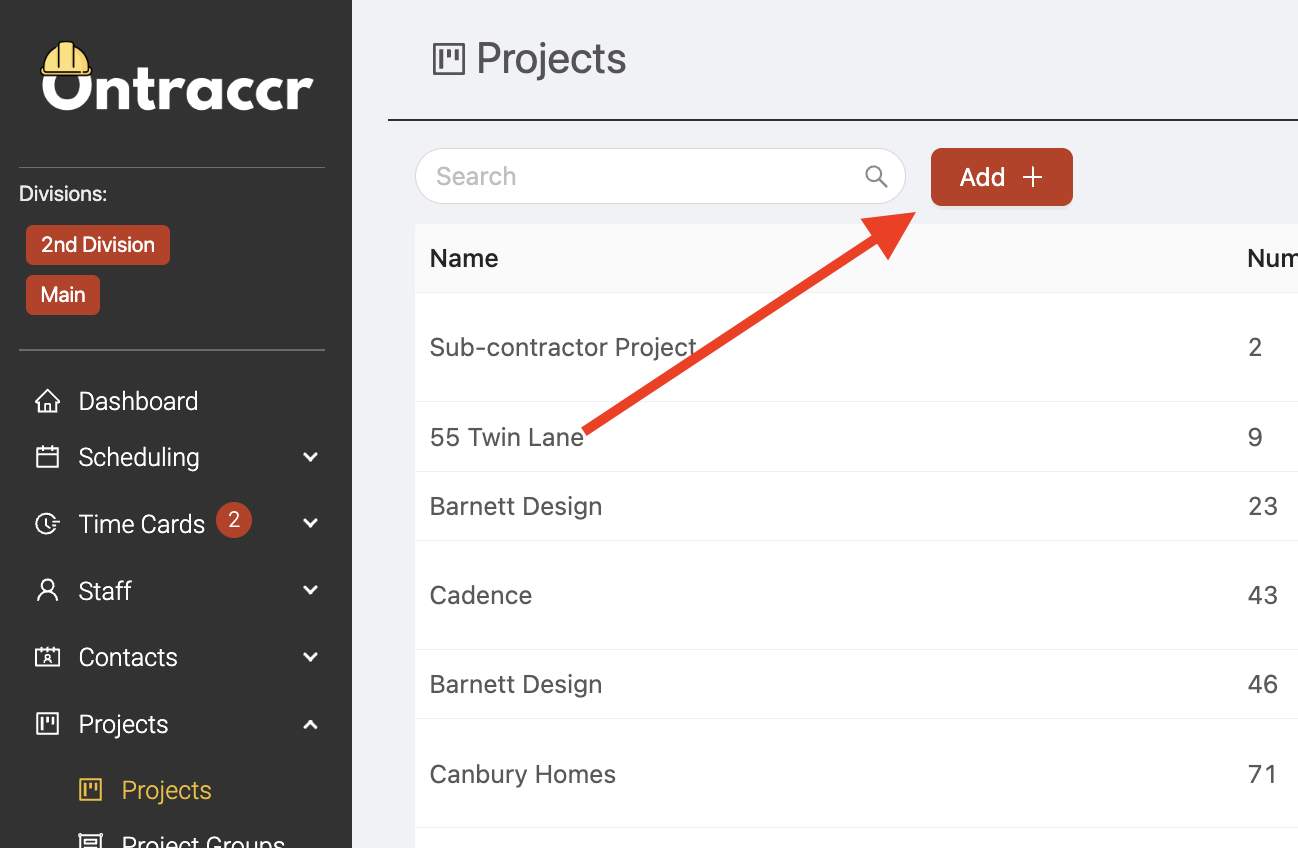
The 'Initial Status' field is where you can decide which status of the board that the card should be added to when it is automatically created. Choose from the available board statuses in this drop-down.
The 'Initial Color' field gives you the option to configure the color of the card when it is automatically added to the board.
Lastly, the 'Mapping' section lets you map information from the project profile (the 'source' fields) into the fields of the board's card. This will automatically transfer the information from the project profile into the card when it is automatically added to the board.
Create a card when a user is created
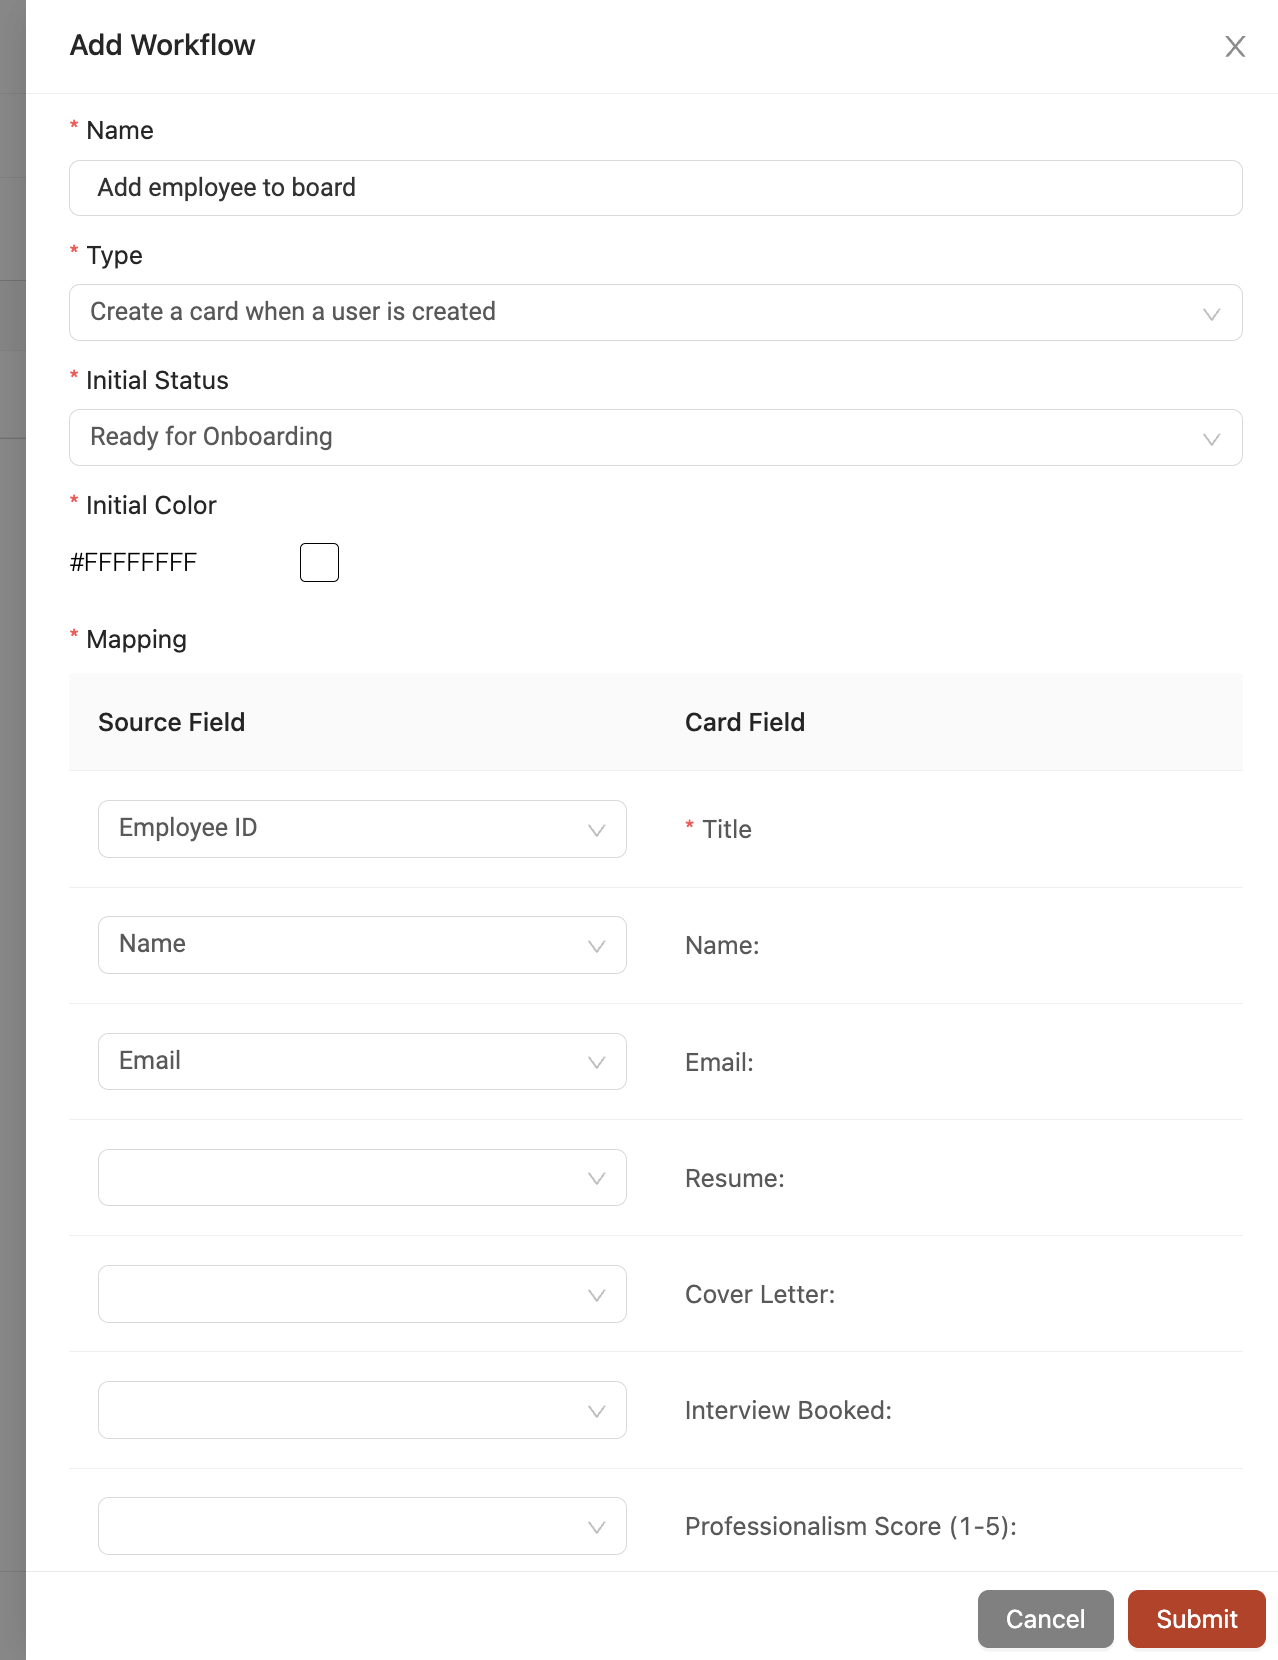
This workflow can add a card to your board automatically whenever a new user profile is added to the 'Manage Users' page.
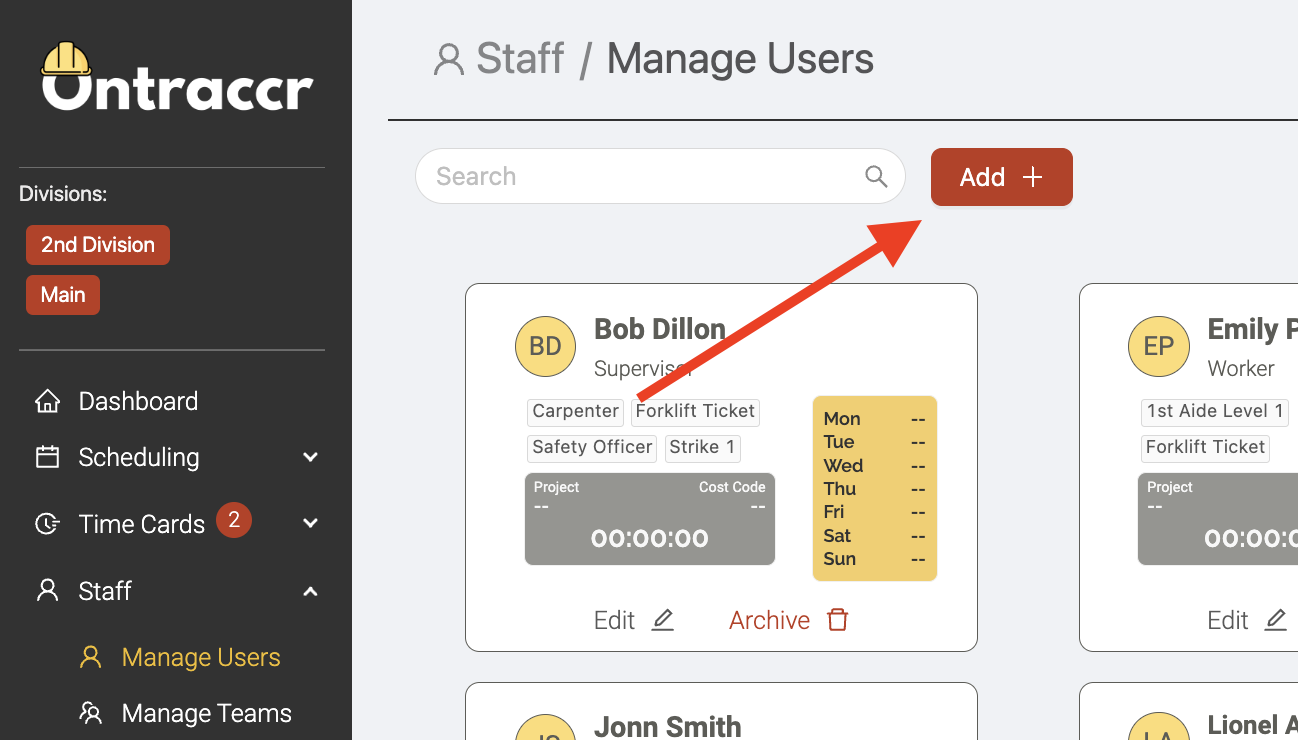
The 'Initial Status' field is where you can decide which status of the board that the card should be added to when it is automatically created. Choose from the available board statuses in this drop-down.
The 'Initial Color' field gives you the option to configure the color of the card when it is automatically added to the board.
Lastly, the 'Mapping' section lets you map information from the user profile (the 'source' fields) into the fields of the board's card. This will automatically transfer the information from the user profile into the card when it is automatically added to the board.
Create a card when a material is created
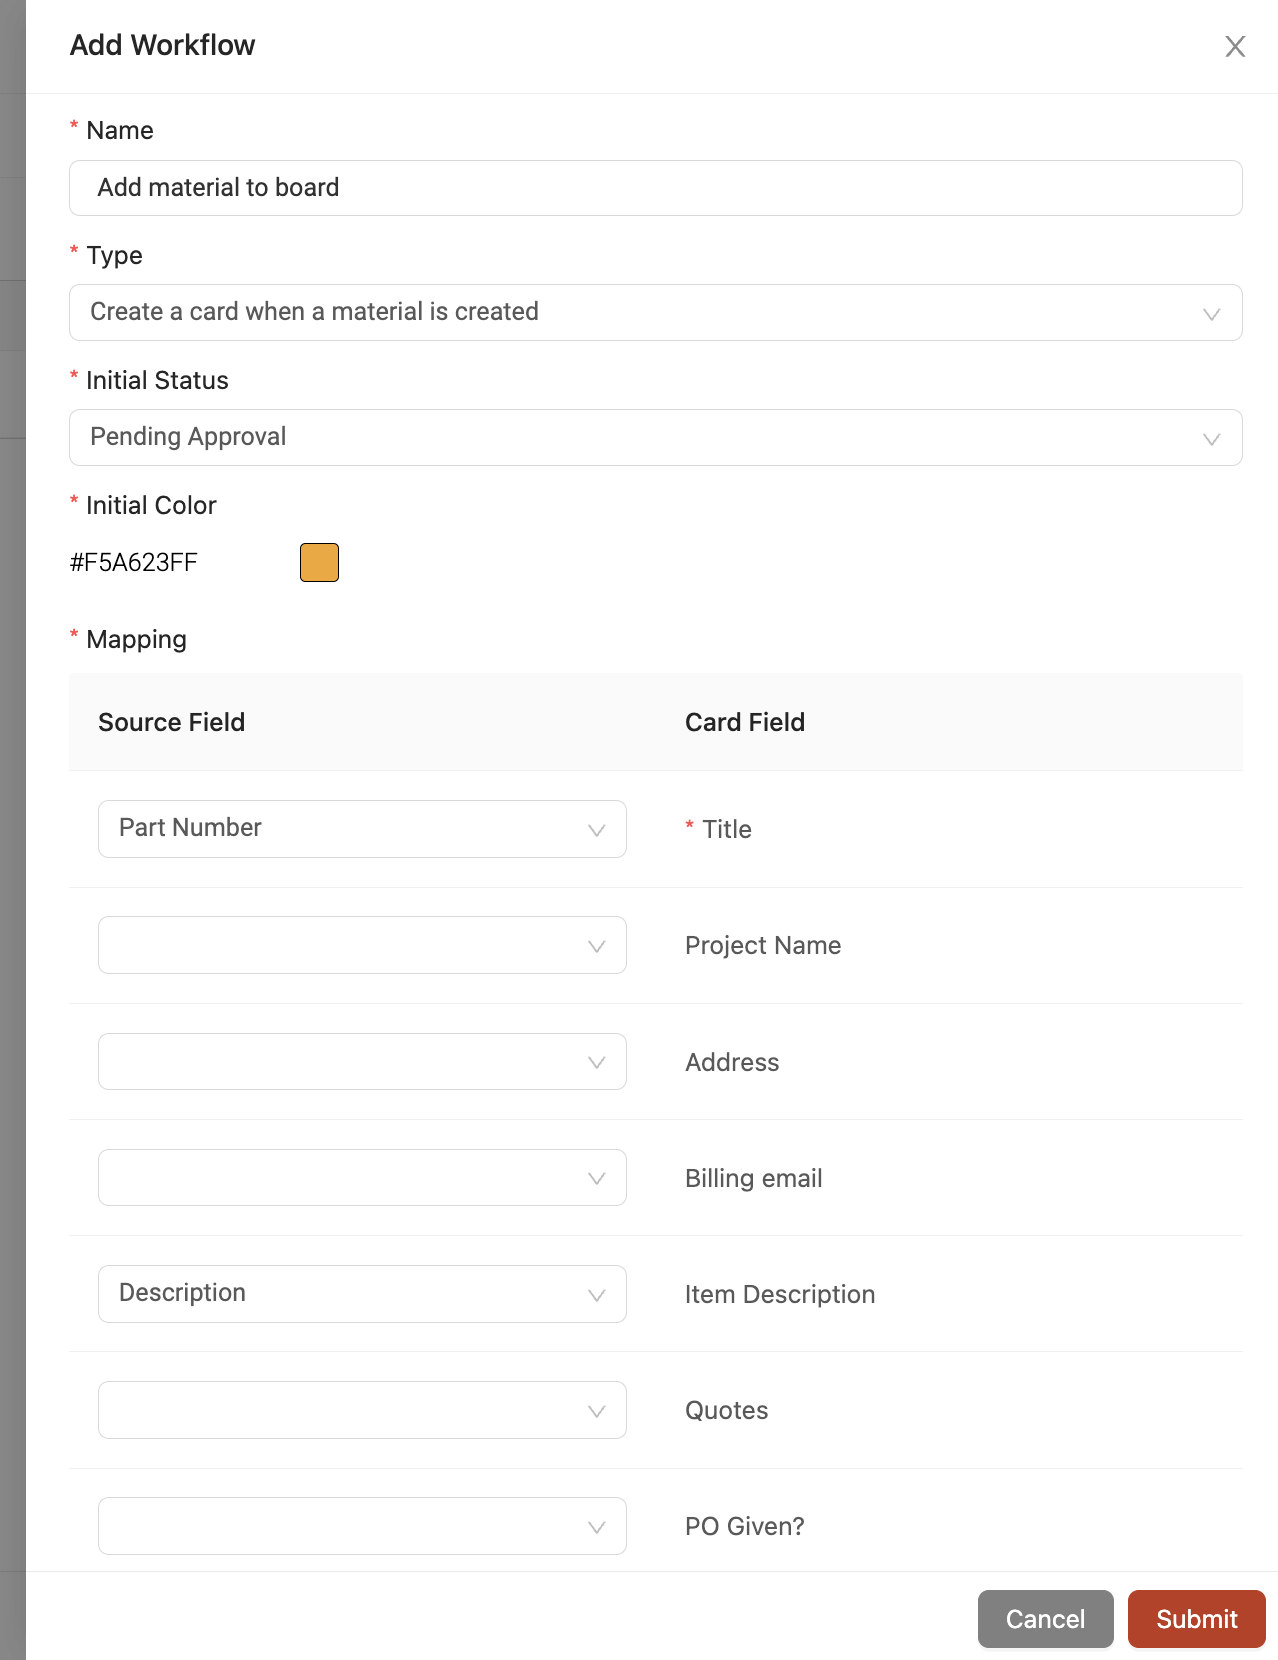
This workflow can add a card to your board automatically whenever a new material profile is added to the 'Materials' page.
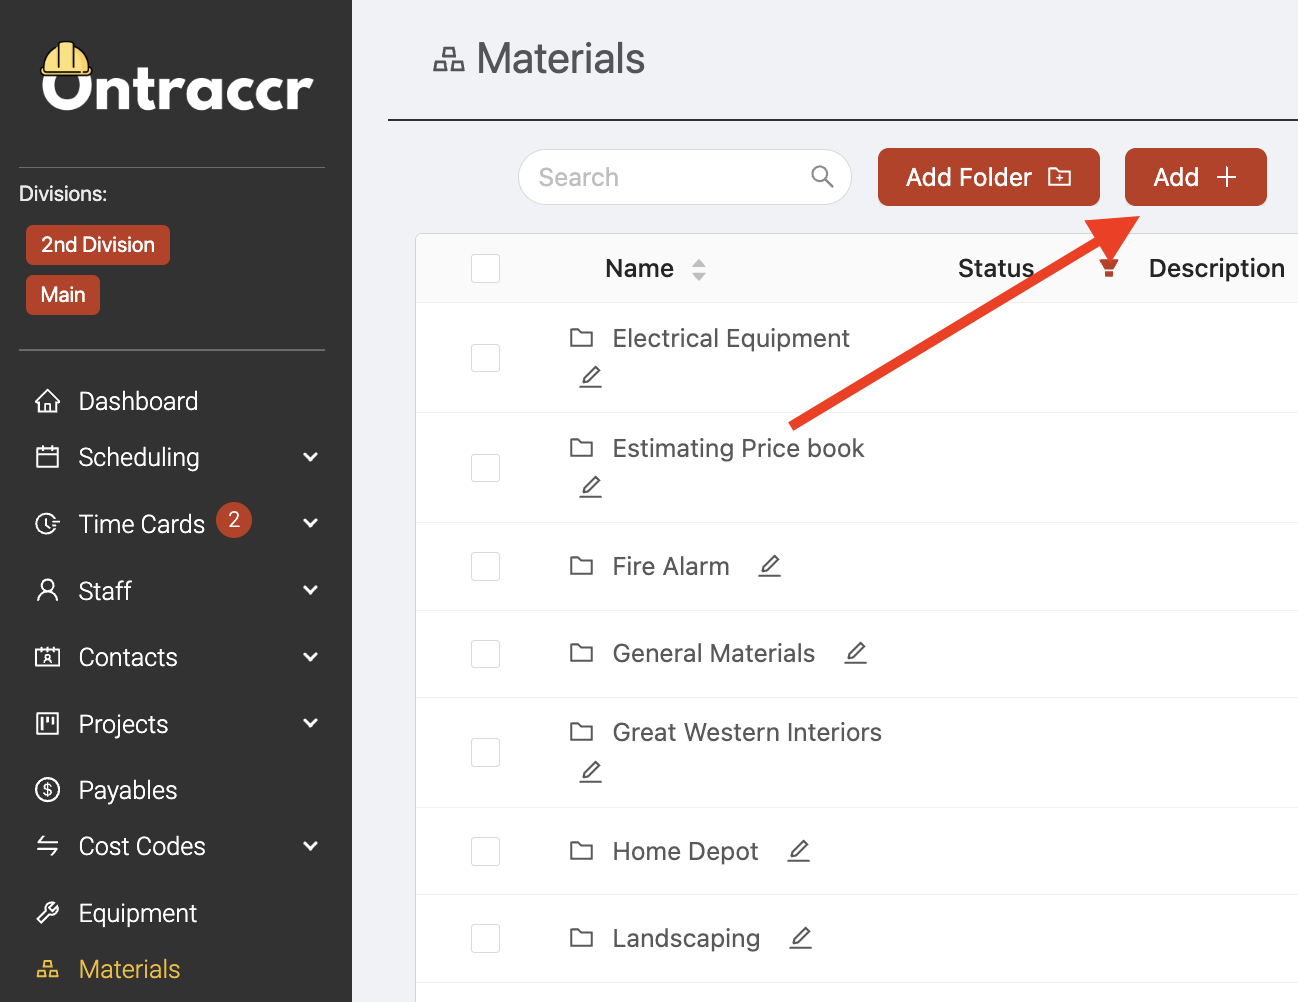
The 'Initial Status' field is where you can decide which status of the board that the card should be added to when it is automatically created. Choose from the available board statuses in this drop-down.
The 'Initial Color' field gives you the option to configure the color of the card when it is automatically added to the board.
Lastly, the 'Mapping' section lets you map information from the material profile (the 'source' fields) into the fields of the board's card. This will automatically transfer the information from the material profile into the card when it is automatically added to the board.
Create a card when equipment is created
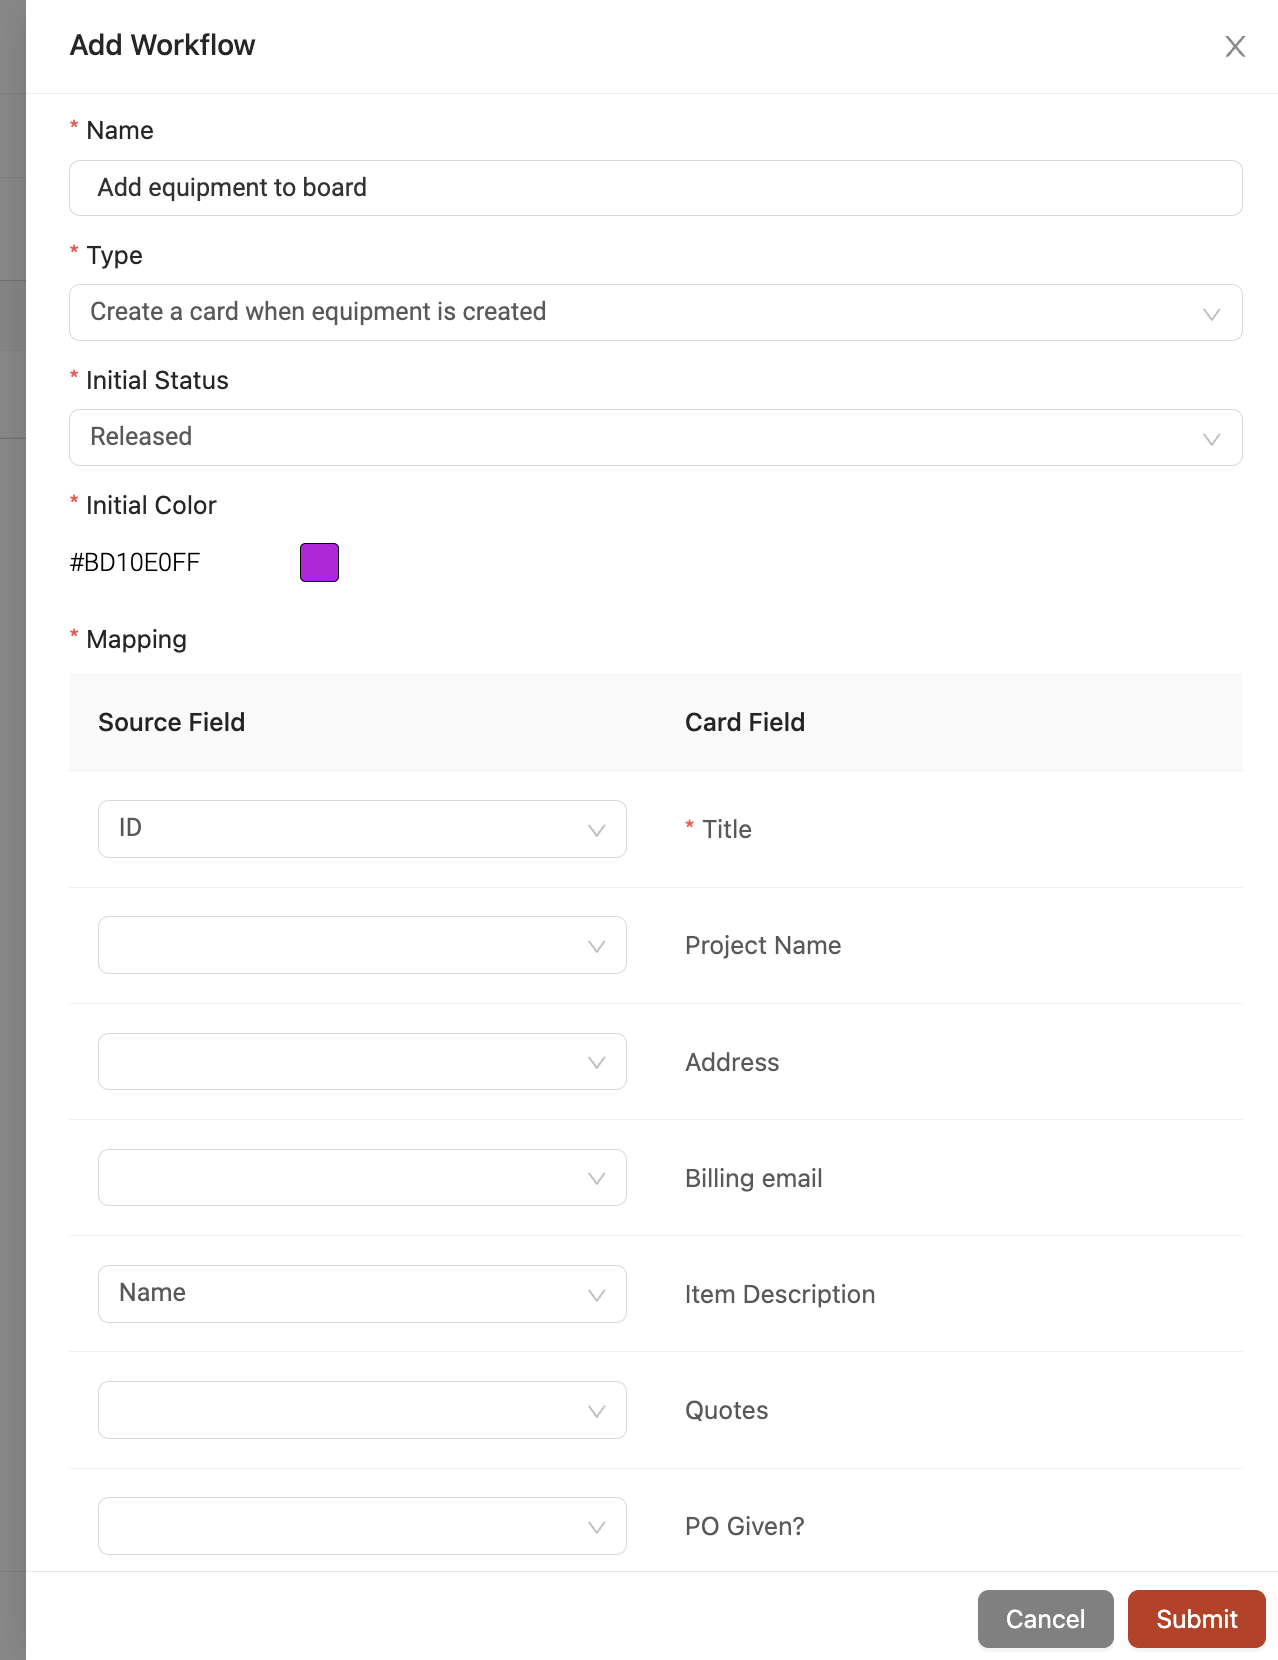
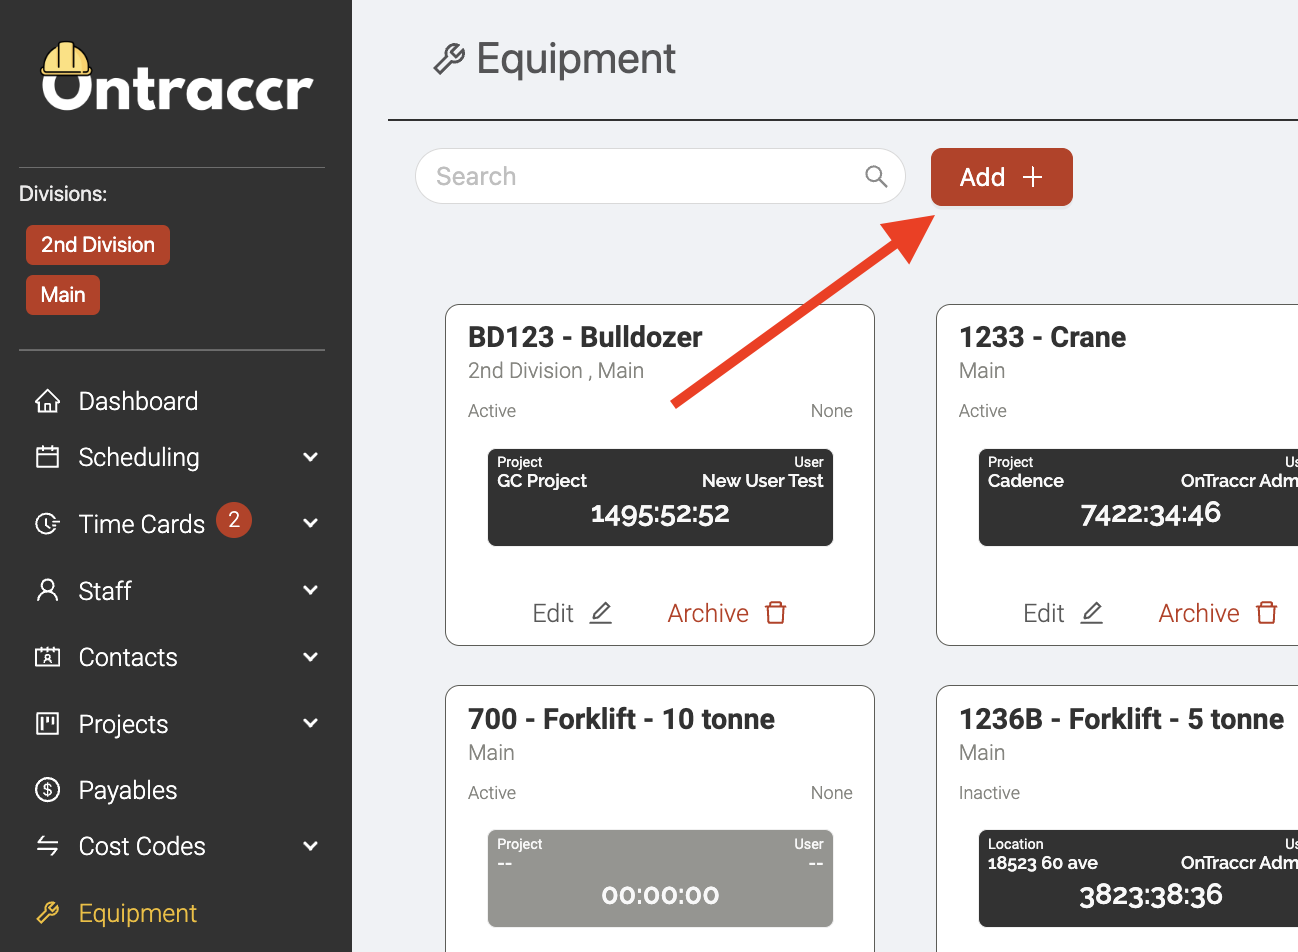
This workflow can add a card to your board automatically whenever a new equipment profile is added to the 'Equipment' page.
The 'Initial Status' field is where you can decide which status of the board that the card should be added to when it is automatically created. Choose from the available board statuses in this drop-down.
The 'Initial Color' field gives you the option to configure the color of the card when it is automatically added to the board.
Lastly, the 'Mapping' section lets you map information from the equipment profile (the 'source' fields) into the fields of the board's card. This will automatically transfer the information from the equipment profile into the card when it is automatically added to the board.
Create tasks on status change
This workflow can automatically create tasks for a card whenever the card is moved to a specific status in the board.
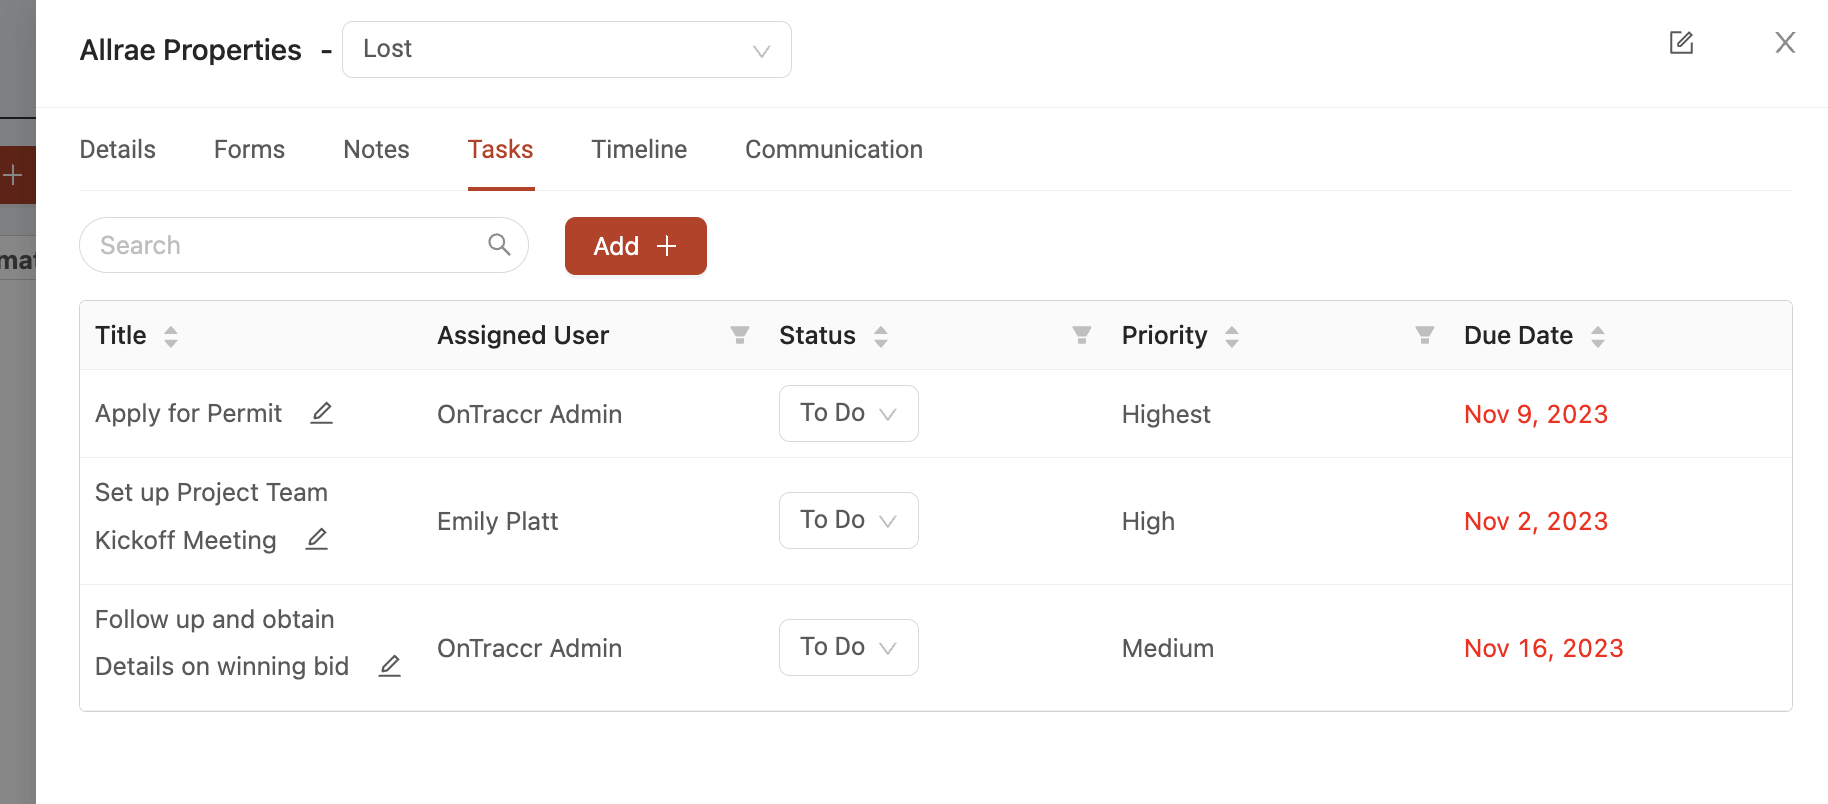
When configuring the workflow, choose the trigger ‘Status’, which means the tasks will be created in the card whenever it is moved into this specified status.
You can create brand new tasks within the workflow by clicking ‘Add’ or you can also import from your task templates by clicking ‘Import from Template’.
Move card between boards
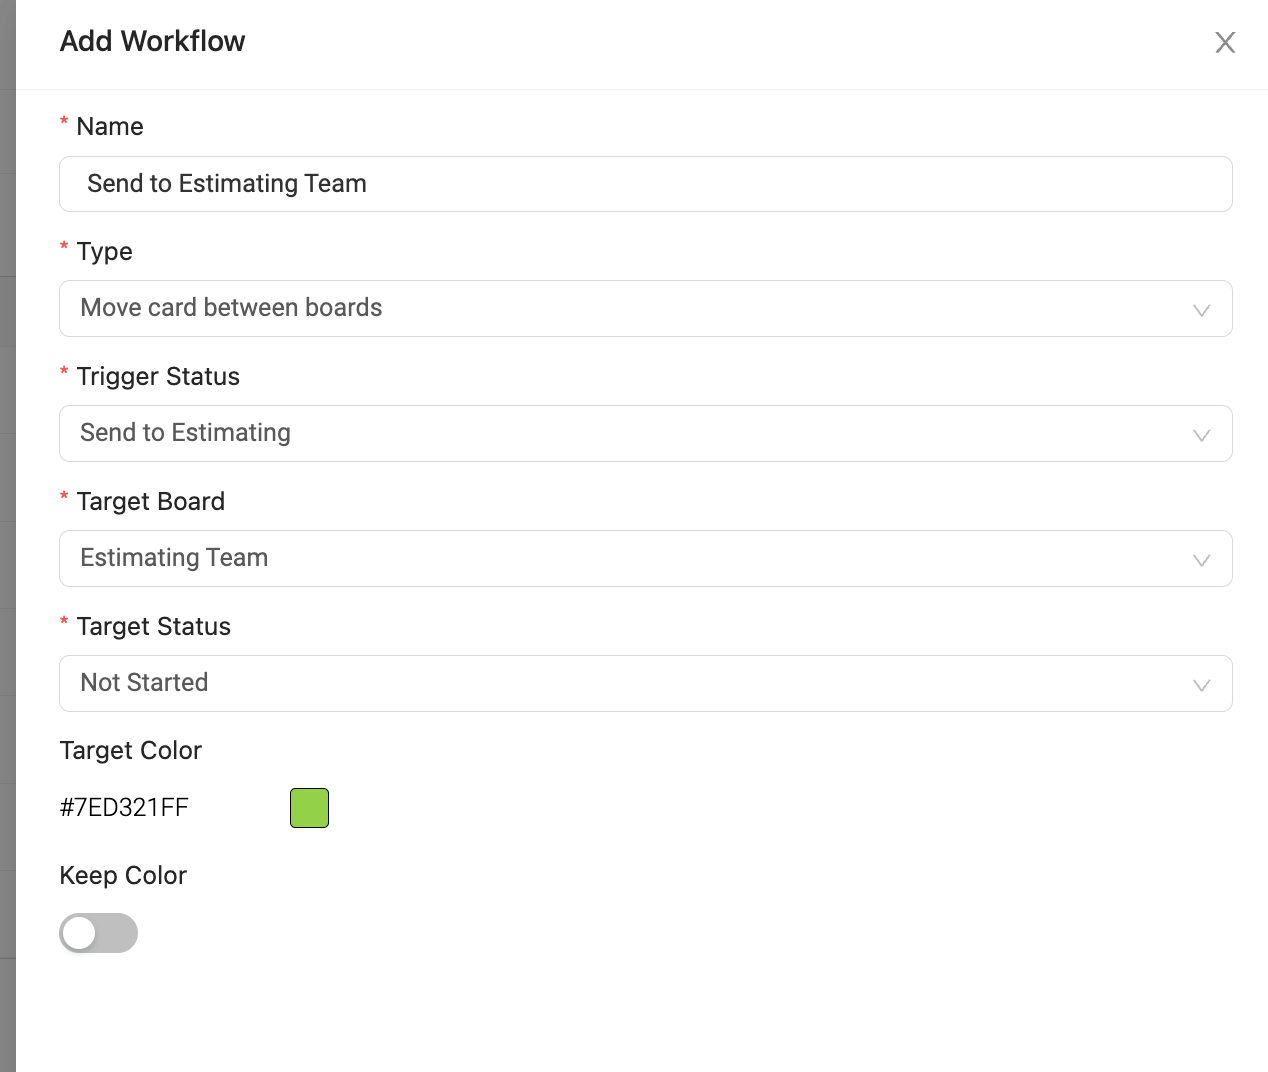
This workflow will move a card from a board into another board once the card moves into a specific status. When the card is moved into the trigger status, it will disappear from the first board and move into the target status of the next board.
NOTE: This workflow can only move cards between two boards that use the same card type/design. You can't move a card between two boards that use different card designs.
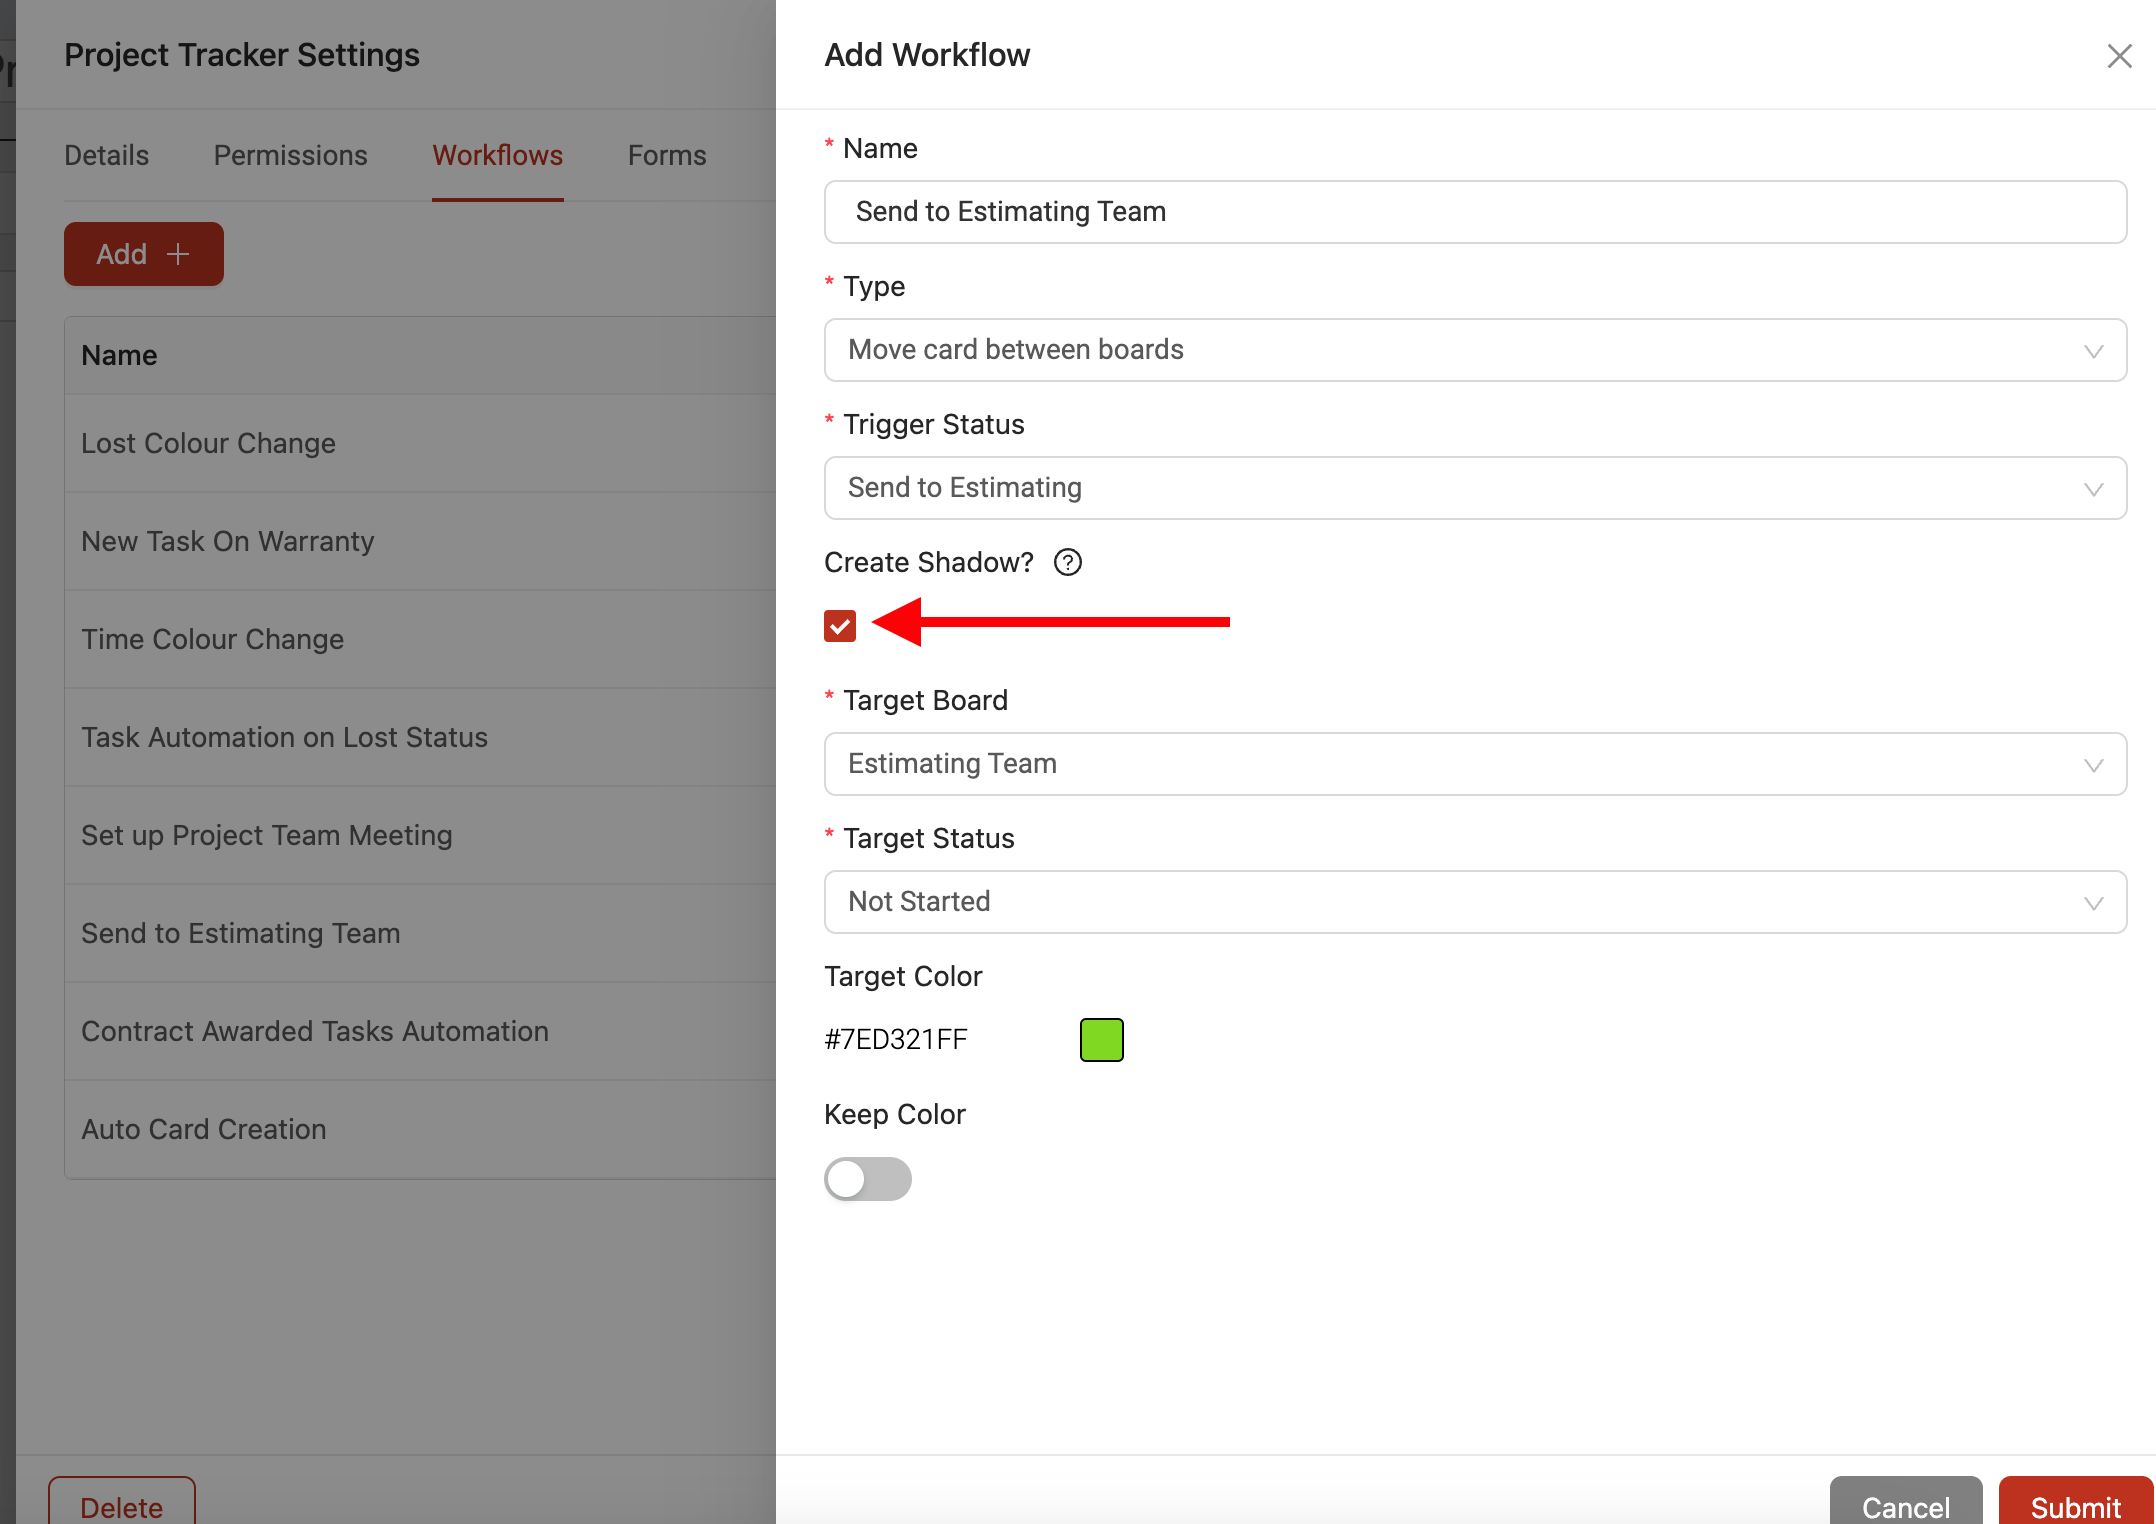
Configure the 'Trigger Status', which is the status that triggers the workflow in the board. In other words, which status do you want to move the card to the next board?
Next, configure the 'Target Board' where the card should be sent to and select the 'Target Status' in the target board where you want the card to end up after it’s transferred.
The 'Target Color' field gives you the option to configure the color of the card when it is automatically transferred into the target board. Alternatively, you can also choose to keep the color of the card the same when it transfers between the boards by enabling the 'Keep Color' toggle.
With this workflow automation, you can also enable a feature called card 'shadows'. If a board workflow moves a card into another board, the card shadow feature can keep a copy of the card in the original board while showing you where the card currently is in the other board.
For example, if you use a high-level tracking board that sends cards to other boards throughout the workflow, you can use card shadows to keep an eye on the card in the high-level tracking board while it's in any other board along the way.
Whenever you see a card shadow in a board, you cannot move the card shadow to a different status until the 'active' card returns back to the original board or unless you're viewing the 'active card' in the other board. Once the active card returns to the original board, the shadow will disappear and you will be able to move the card in the original board again.
To use card shadows in your workflow, simply enable the 'Create Shadow' checkbox on the workflow to activate the feature.
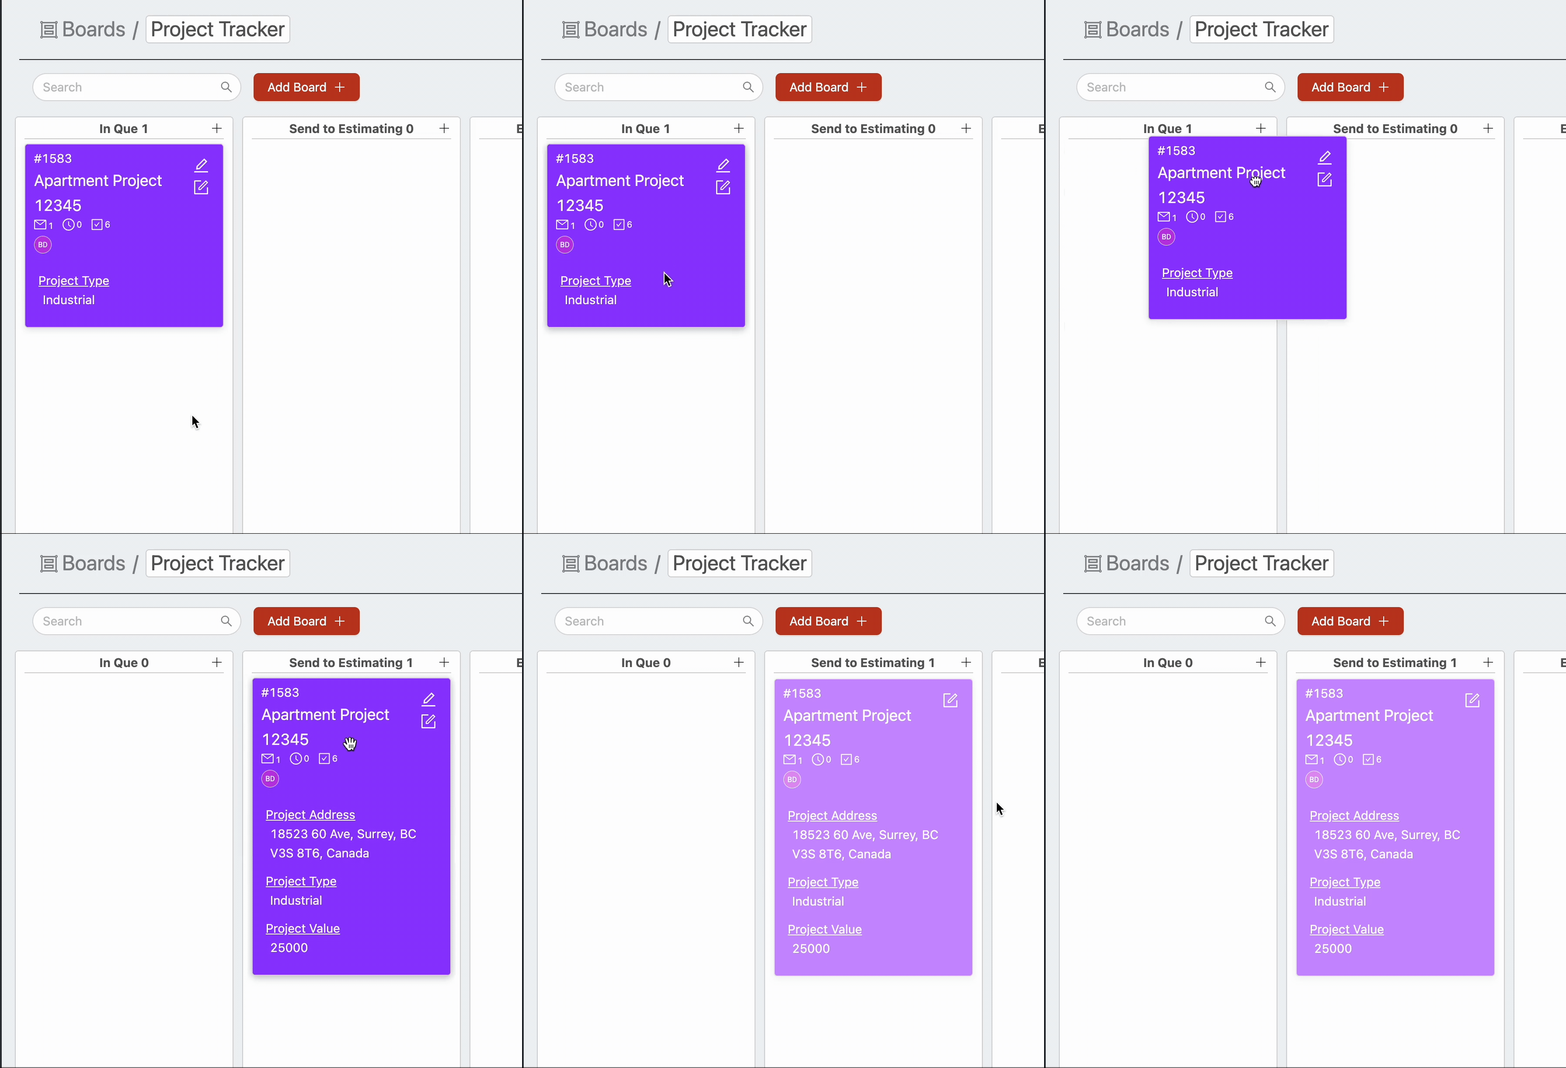
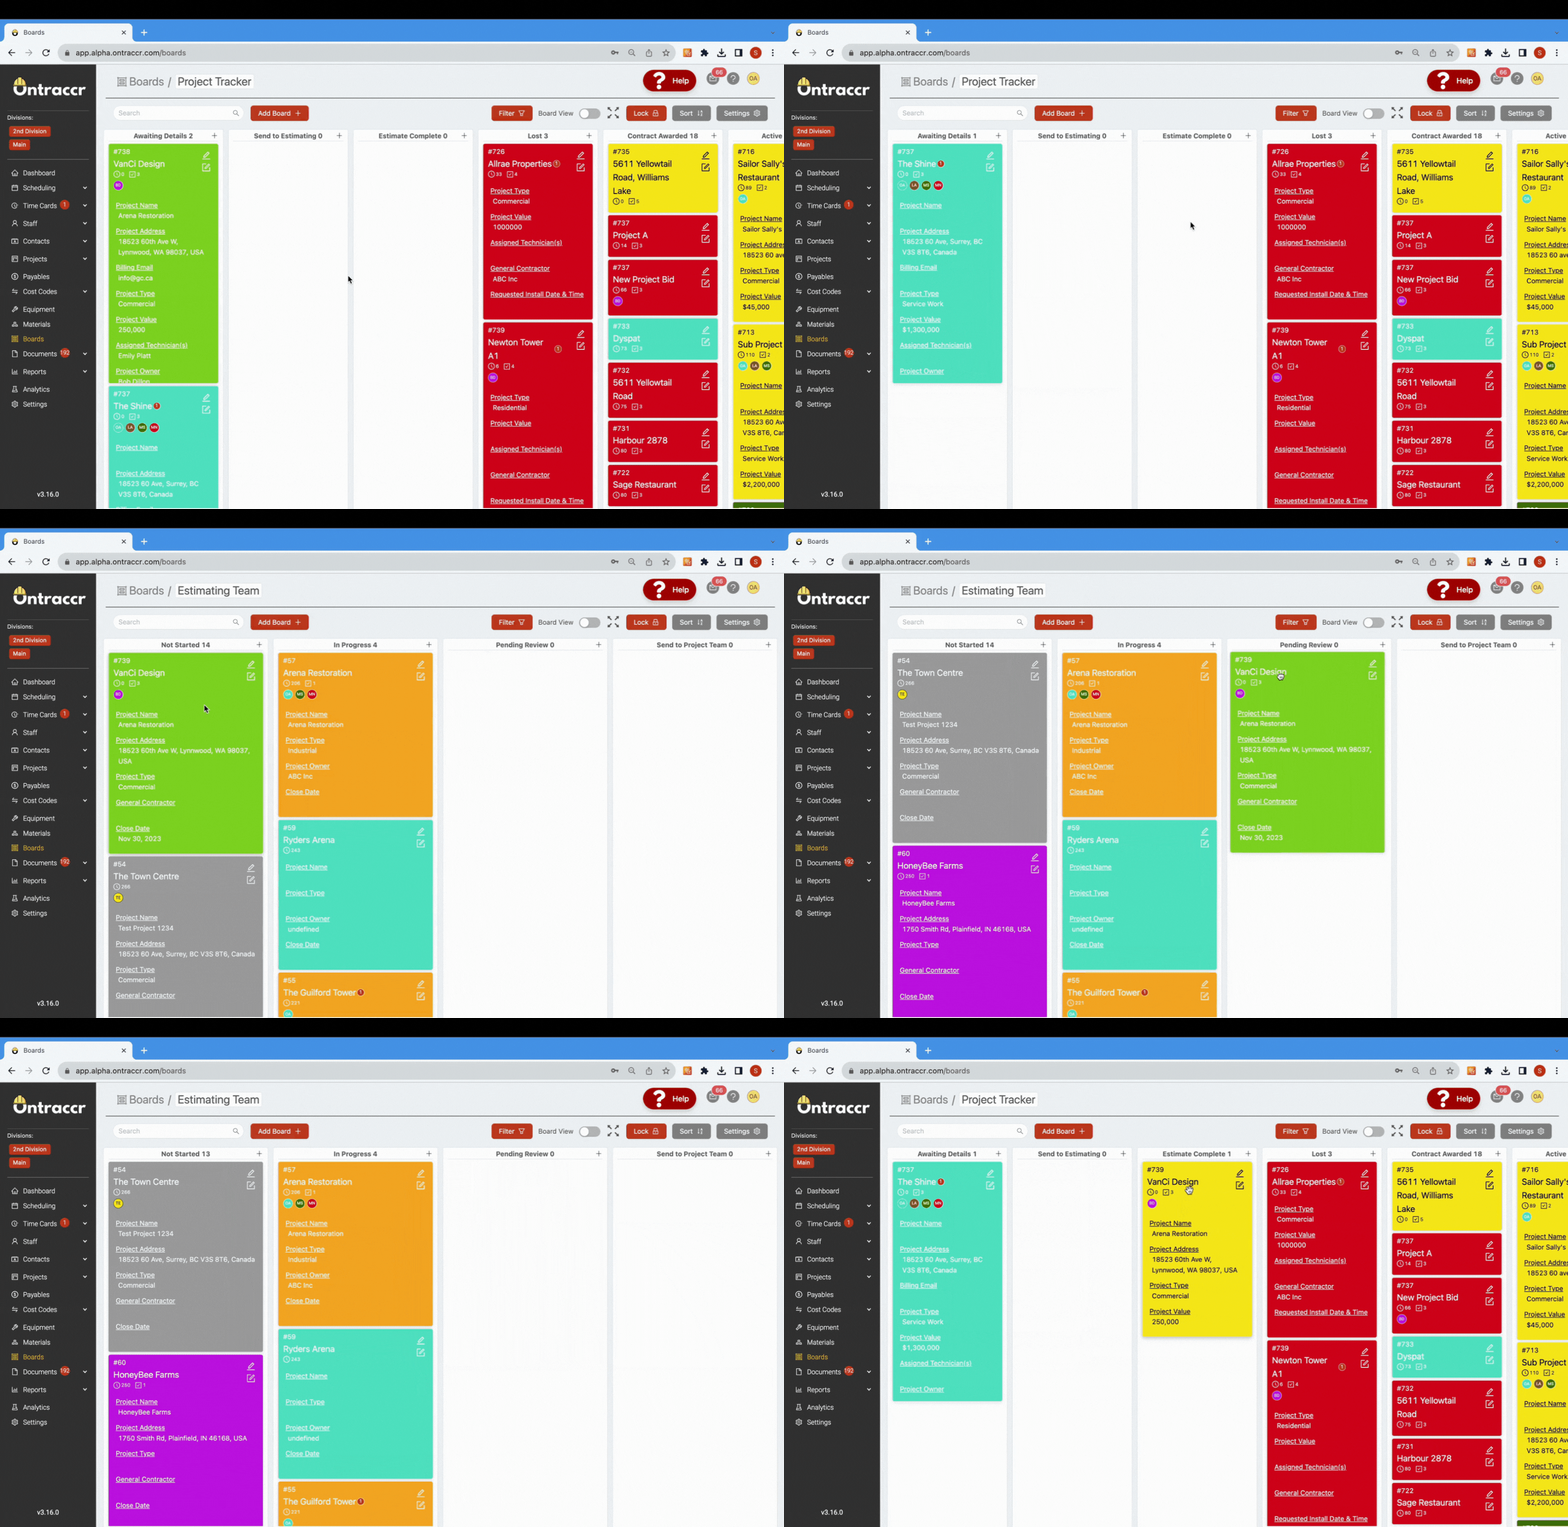
Once card shadows are enabled, the card will instantly transition to a shadow as soon as it's moved into the configured status for the workflow, as seen below.
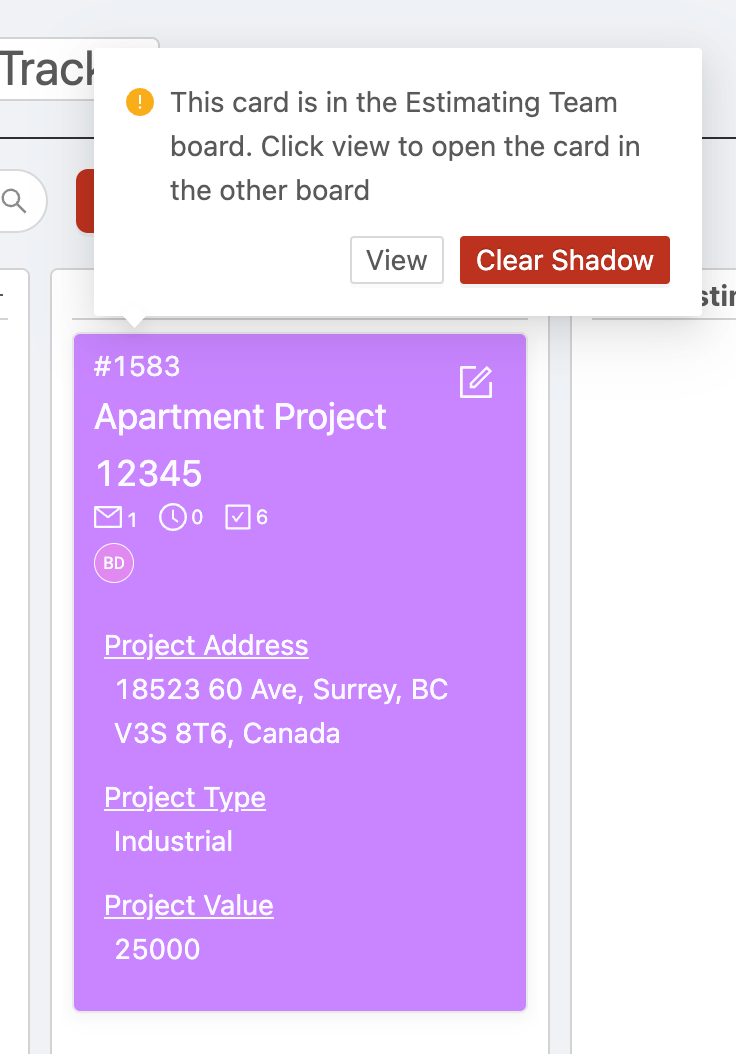
While the card is in a shadow state, you can hover over the card to see exactly which board the active card is currently in. You can also click 'View' to be taken directly to the active card in the other board (if you have permission to view the other board) or you can click 'Clear Shadow' to remove the shadow from the board. Clearing a shadow will not delete the active card in the other board but will simply remove the shadow from the original board.
Trigger action when a card stays in a status for a period of time
This workflow can trigger automated actions whenever a card has been sitting in a specific status for a certain amount of time.
Three automated actions are available:
- Send an email
- This will send an email to configured users after X minutes/hours/days of the card sitting in a status.
- Create a task
- This will automatically create and assign a task for the card after X minutes/hours/days of the card sitting in a status.
- Change card color
- This will change the color of the card after X minutes/hours/days of the card sitting in a status.
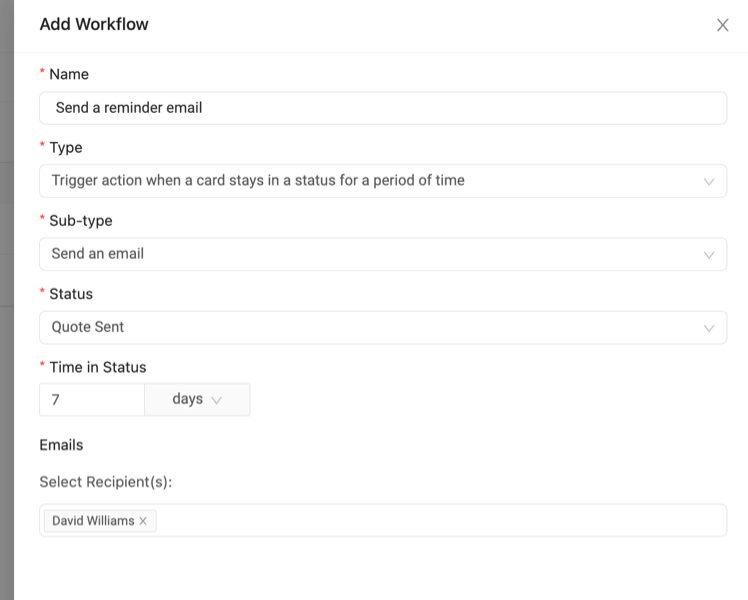
When configuring the workflow, under ’Sub-type’, you can select from the 3 available options listed above. Choose the ’Status’ as well as the trigger time in minutes, hours, or days.

