
Custom form lists/tables
How custom form tables work
In an Ontraccr form, admins can easily add custom table or list fields for users to fill out. But sometimes, you may have a need to centrally maintain a long list or items for your users to choose from.
For example, say you want to create a company wide price list for your sales quotes, or a hazard list for your safety forms. In this event, you can create a custom form table in your company settings that you can simply maintain and update outside of the form template itself. That way, whenever you need to update the list/table, you don't need to update all the templates that are using the list/table, but you can just update the one, central list in your company settings and it will automatically update for all the templates which are using the list.
Here are some examples of what one of these custom tables would look like in a form template.
In the first example, the user can access the company’s global price list to pull line items into a sales proposal.
When the user clicks ‘Add Option’ it will pull up all the options available in the company’s global price list. From here, the user can easily search for specific options and check off the line items they want to pull into their sales proposal form.
After adding the custom options from the price list into the form, you can see that the form can also even pre-populate the information into the table so the user won’t even need to manually enter any information themselves and save a lot of time. The user can still click into any of the table cells and make any edits before moving on to the next part of the form.
In the second example below, the user can access the company’s global hazards list to pull hazards into a safety form such as an FLHA.
Custom tables will ensure consistency in your forms and will save your users a lot of time by preventing double data entry.
Managing custom form tables
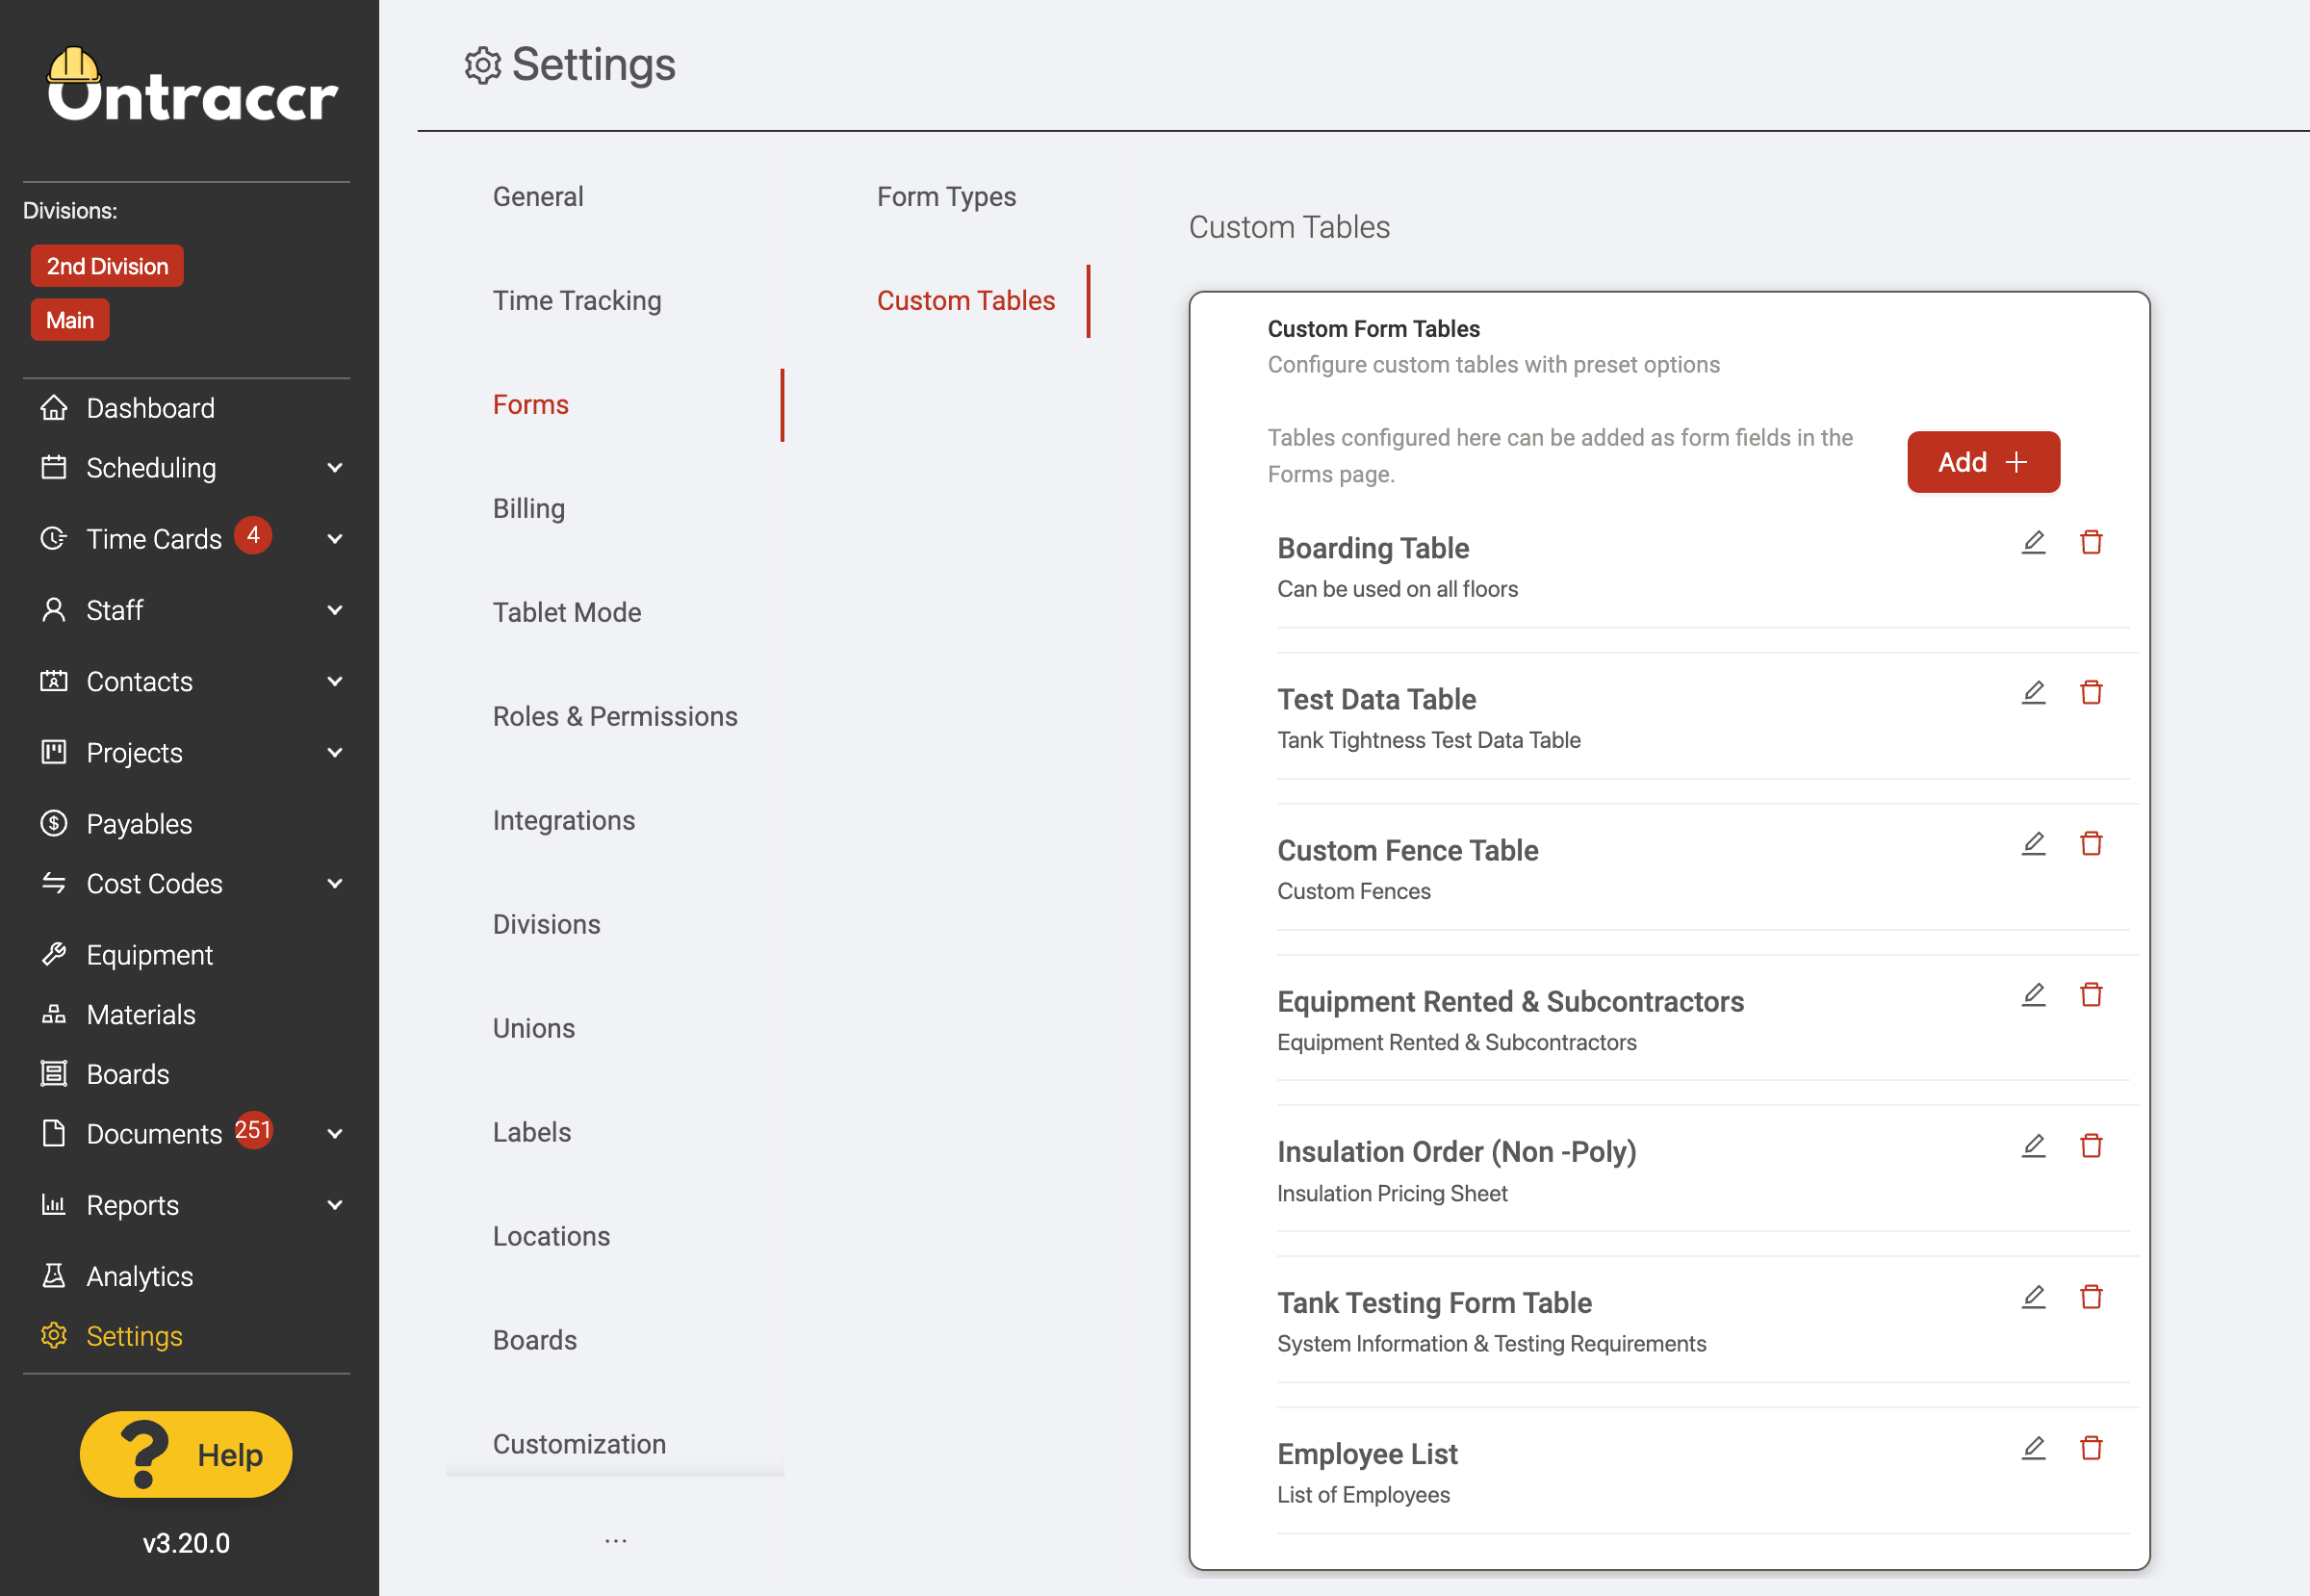
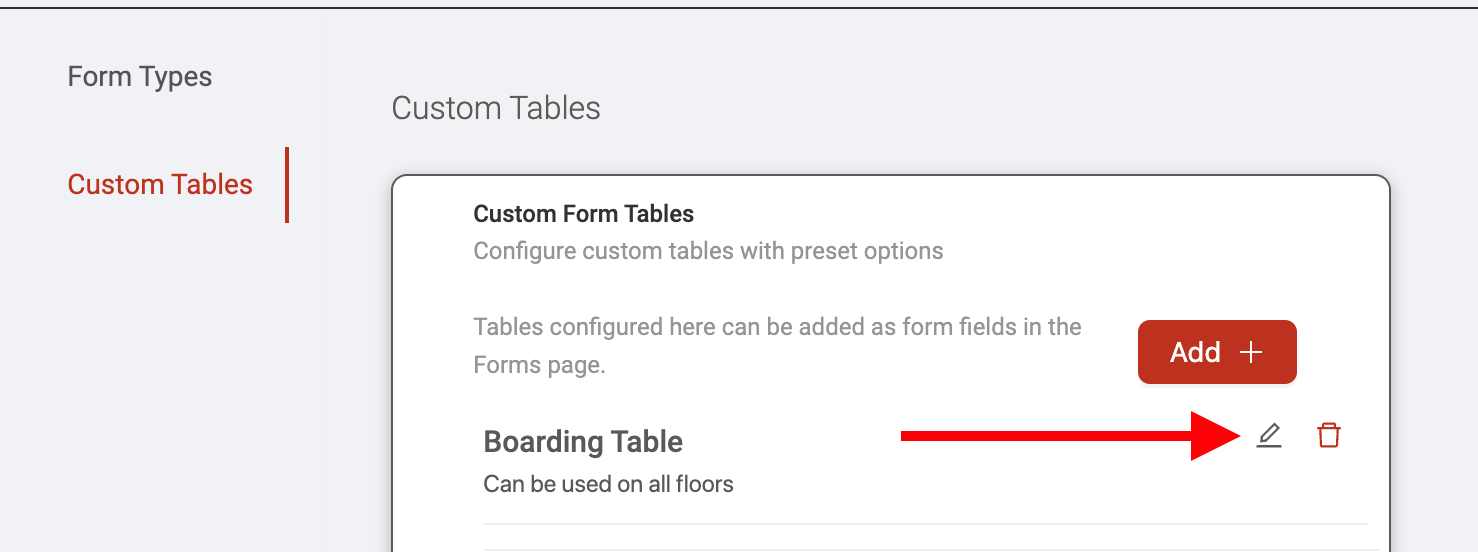
To access your company’s custom form tables, open the Settings > Forms > Custom Tables page. The Custom Tables page becomes the central place where you can manage all your companywide lists. Simply click the edit icon next to any list to make changes or you can also easily delete them by clicking the delete icon.
Creating a custom form table
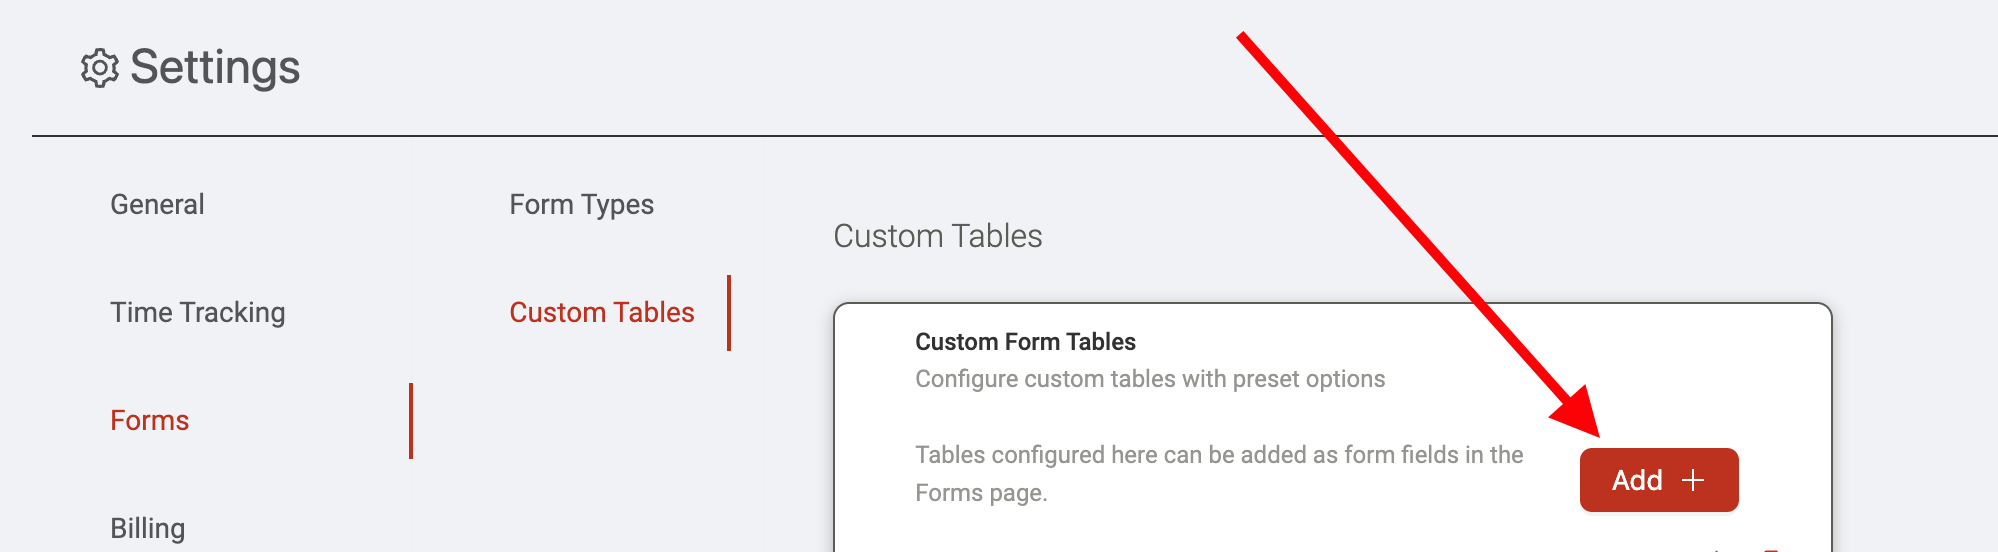
To add a new custom table, click the ‘Add’ button.
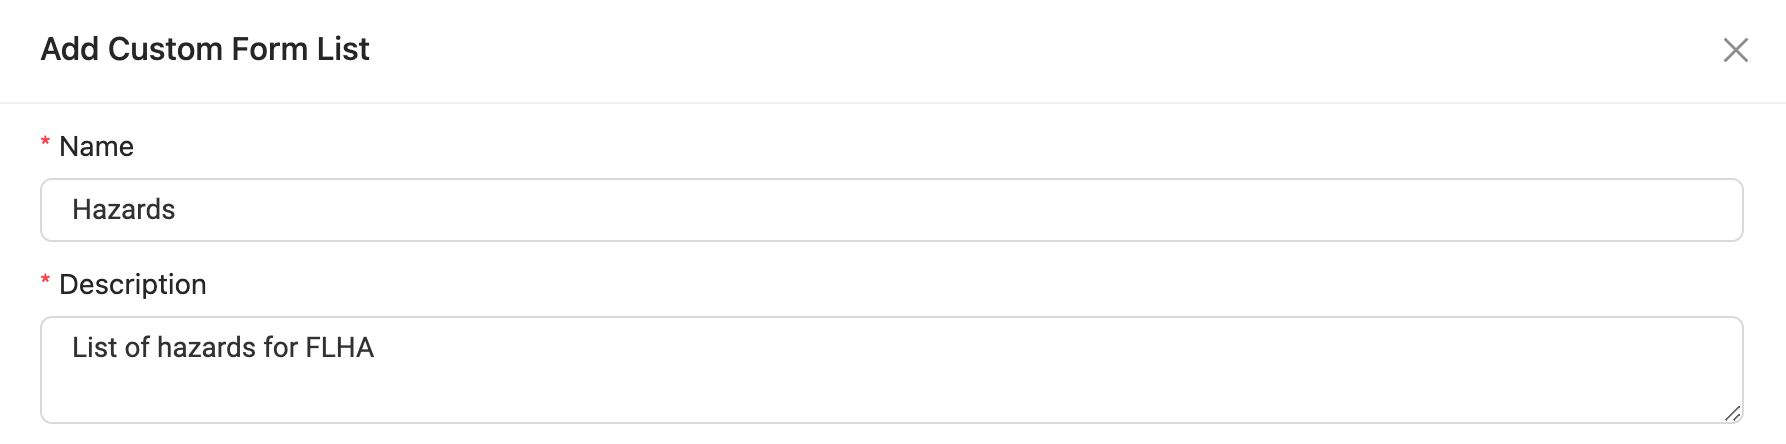
Give the list or table a Name and Description. This helps users identify and understand the table when using it.
Next, type in the various Columns you want the table/list to have. As you type in the column name, you'll notice that the columns will be added into the 'Options' section below.

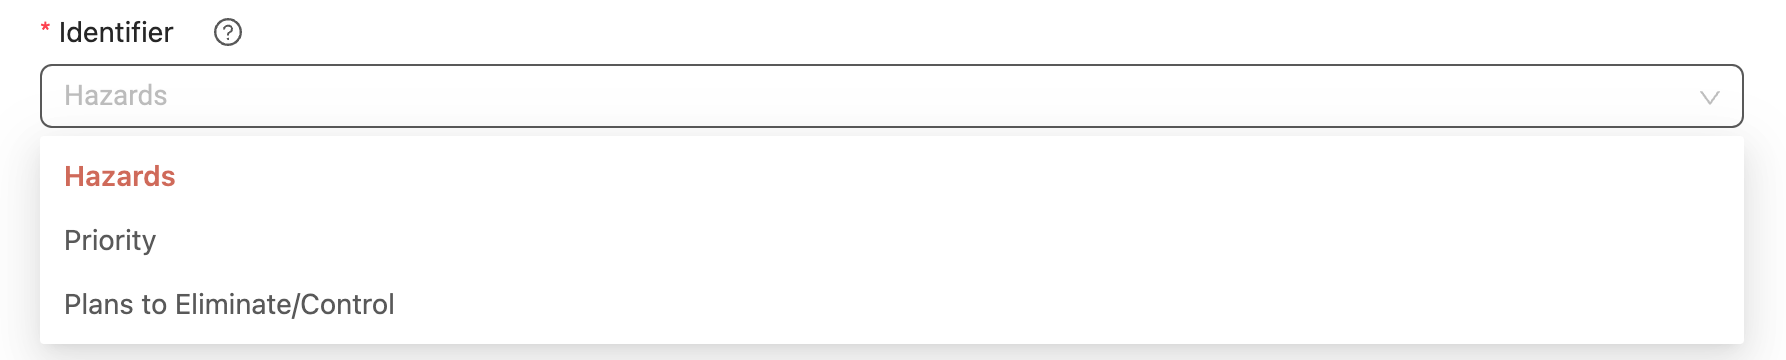
Next, select the Identifier for the list. This is basically the specific column that the user can see when trying to add something from the list into their form. For example, in a safety/hazard form, we can use the name of the hazard to serve as the identifier for how users will find and select their options when completing their form.
Lastly, we get to the ‘Options’ section at the bottom of the slider. This is where you enter all the options users will see in the list. This is also where the custom form tables become really valuable because you can always go back here and update the list with new information or new options anytime you want. When you save or update them in one central place, users will always have access to the latest version when completing their forms.
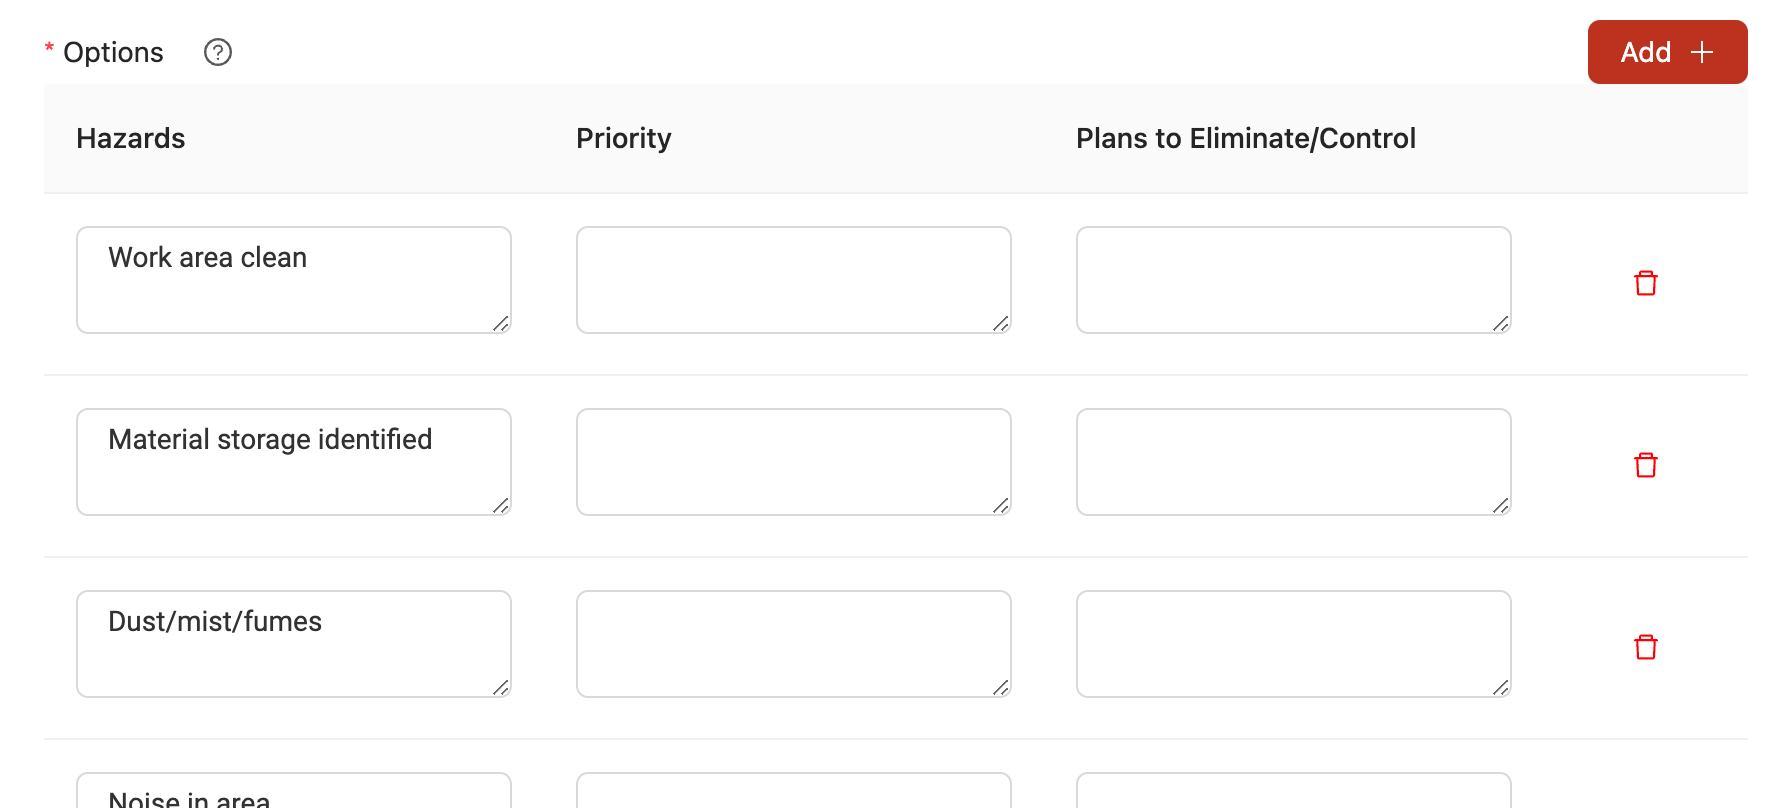
When completing options here, note that every cell in the table is optional. The idea behind this is that, for some options, you may want to keep them blank so the user can fill them in when completing the form whereas you may want the user to always use certain values for others.
To add a new option to the list, you can always click the ‘Add’ option to the right. To delete an option from the list, click the 'Delete' icon to the right of the row.

After adding all your options to the list, click ‘Submit’ to save the custom list.
Updating a custom form table
If you ever want to update any of your custom form tables, you can simply click the 'Edit' icon next to the custom form table you'd like to update. This is how you can, for example, easily modify any of the list options or add/remove options and columns whenever needed.
Adding custom form tables to templates
Adding a custom form table as a field
After creating the custom list/table, you will now want to bring it into the form/template you’d like. To do so, simply open the template's fields configuration and add a 'Table' field to the template (custom lists use the 'Table' field type).
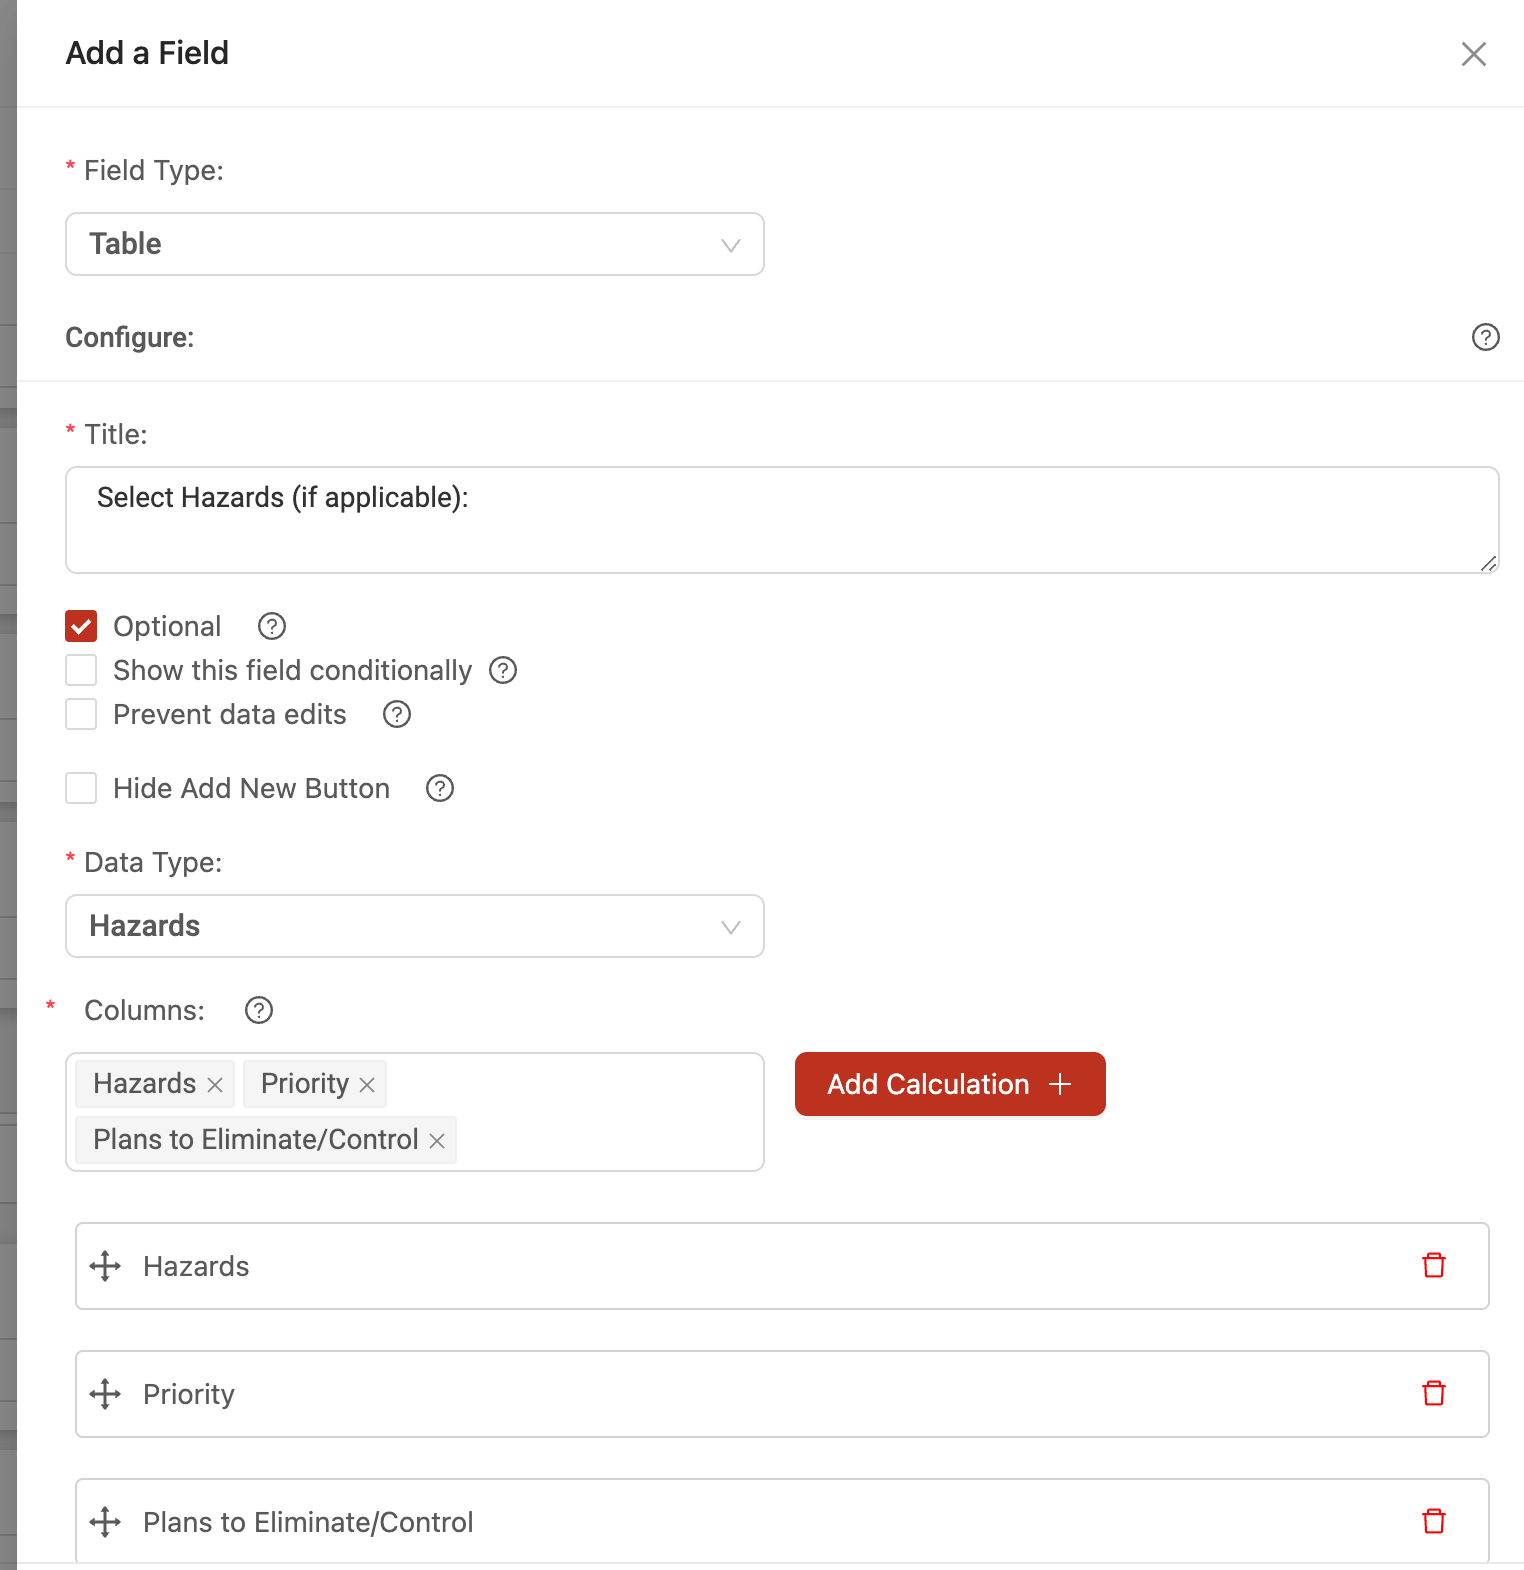
Give the list a title to use within the form.
Next, under the options available in the ‘Data Type’ dropdown list, you will now see a new option for the list you just created. Select the custom table from the list.
Select the Columns of the custom list that you want users to be able to see in the form.
As you select the columns, the preview box will show you what the custom list will now look like in the form/template for your users.
Click ‘Save’ to add the custom list to the form.
Adding a custom form table into the form PDF
If you want to add the custom list or table into a form’s pdf document template, you can bring it in using the Table object as shown in the brief demo below. (Note that these steps are only applicable for 'Custom PDF Templates' and not 'Standard PDF Templates', for Standard PDF Templates, Ontraccr will add the table to the PDF automatically.)
Click to add the table object to the form. Map the table object to the new custom list in the configuration slider. After that, you can make the visual adjustments to make the table look good in the template as needed.