Using project folder templates
If most or all of your projects follow a consistent, repeatable folder structure, then Ontraccr's project folder templates are a great way for you to standardize how you store and manage files on your projects!
Your team(s) can use project folder templates to automate the creation of standard folders every time a project is created.
Creating project folder templates
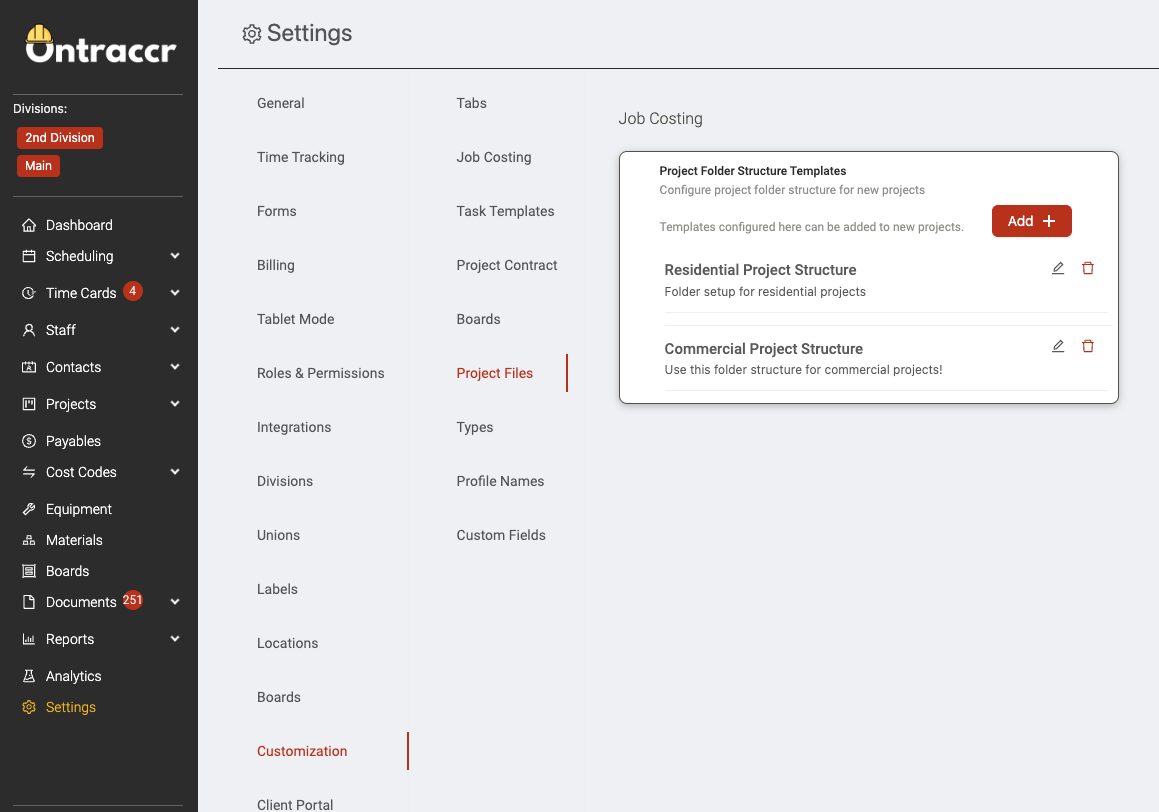
To create a folder template, simply navigate to the Settings > Customization > Project Files page. This is where you can create, edit, and delete all your project folder templates moving forward.
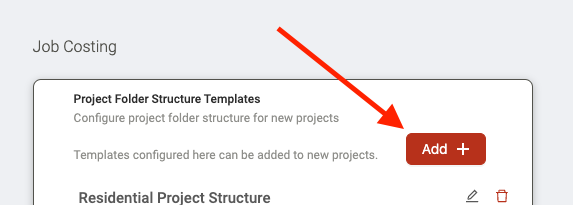
Click ‘Add’ to create a new template. This will open the template creation slider.
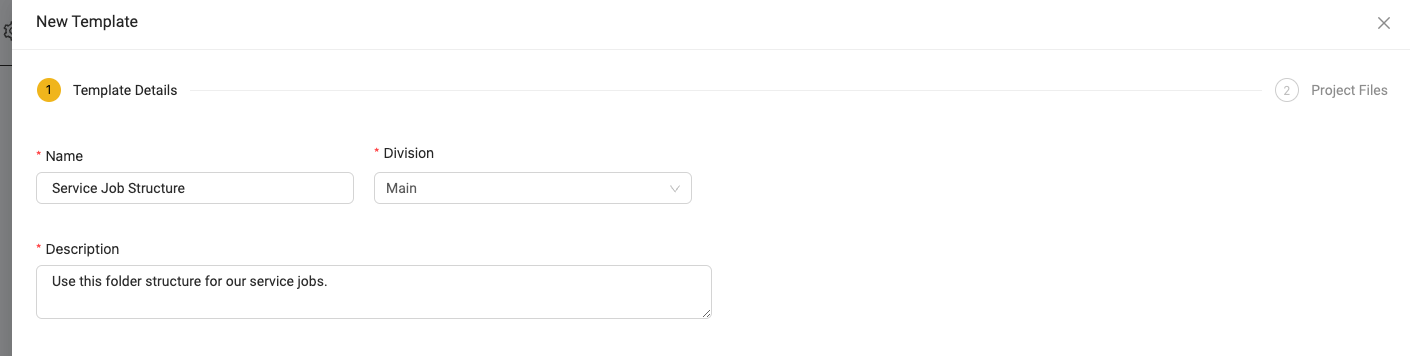
The first step is where you can give your template a Name and Description (this helps users identify and understand the template when using it). For companies with multiple divisions, the 'Division' drop-down lets you select which division the template should be used for. Click 'Next' when finished to proceed to the next step.
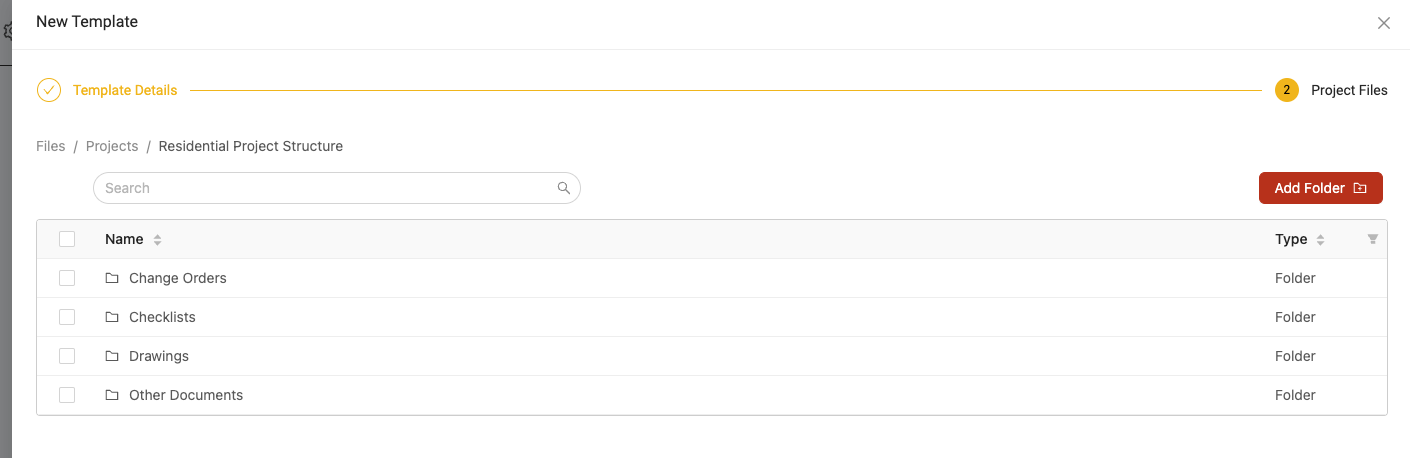
In the second step, you can add all the folders you want to save for the template. Click 'Submit' when you're finished to create the project folder template.
Using project folder templates
You can use a project folder template any time you are adding files to a project during project creation.
Simply click ‘Apply Project File Template’ during the 'Project Files' step of project creation.

A slider will then open which will show you all of the available project folder templates you can choose from. Click 'Apply' next to the template you'd like to use. As soon as you do this, you'll see that the folder structure from the template has automatically populated into the 'Project Files' step of your project profile. From here, you can still add, edit, or remove any folders and you can also start uploading files into any of the folders from the template.