Creating your first project
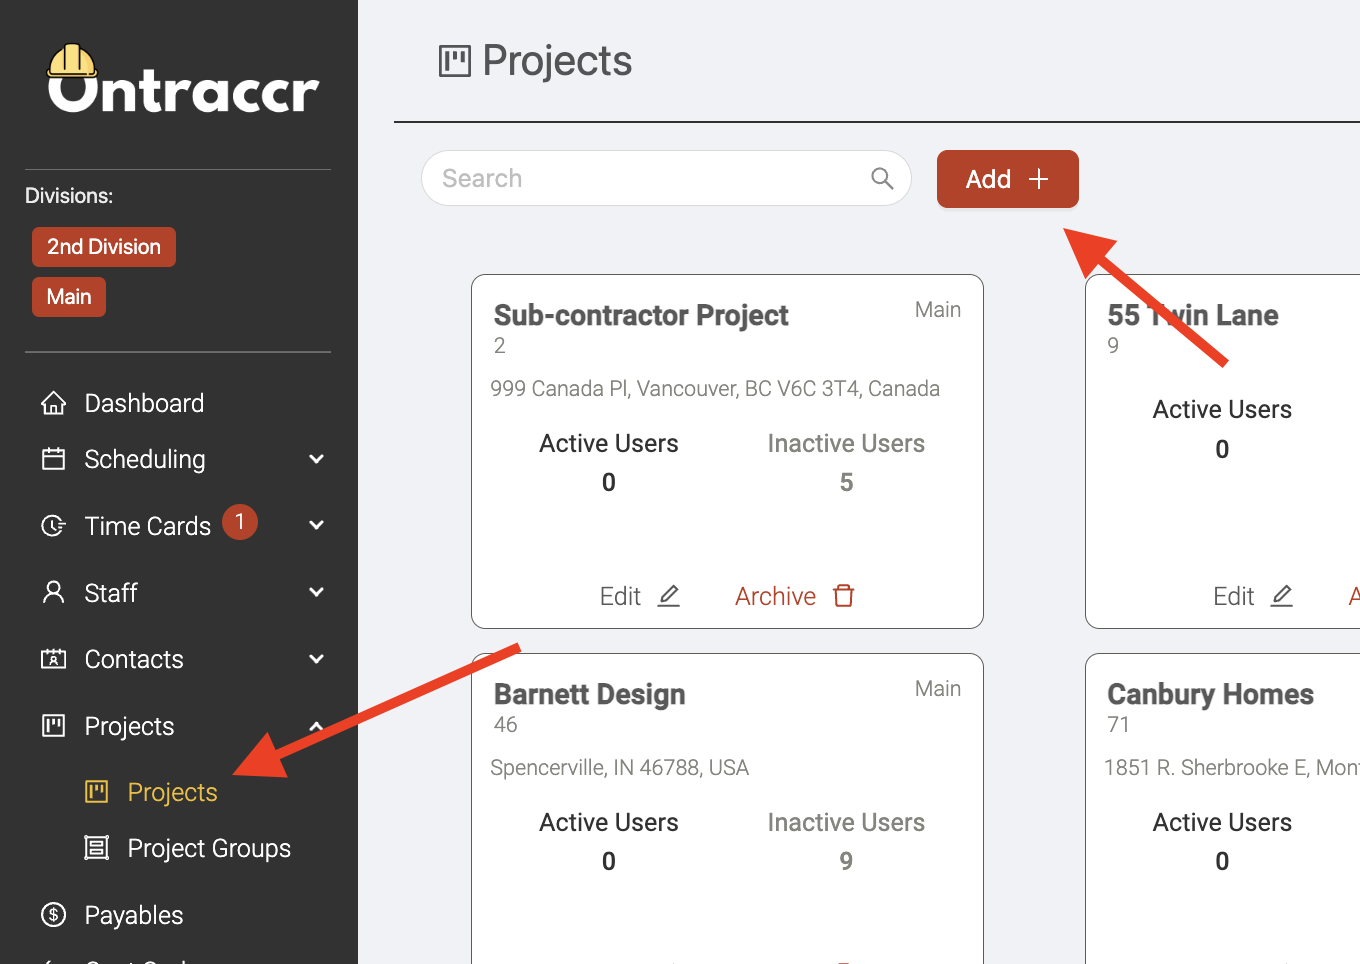
To add your first project/job in Ontraccr, open the Projects > Projects page. Click the 'Add' button at the top of the page to start creating a profile.
Project profiles in Ontraccr contain a large set of features by default, but you can always customize the project profiles in case some of the default aspects of a project are not relevant for your company. For example, after first clicking the 'Add' button to open the project creation slider, you will notice that there are 6 steps to creating a project profile in Ontraccr: project info, billing, project files, cost codes, equipment, and budget tracking. If any of these are not relevant and you want to remove some of these steps, simply head over to your company's 'Customization' settings to customize project tabs.
For this article, we will focus on creating a project profile quickly so we will walk through only the necessary steps required to create the project profile. For more information on the various available details and features of a project profile, please refer to the 'Project Management' articles in the Learning Center.
The only step required to create a project profile is to complete the first 'Project Info' step.
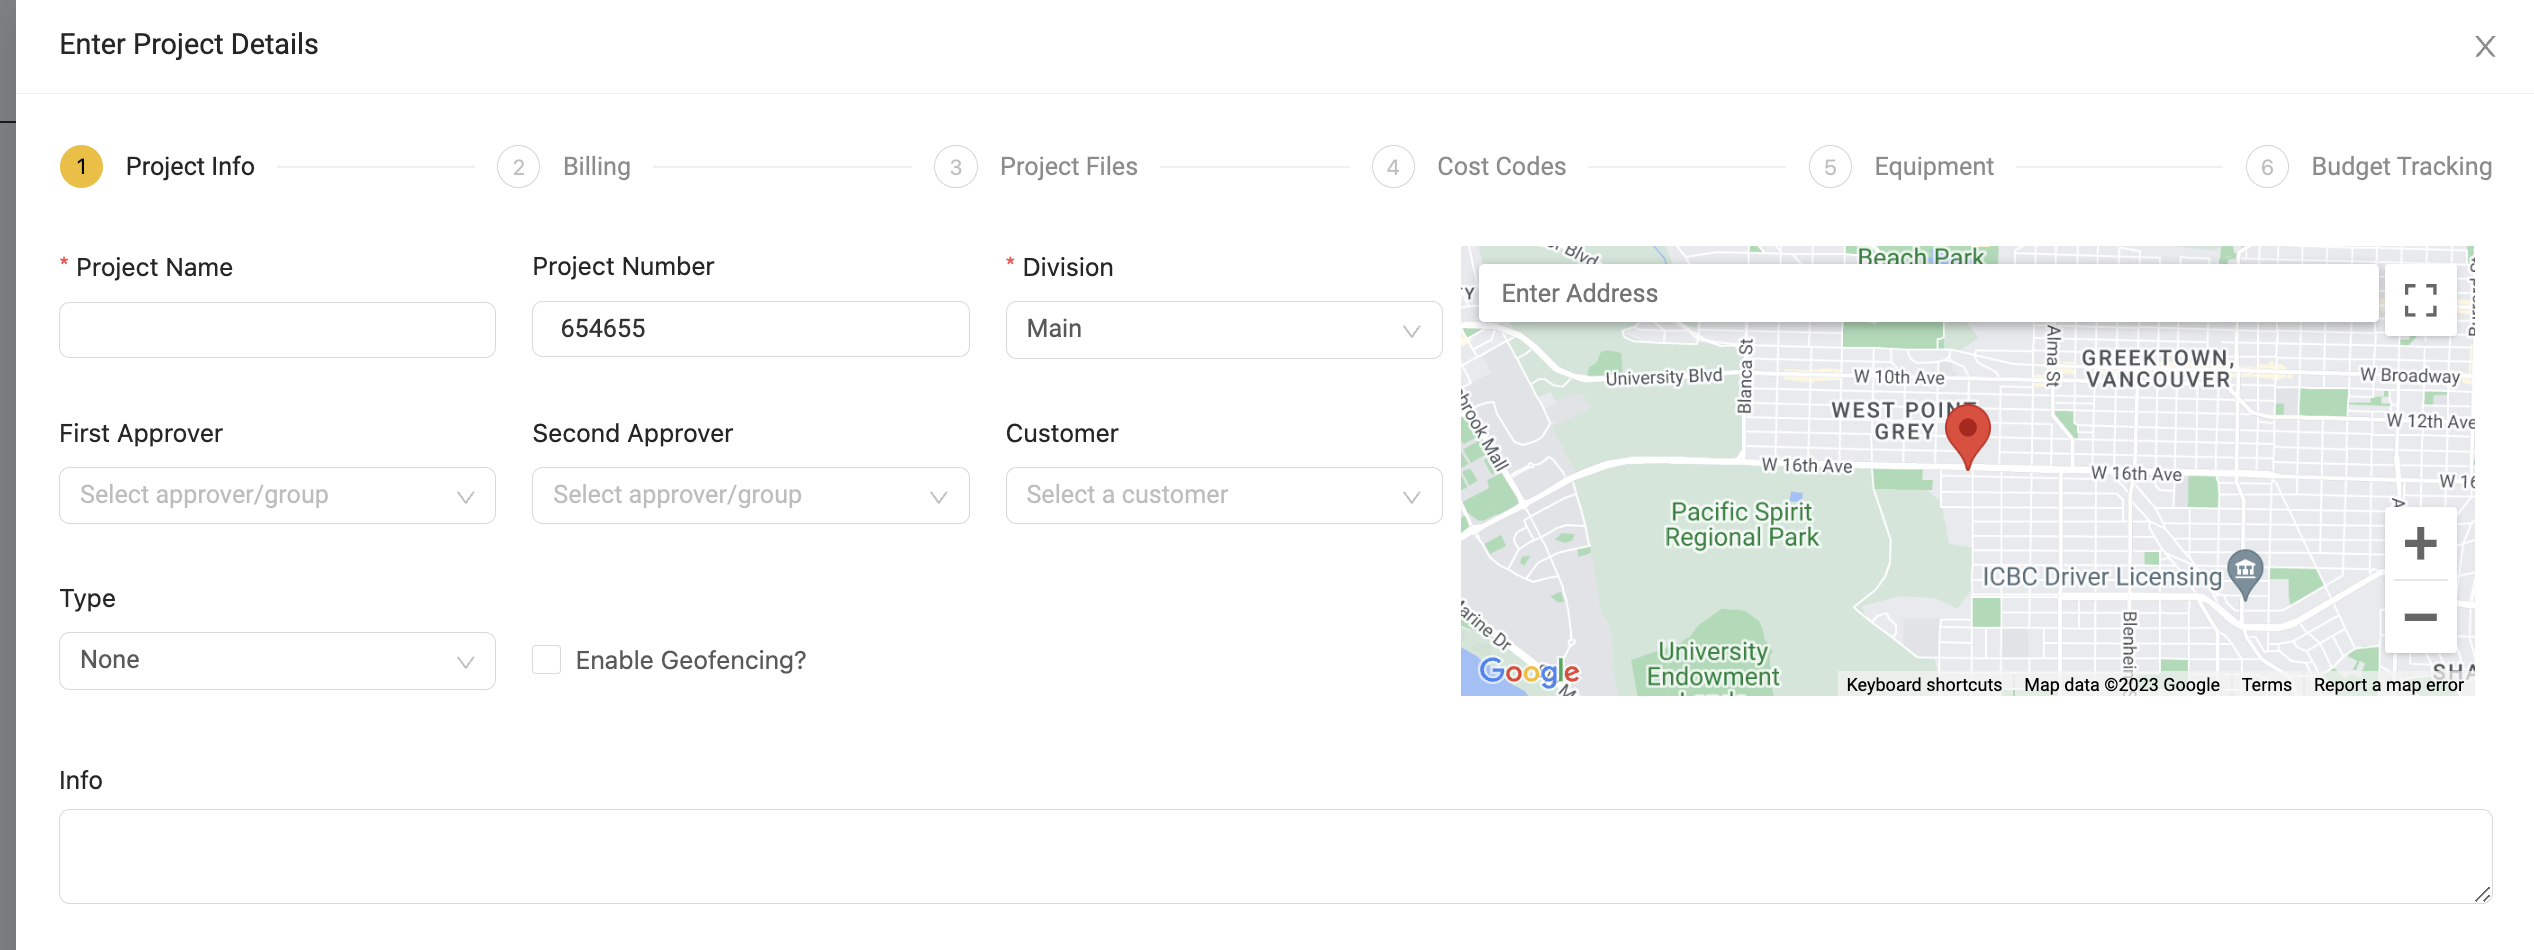
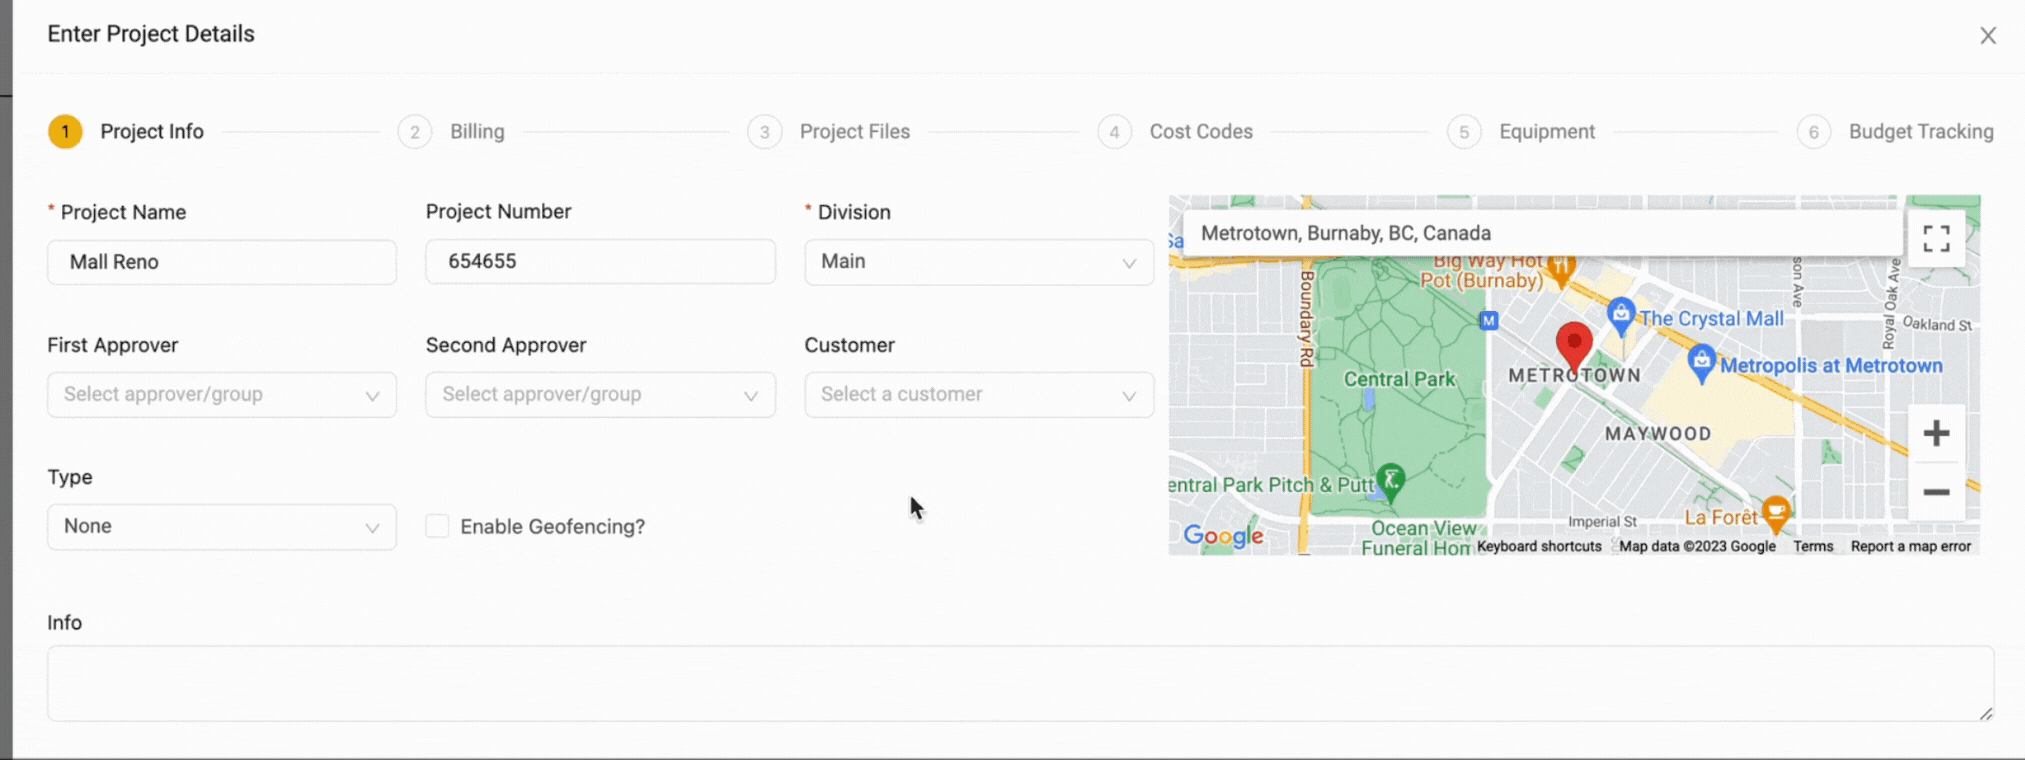
The only two required fields here are the 'Project Name' and 'Address' fields. Enter the project name and type in the project address in the interactive map on the right.
After this, you can also add a 'Project Number' and add some notes for the project using the 'Info' field at the bottom.
The 'First Approver' and 'Second Approver' fields let you assign up to two layers of approval for any time cards submitted for this project. If you don't configure any approvers for the project, all time card submitted for the project will be submitted to the company-wide approvers configured in the company settings.

Next, if you'd like to add a geofence for the project, you can click the 'Enable Geofencing?' checkbox. As soon as you check this box, you'll notice a red, circular geofence boundary has now appeared in the interactive map around the project address. To adjust the size of the geofence, simply click and drag the radius slider or type in the radius of the geofence directly.
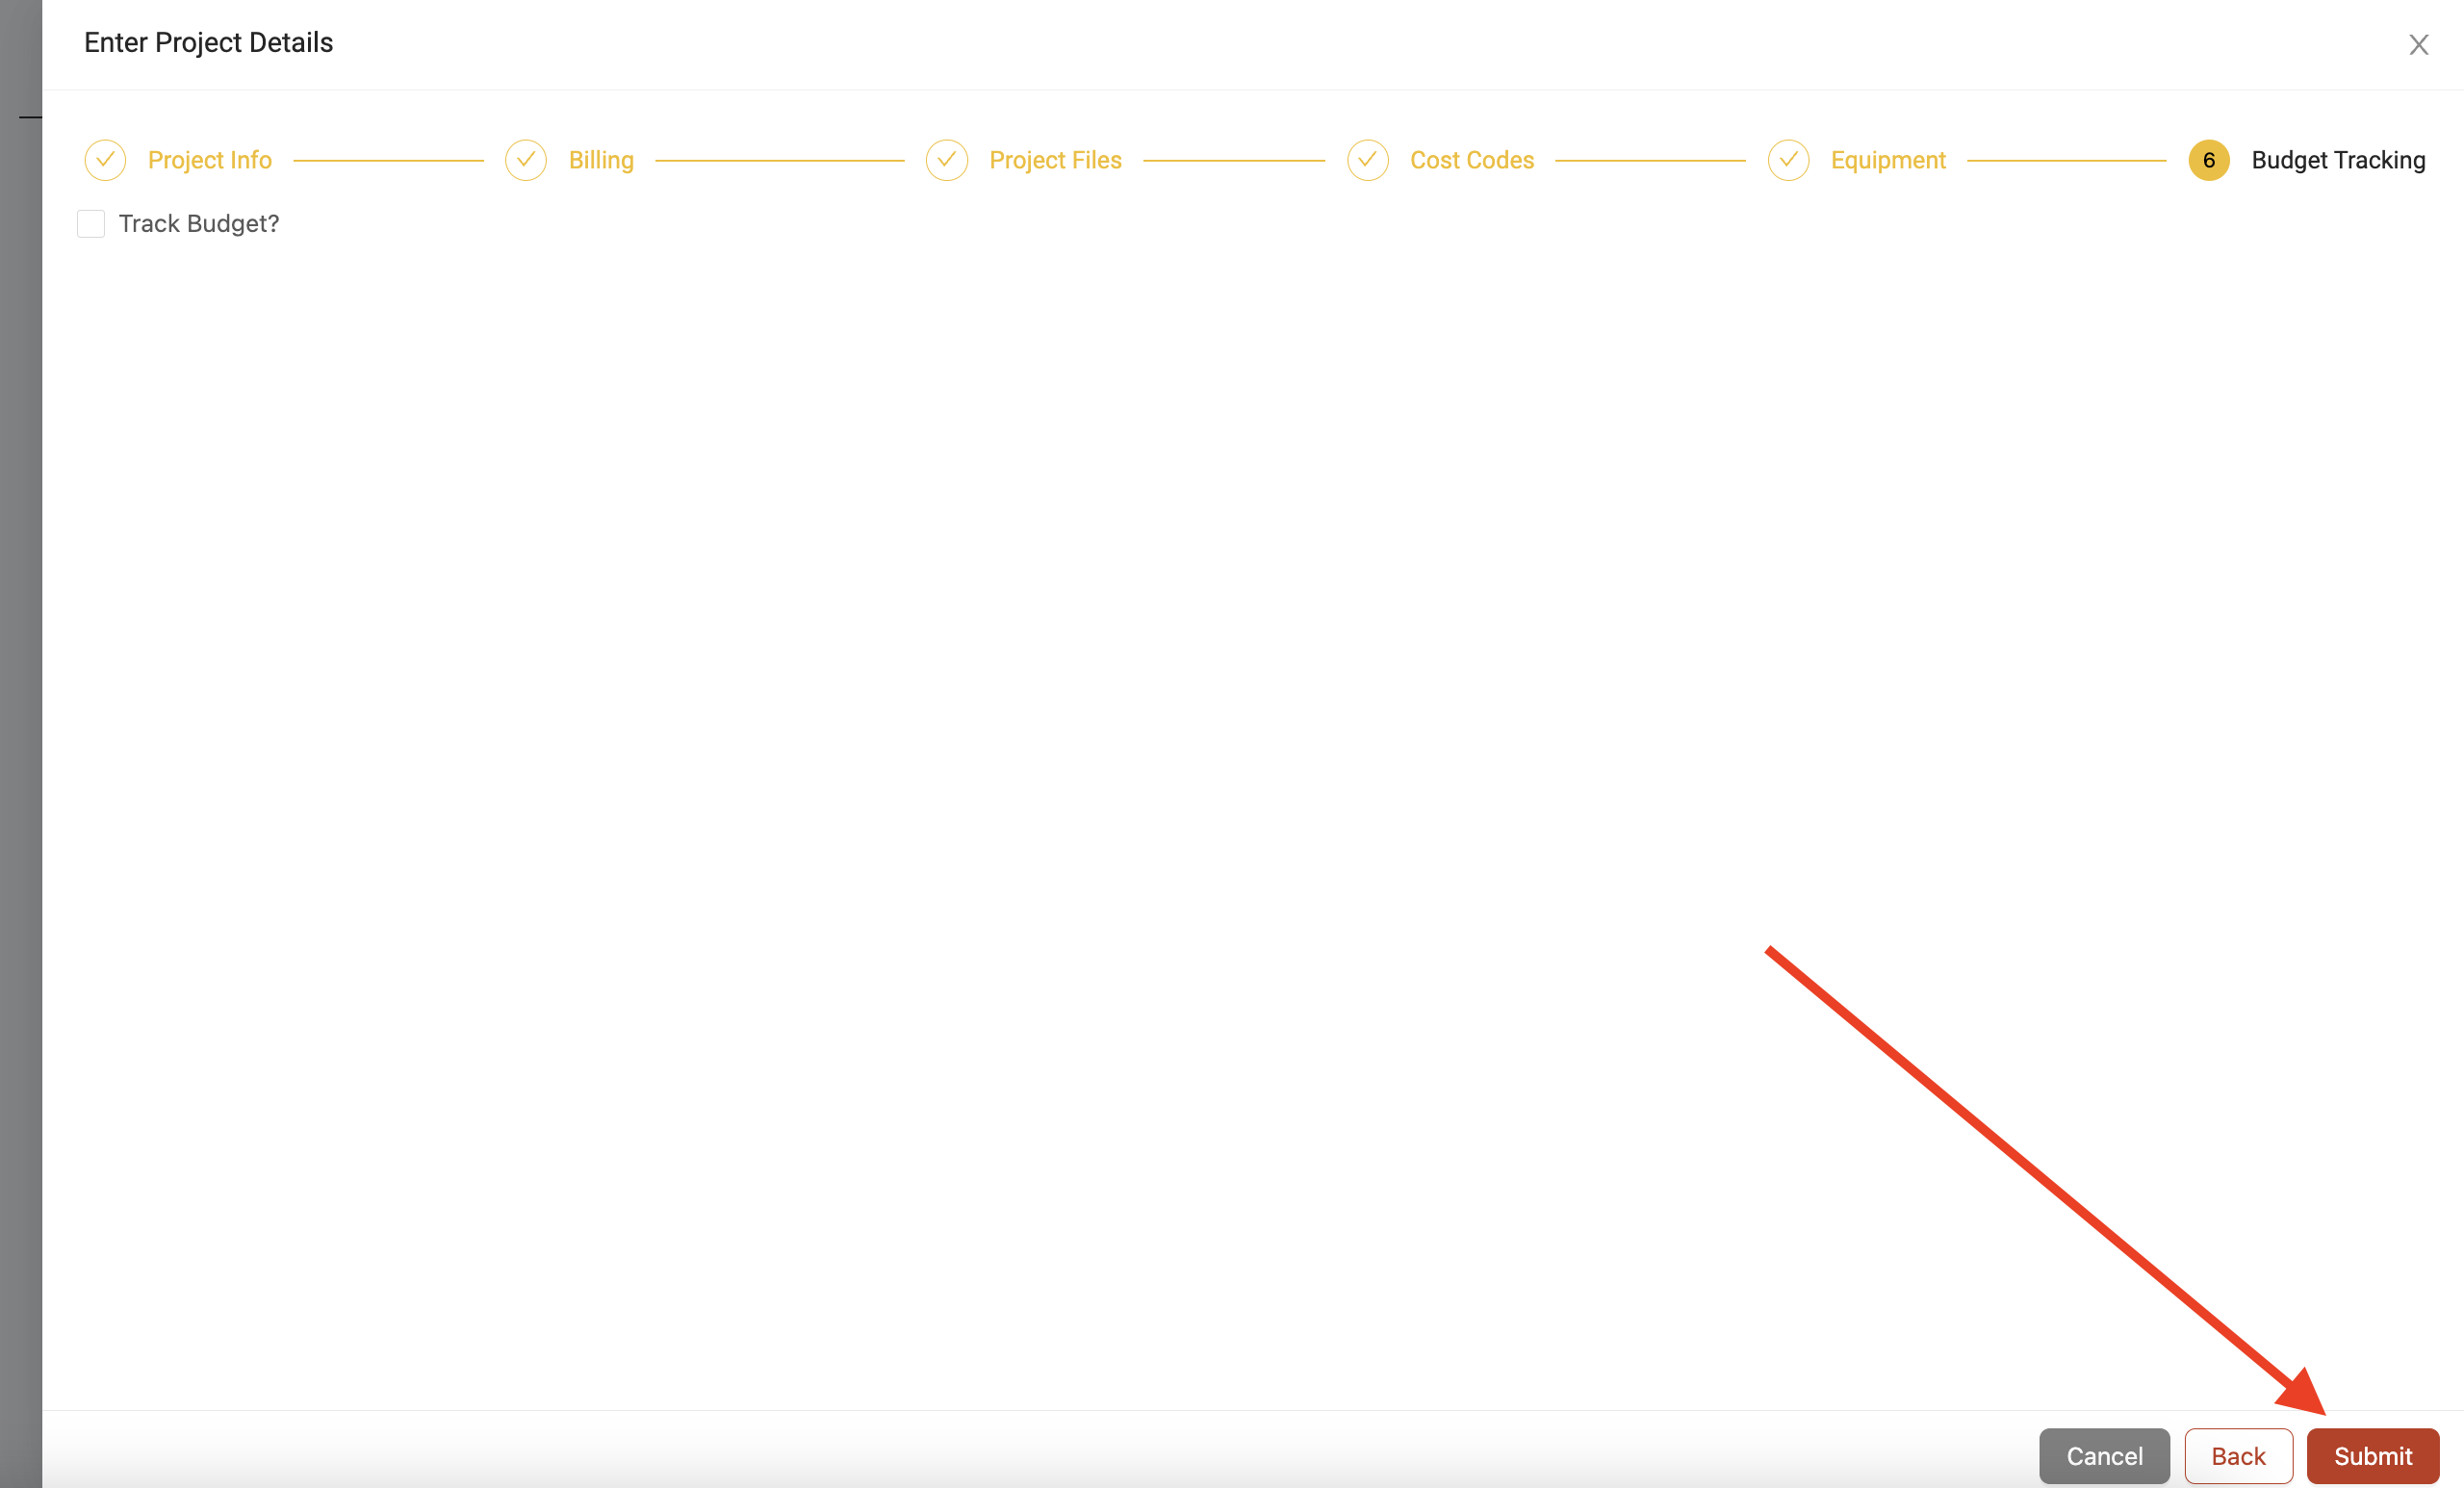
Once you're finished adding the project info, click 'Next' to proceed to the next steps.
This is where you would normally start to add more details to the additional project features. Continue clicking 'Next' as you progress through these optional steps.
Once you're at the final step, click 'Submit' to create the project profile.