Managing cost codes
There are two types of cost codes in Ontraccr:
1. Global cost codes
Global cost codes serve as a quick template for all future projects that are created within Ontraccr and can be easily imported during a project's initial creation. You can think of this as your company's master list of cost codes, which are commonly used across your projects. The purpose of global cost codes is to standardize your company's job costing metrics and to also save time when setting up your job costing system for each project by avoiding double entry.
2. Project-specific cost codes
Project-specific codes are cost codes that are associated to a specific project. Project-specific cost codes can either be added directly to the project or they can be imported from your global cost codes.
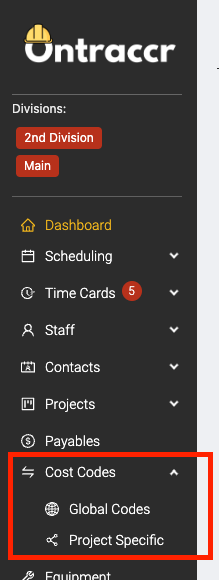
You can access both categories of cost code lists by expanding the Cost Codes section of the left-side menu.
Adding and managing global cost codes
Your company's global cost code list can be access in the Cost Codes > Global Codes page.

Global cost codes can be created either by adding cost codes individually or by importing a cost code list.
Adding a cost code
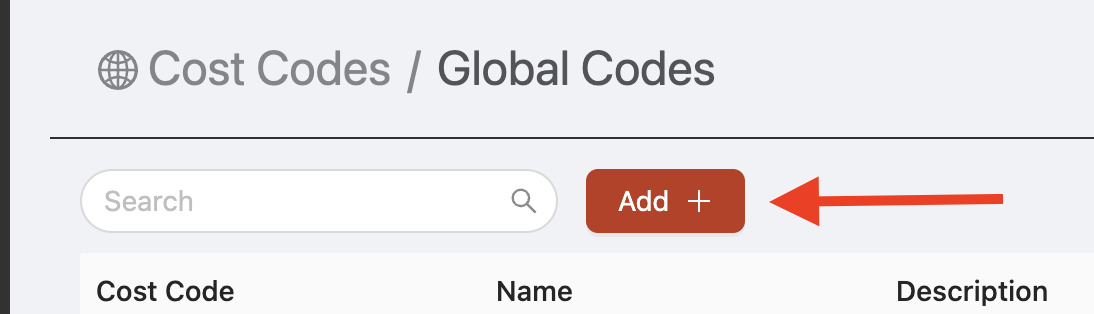
To add a new cost code, click the 'Add' button at the top of the Cost Codes > Global Codes page.
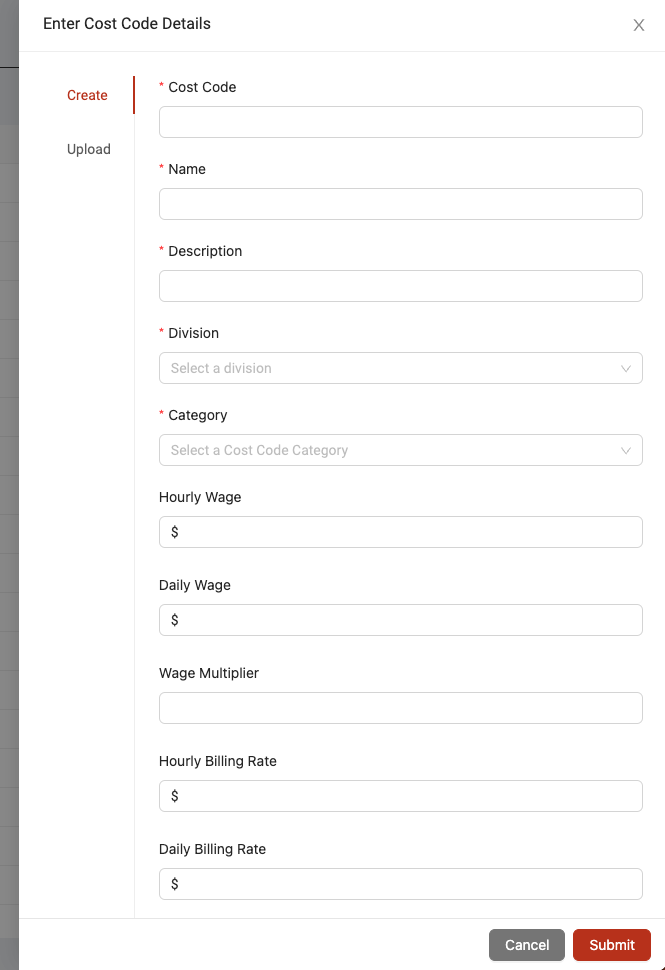
Add the cost code number to the 'Cost Code' field, give the code a name/title using the 'Name' field, and add a description for the code in the 'Description' field.
For companies with multiple divisions, use the 'Division' field to select the division you'd like to add the cost code to.
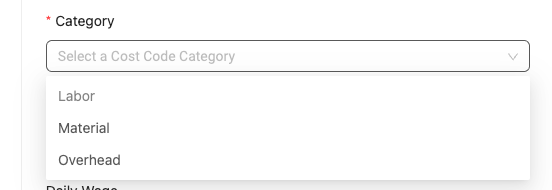
Next, select the cost code's 'Category'. In Ontraccr, the cost code can either fall under a labour, material, or overhead cost category.
Click 'Submit' once you've finished adding the fields above to save the cost code to your company's global cost code list.
Importing cost codes
Cost codes can also be mass imported into Ontraccr from a spreadsheet file. To mass important your cost code list into Ontraccr:
1. Open the Cost Codes > Global Codes page.
2. Click the 'Add' button at the top of the page. This will open the cost code creation slider.
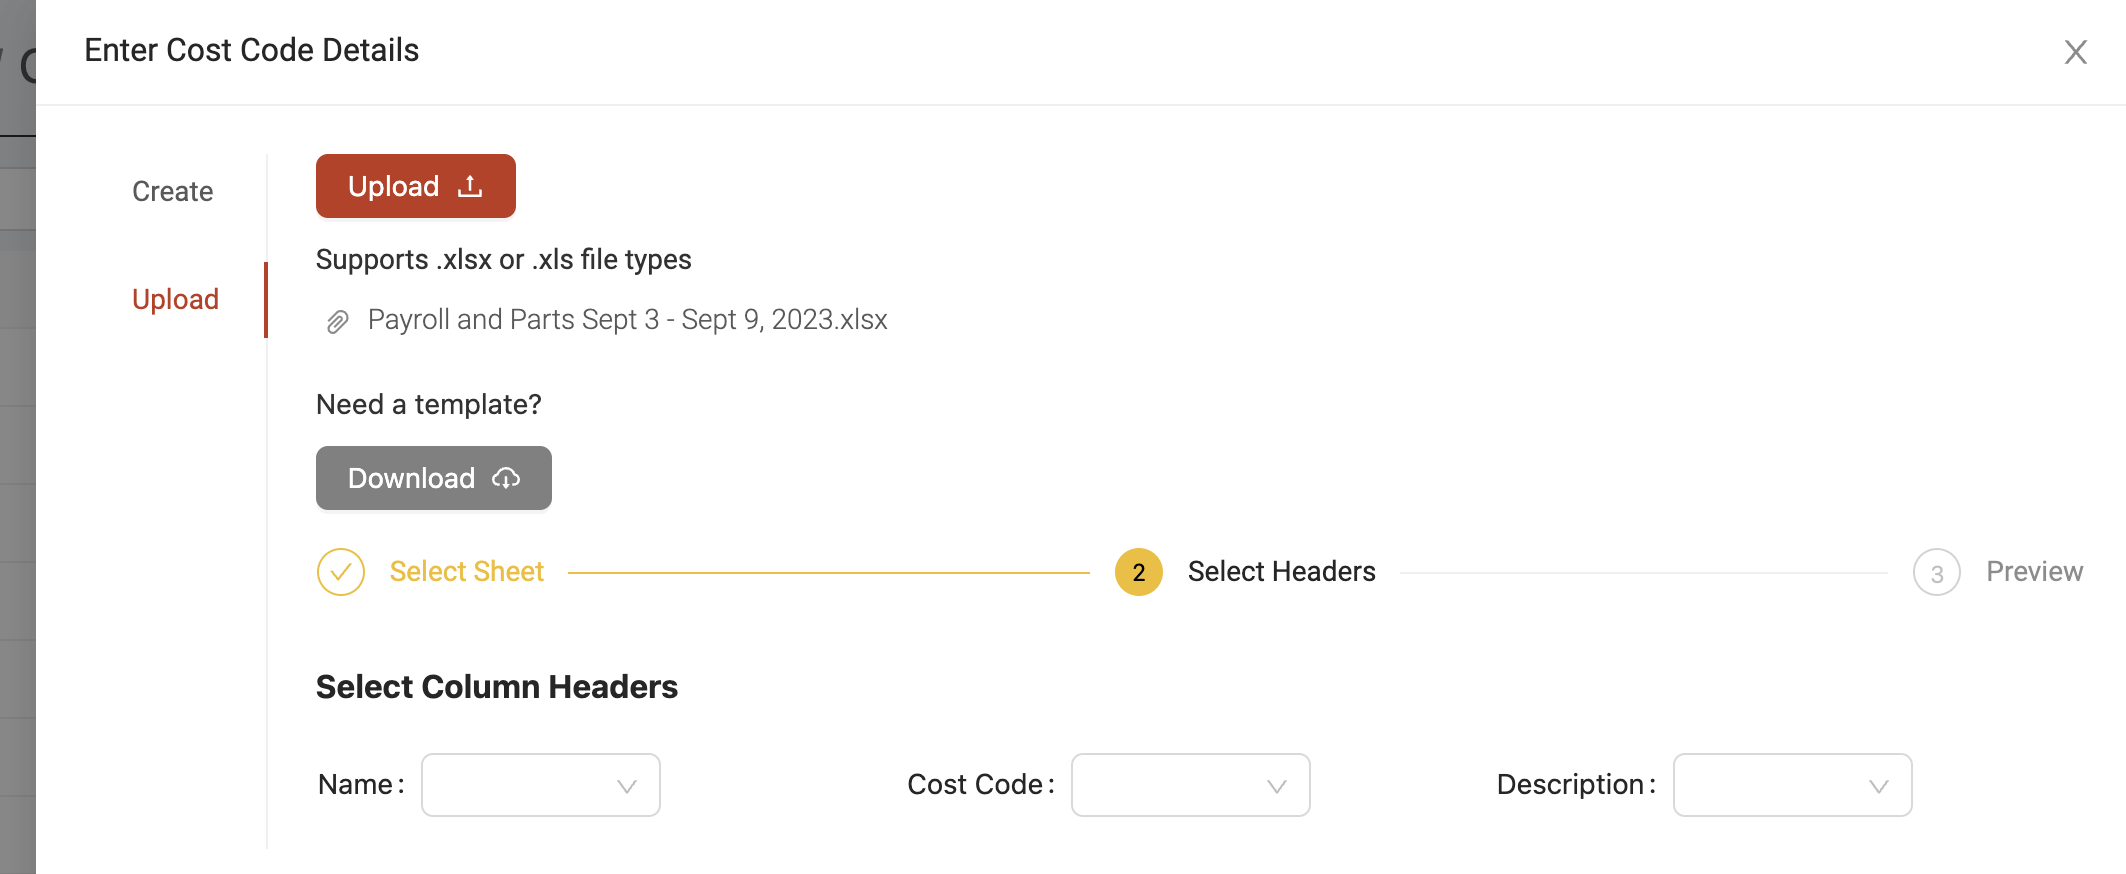
3. Click the 'Upload' section of the slider. This is where you can upload your spreadsheet-based list of company cost codes. There is also a template available for you to download to make it easier to import your cost codes in the required format. Click the 'Upload' button to begin uploading your list of cost codes.

4. Start by selecting which sheet of the spreadsheet you want to import. Click 'Next' to continue.
5. Next, map the columns in the spreadsheet to the required cost code name, cost code, and description fields in Ontraccr. Click 'Next' to continue.
6. The final step will show you a preview of how the cost codes will be imported into Ontraccr so you can make any necessary corrections or adjustments to the formatting. Once you're ready to import the data, simply click 'Submit' to begin the import. Once the import is finished, you may need to refresh your web app to see the newly imported cost codes.
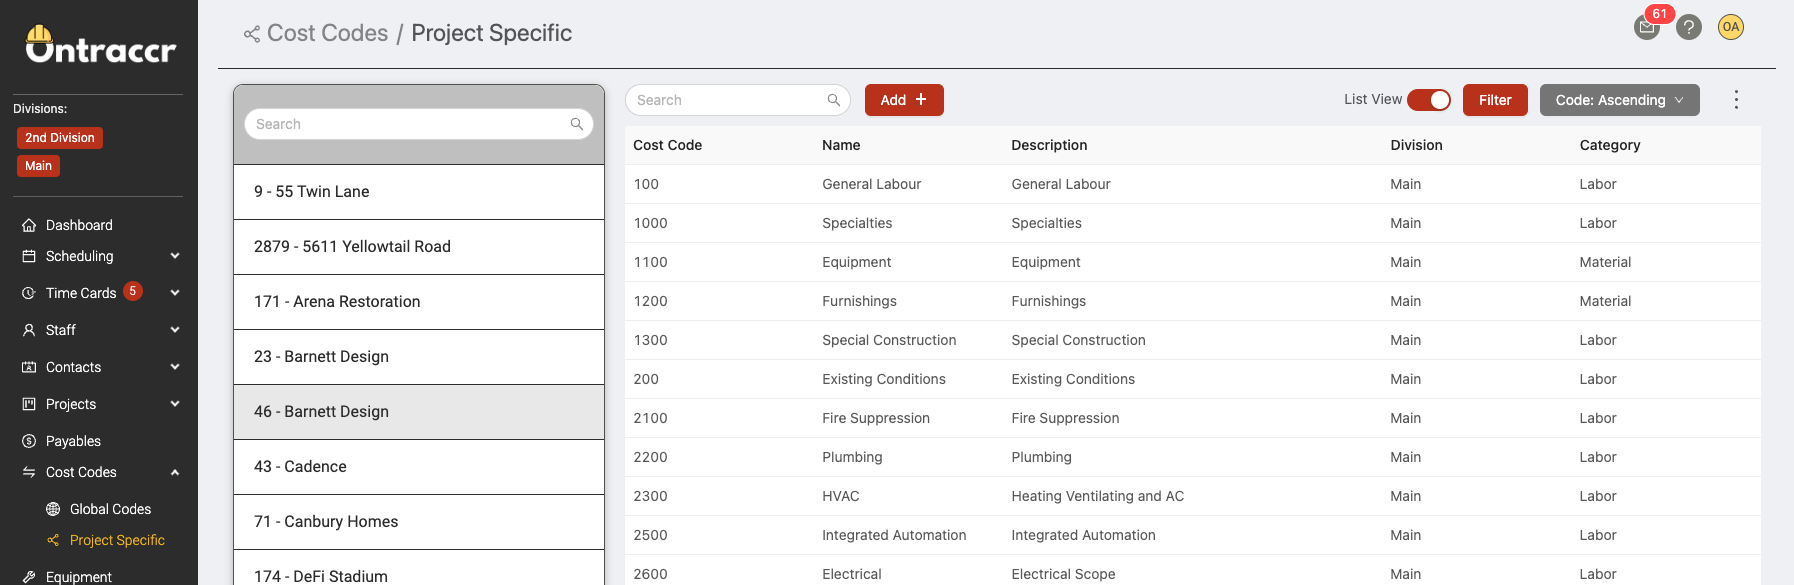
Adding and managing project-specific cost codes
You can add cost codes to a project either while creating/editing a project or by accessing every project's cost code list in the Cost Codes > Project Specific page.
When adding or editing a project, navigate to the ‘Cost Codes’ step to add cost codes to the project.
Check the ‘Cost Code Required?’ box at the top to get started.

You will now see all three cost categories show up in the tab.
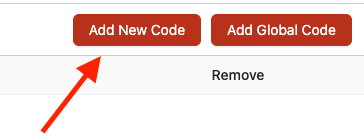
In each category, you can quickly add your cost codes from your company’s global cost code list by clicking the ‘Add Global Code’ button. This will show you all your available global cost codes belonging to the corresponding cost category. Check off the global codes you want to add and click ‘Submit’ when you’re finished.
If you want to add a cost code that doesn’t currently exist in your global cost code list, you can always add a brand new cost code to the project by clicking the ‘Add New Code’ button to fill in the information about the new cost code and add it. Add the cost code number to the 'Cost Code' field, give the code a name/title using the 'Name' field, and add a description for the code in the 'Description' field.
When adding labour cost codes to your project, you will notice another column named ‘phased’. This is useful if your project is split across multiple phases with the same repetitive tasks in each. For example, a 6 storey apartment complex can be broken down by each level or floor, which would represent a phase. Tracking your costs across each phase is important because it allows you to break the project down into smaller chunks which you can then monitor more accurately for productivity. This also provides you with actionable insights as to what trends are happening in a project, allowing you to identify cost overruns before it’s too late.
For any labour codes that apply to multiple phases, simply check the ‘phased’ checkbox next to each of them so they can be added to the phases in your budget in the next step.
Once you're finished adding cost codes to the project, simply click through to 'Submit' to save your project with the new list of cost code associations.

After this, you can either manage your project's cost codes by editing the project profile or by simply navigating to the corresponding project in the Cost Codes > Project Specific page.