Creating your first form
How forms work in Ontraccr
A form is basically any document or questionnaire that you want to digitize into Ontraccr. Forms can cover things like:
- Project-related documents such as safety forms, RFIs and change orders
- Service-related documents like work orders, inspection forms, and invoices
- Sales-related documents like quotes and formal sales proposals
- HR documents like vacation requests
- And anything else you can think of!
Every form in Ontraccr consists of three main components:
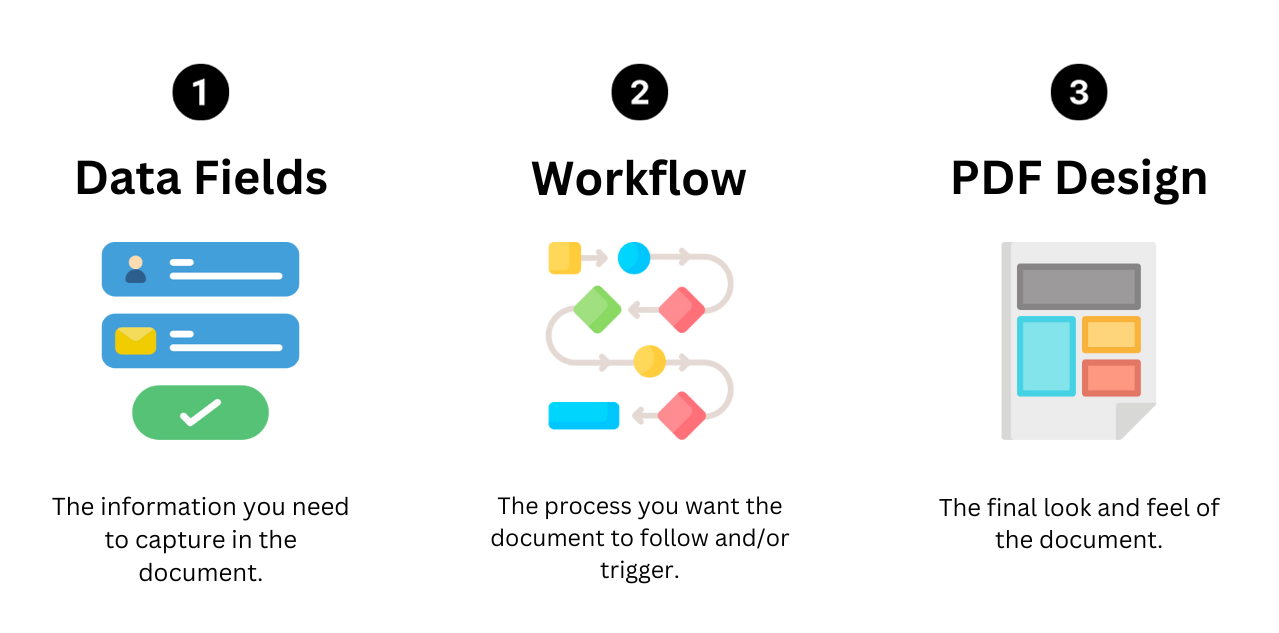
Data 'fields' represent the specific set of information you need to capture in the form. You can think of these as the questions or requests you will want to present to the user(s) filling out the form. There are many different types of fields you can include in a form.
The 'workflow' is the process you want the document to follow and/or the events the document should trigger. These are the automated steps you need the document to perform throughout its lifecycle.
The 'PDF design' is the final format of the form whenever it's sent within a workflow or downloaded. Form PDFs are generated completely automatically in Ontraccr based on the template you configure for each form. Certain forms may just be internal documents, in which case you may not care about the PDF aspect of the form and how it looks. However, other forms may be sent externally to your clients or partners, so this is where you can control the final look and feel of the document to ensure professionalism and that the document aligns with your brand.
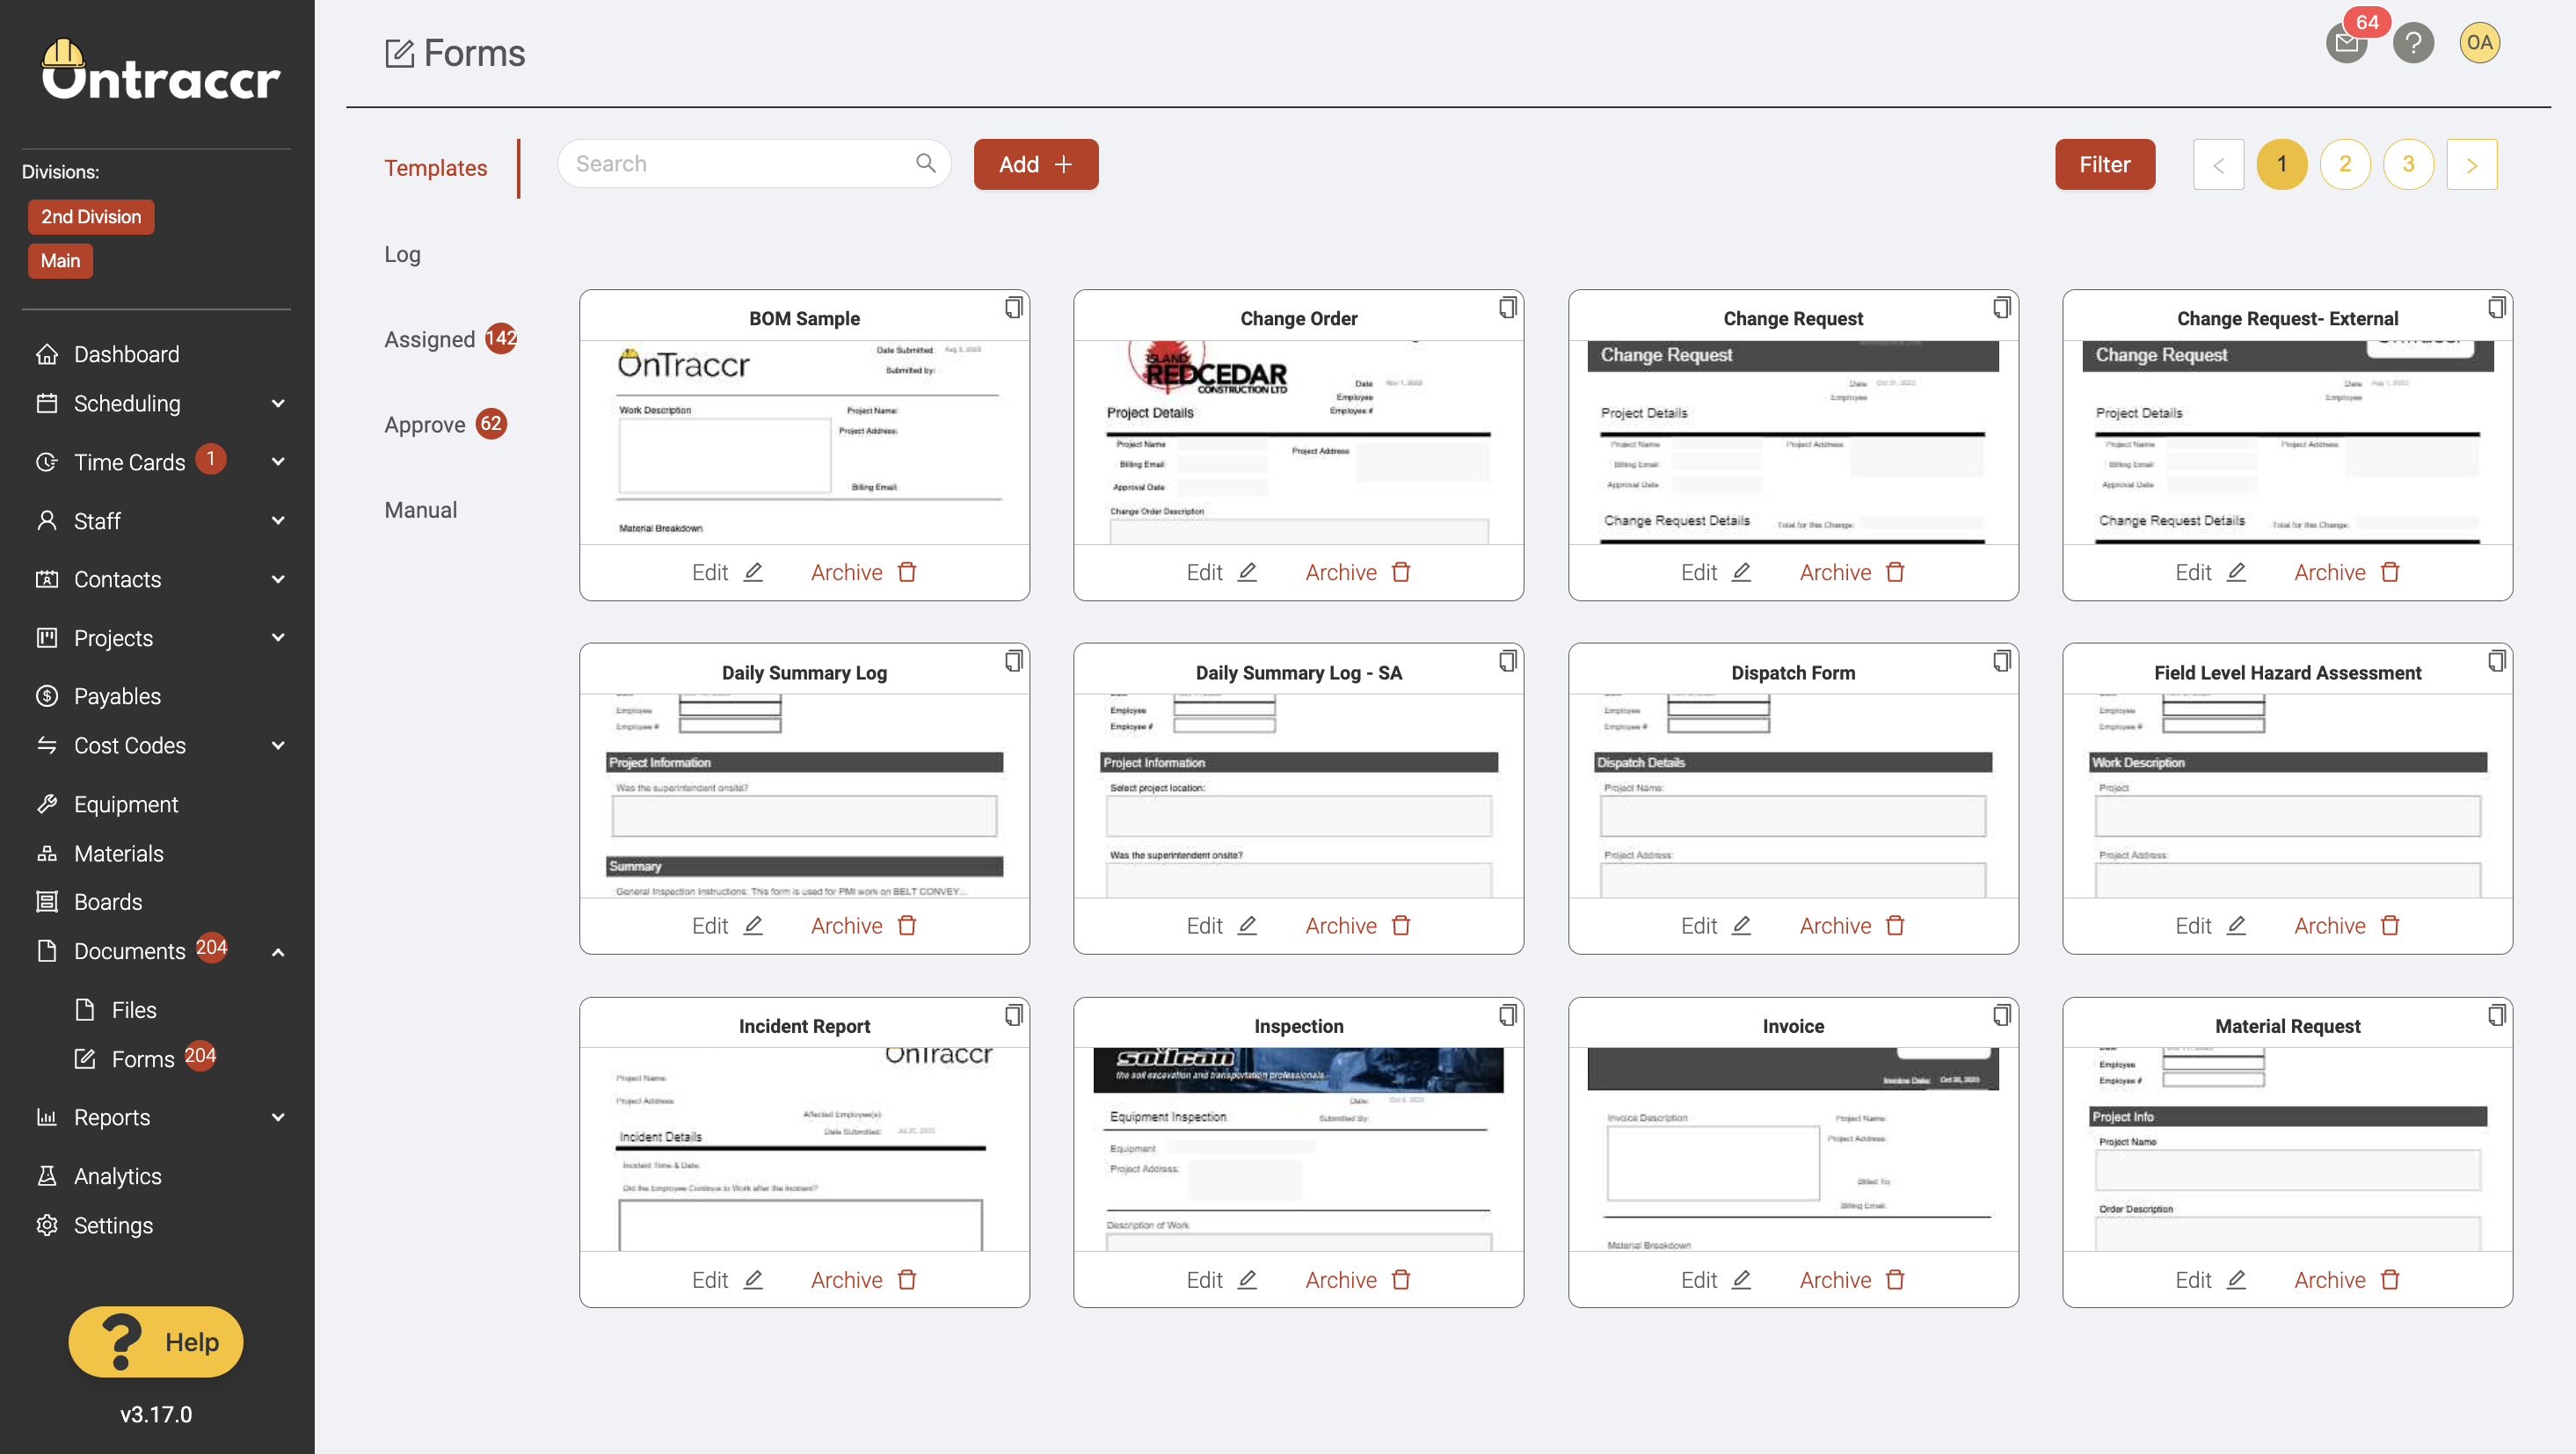
A form template is the complete profile of a form, consisting of all three of these components. Once a form template is created in Ontraccr, the form will always use the template's configuration to process the document. Form templates can easily be modified over time so you can continue to evolve each form's process as you grow. Form templates can always be accessed via the Documents > Forms > Templates page.
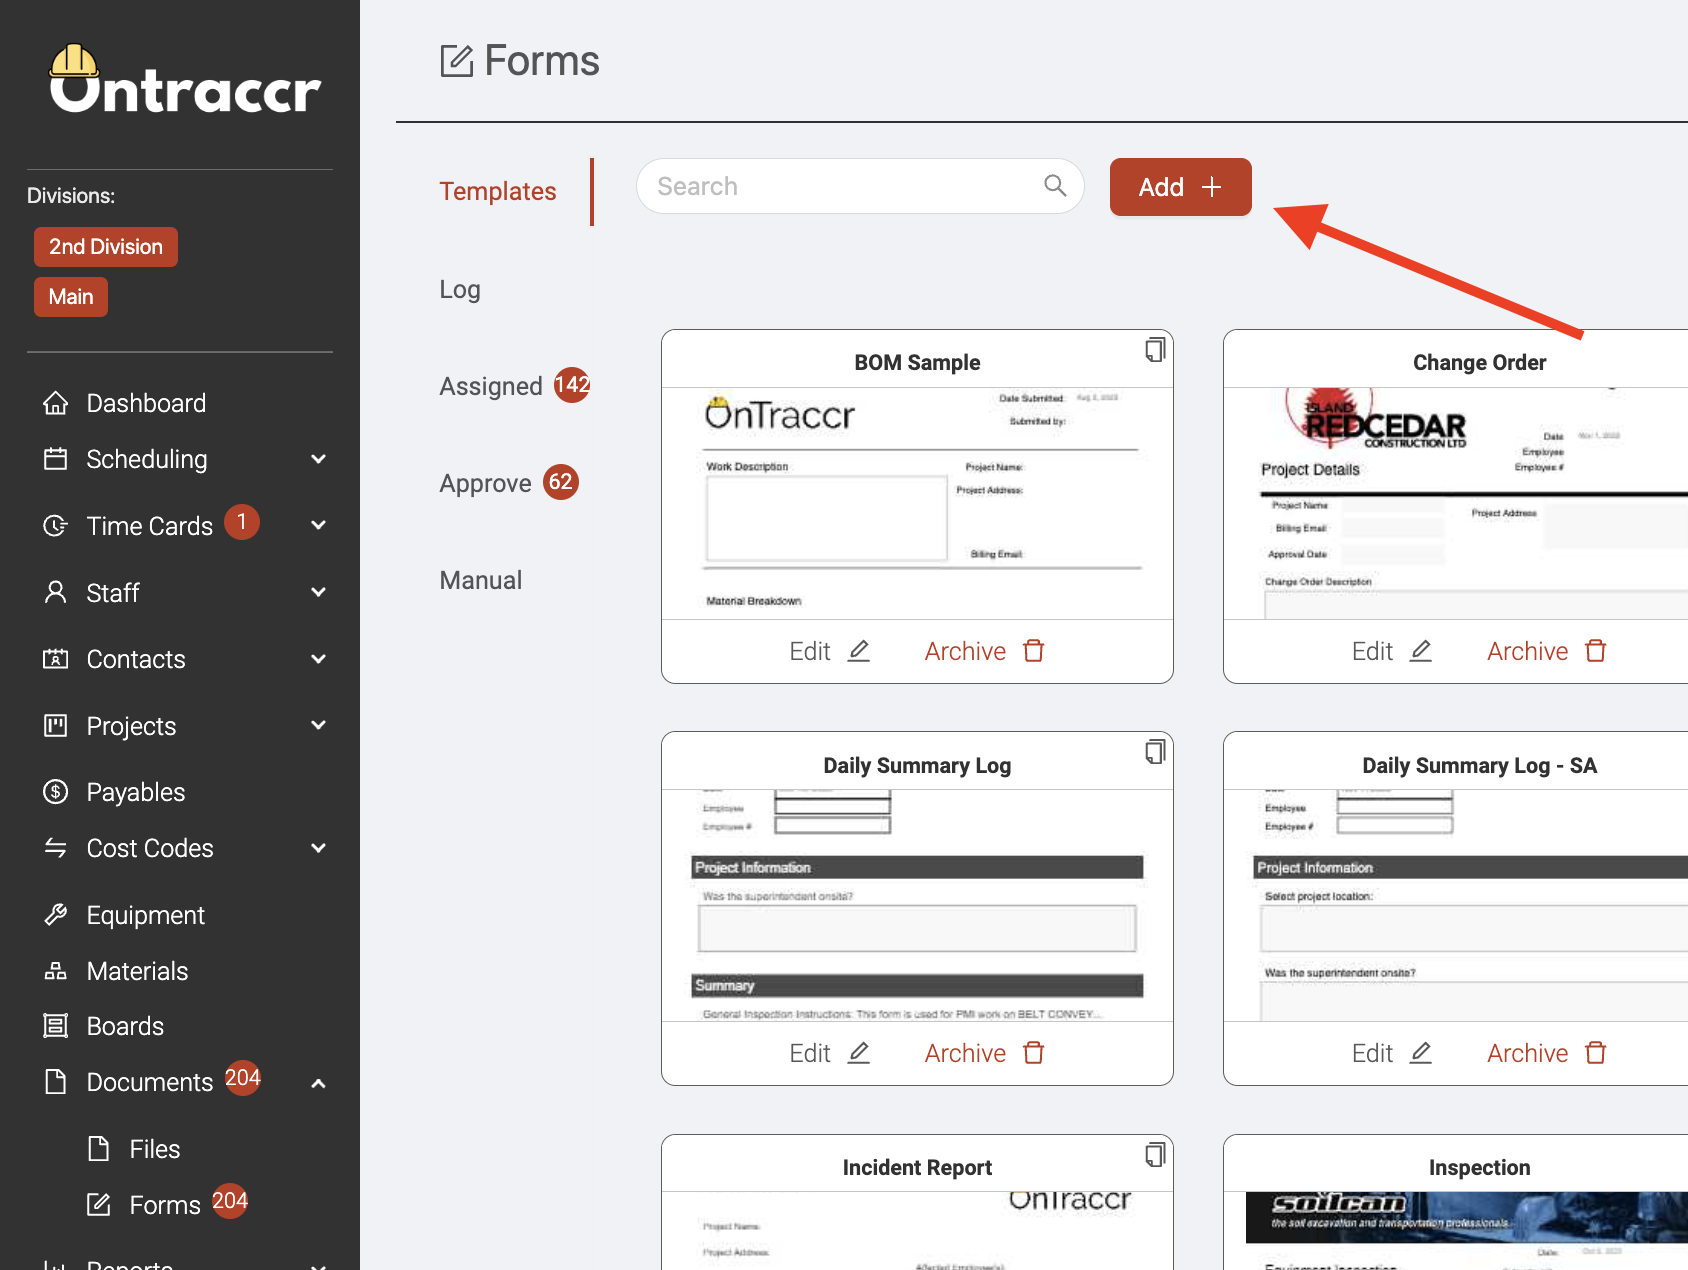
Creating a form from scratch
To start creating a new form template, click the ‘Add’ button at the top of the Documents > Forms > Templates page.
Form details
The first step to building a form is the ‘Details’ section.
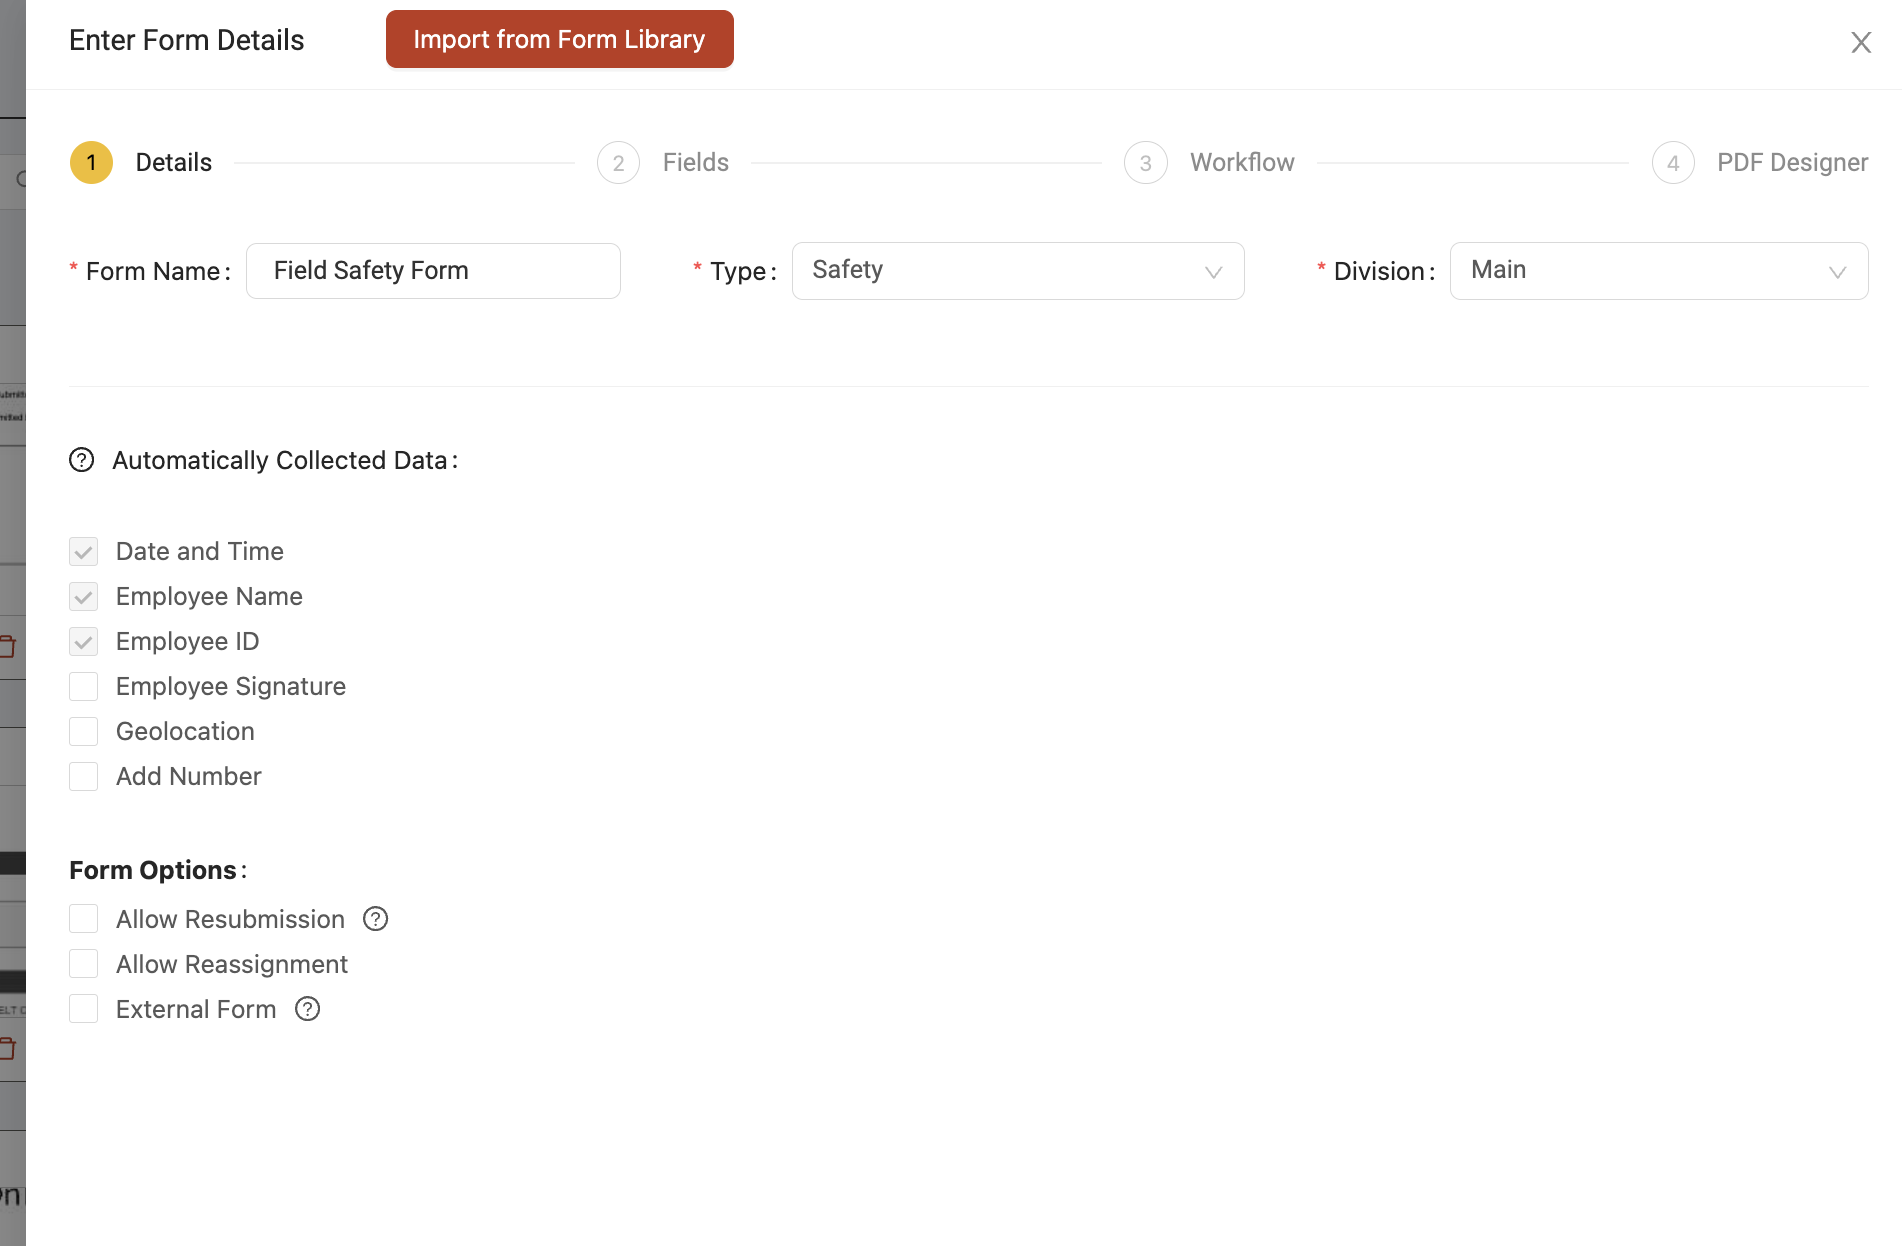
Start by naming your form. Then choose the form type from the existing options. The form type will help the app know how the form should be organized across the rest of the app. For example, forms of the ‘Invoice’ type will always be able to show up under a customer or project profile’s ‘billing’ tab.
If you are managing multiple divisions for your company in the OnTraccr app, you will also need to select which division the form will belong to.
In this step, you also have a number of options within the ‘Automatically Collected Data’ and 'Form Options' sections to add more capabilities and actions to your form template if you needed.
Configuring data fields
Next, you will move on the second step to building a form, which is where you select the various fields of information the form will gather from the user.
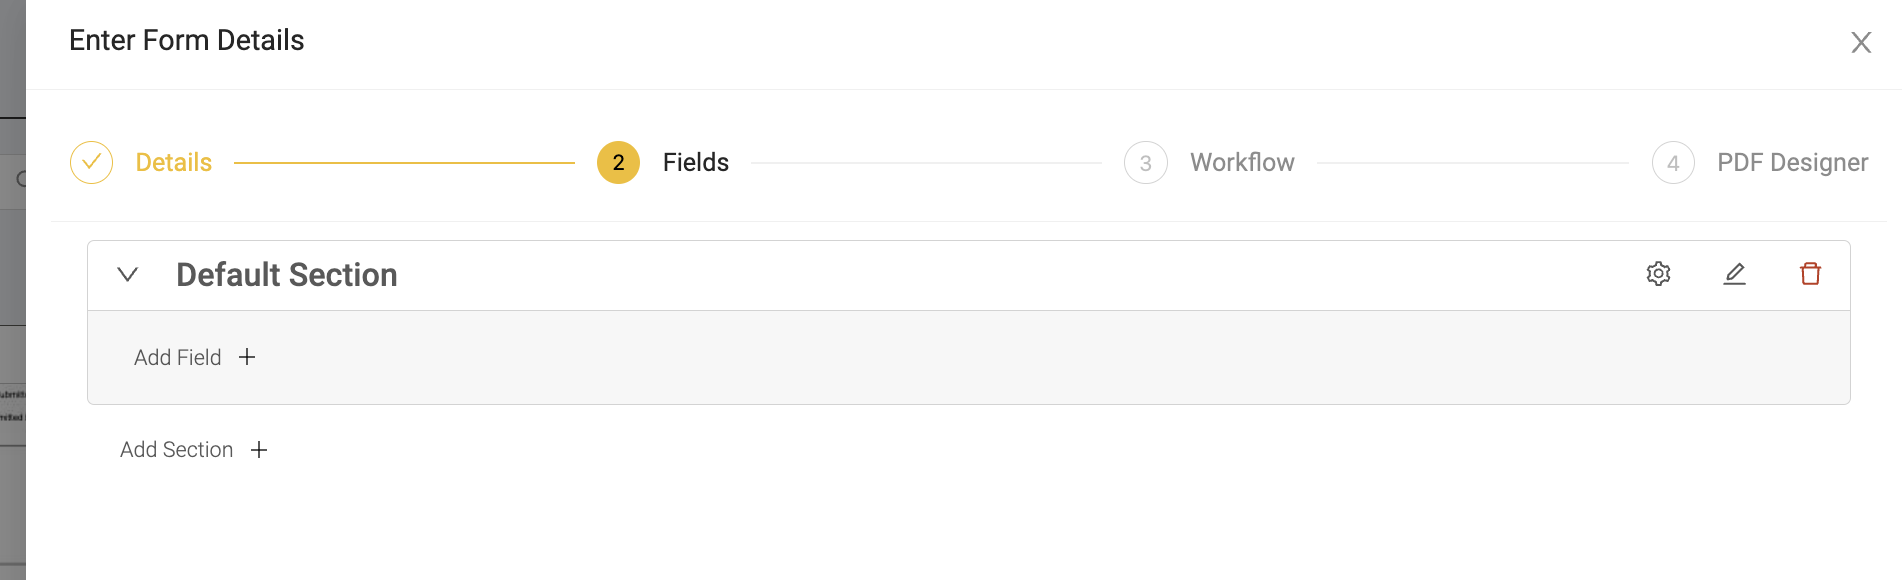
In the ‘Fields’ section of the form builder, you can configure two different things: sections and fields.
A section is how you can organize the form into various sections. For example, sometimes a form may have a section for adding general project or customer information and another section for a job summary. To edit a section name, you can click the ‘Edit’ icon to the right. To add a new section, click the ‘Add Section’ button beneath the section box.
A field is the specific type of information you’d like to collect. A field could consist of things like questions, table entries, attachments, calculations, and more.
To add a field, click the ‘Add Field’ button within the section you’d like to add the field to. This will open the field configuration slider.
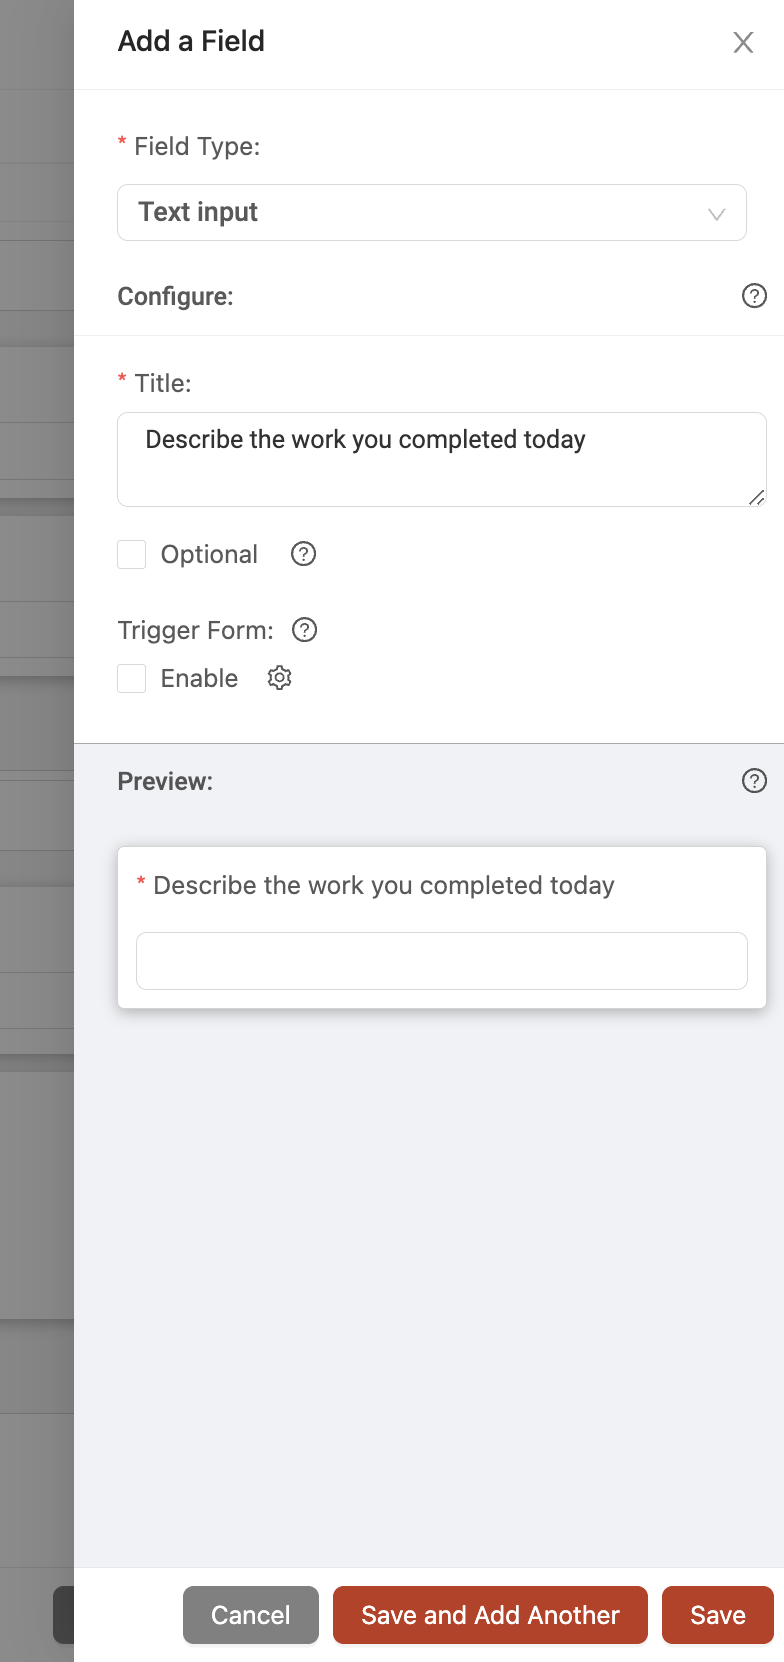
At the top of the field slider, the ‘field type’ drop-down lets you select the type of field you want to add to the form.
The ‘configure’ section will let you configure the details of the field and will display different options depending on the type of field you select. Within the ‘configure’ section, the title is what the form will display to the user (for example, this is where you would ask the user to enter hours or answer a specific question etc).
Each field will also include the ‘optional’ checkbox. This is where you get to decide if the user is required to enter information into the specific field in order to submit the form or whether it is optional for them. Leave it unchecked if you want the field to be required.
The ‘preview’ section will show you a live preview of what the field will look like in the form. This is exactly what the user will see when they fill in the field. The preview is also fully interactive so, based on your selections in the ‘configure’ section, you will be able to test out how the field works yourself before adding it to the form.

Designing the workflow
A form’s workflow represents the individual steps and interactions involved for the form from the moment the form is assigned to the user to the moment the form’s process is fully complete.
Each workflow has three main pieces to it: the Triggers, the Steps, and the Connections.

The trigger is basically the specific action that will trigger the form to be sent to any of the assigned users. At the top of the form and at the start of the workflow, you will see the 'Triggers' box. Within this box, you will see some trigger options for the form.

There are three trigger options to choose from: manual, on clock in, and on clock out. The ‘manual’ trigger will keep the form in the user’s app persistently and the user can simply open the form to fill it out at any time. The ‘on clock in’ trigger will only assign the form to the user after they have clocked in to start tracking time. The ‘on clock out’ trigger will only assign the form to the user after they have clocked out of their shift.
Next, move on to the 'Assigned Users' box. This is where you specify which users the form should be assigned to. When assigning the form, you can assign approvers by assigning a role or by assigning individual users.
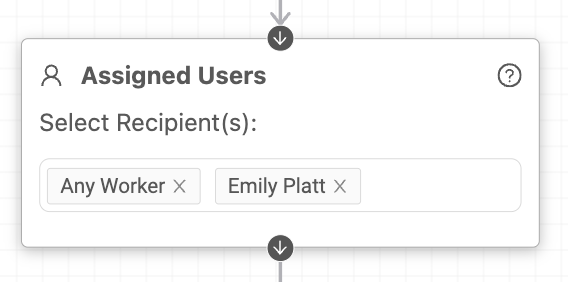
When you assign by role, this means that the users with this role type will have access to the form.
Next, we move on to the submission event. This is the point in the form’s workflow where the assigned user actually submits the form and now you get to add steps.
Steps represent the events within the form’s workflow. Workflows in OnTraccr support many different kinds of steps, for things like approvals, email notifications, form exports, and much more.
All available steps for the workflow can be found in the steps drawer on the right hand side of the workflow designer. If you see a greyed-out step block, this means that these specific steps require certain prerequisites for the form in order to be able to use them. The greyed out step will include a description to let you know what is required in order to use the step.
To bring a step into the workflow, simply click to drag and drop the step into the workflow. To connect the step into the workflow, you will now need to set up a connection with any of the other workflow steps as needed.
Each step has input and/or output connections available. Connect steps together by connecting outputs to inputs and vice-versa. To connect two steps together, simply click any input or output of one step and drag the connection to the opposite input/output of the step you’d like to connect.
You can also set up multiple connections for each step input or output.
(Note that if a step doesn’t have anything else connected to its output connection, then the workflow will end there.)
Designing the PDF template
The final step in creating your full form template is to configure the PDF template. There are two types of form PDF templates: Standard and Custom templates. You can switch between the two types by flipping the toggle in the top left corner of the PDF designer.
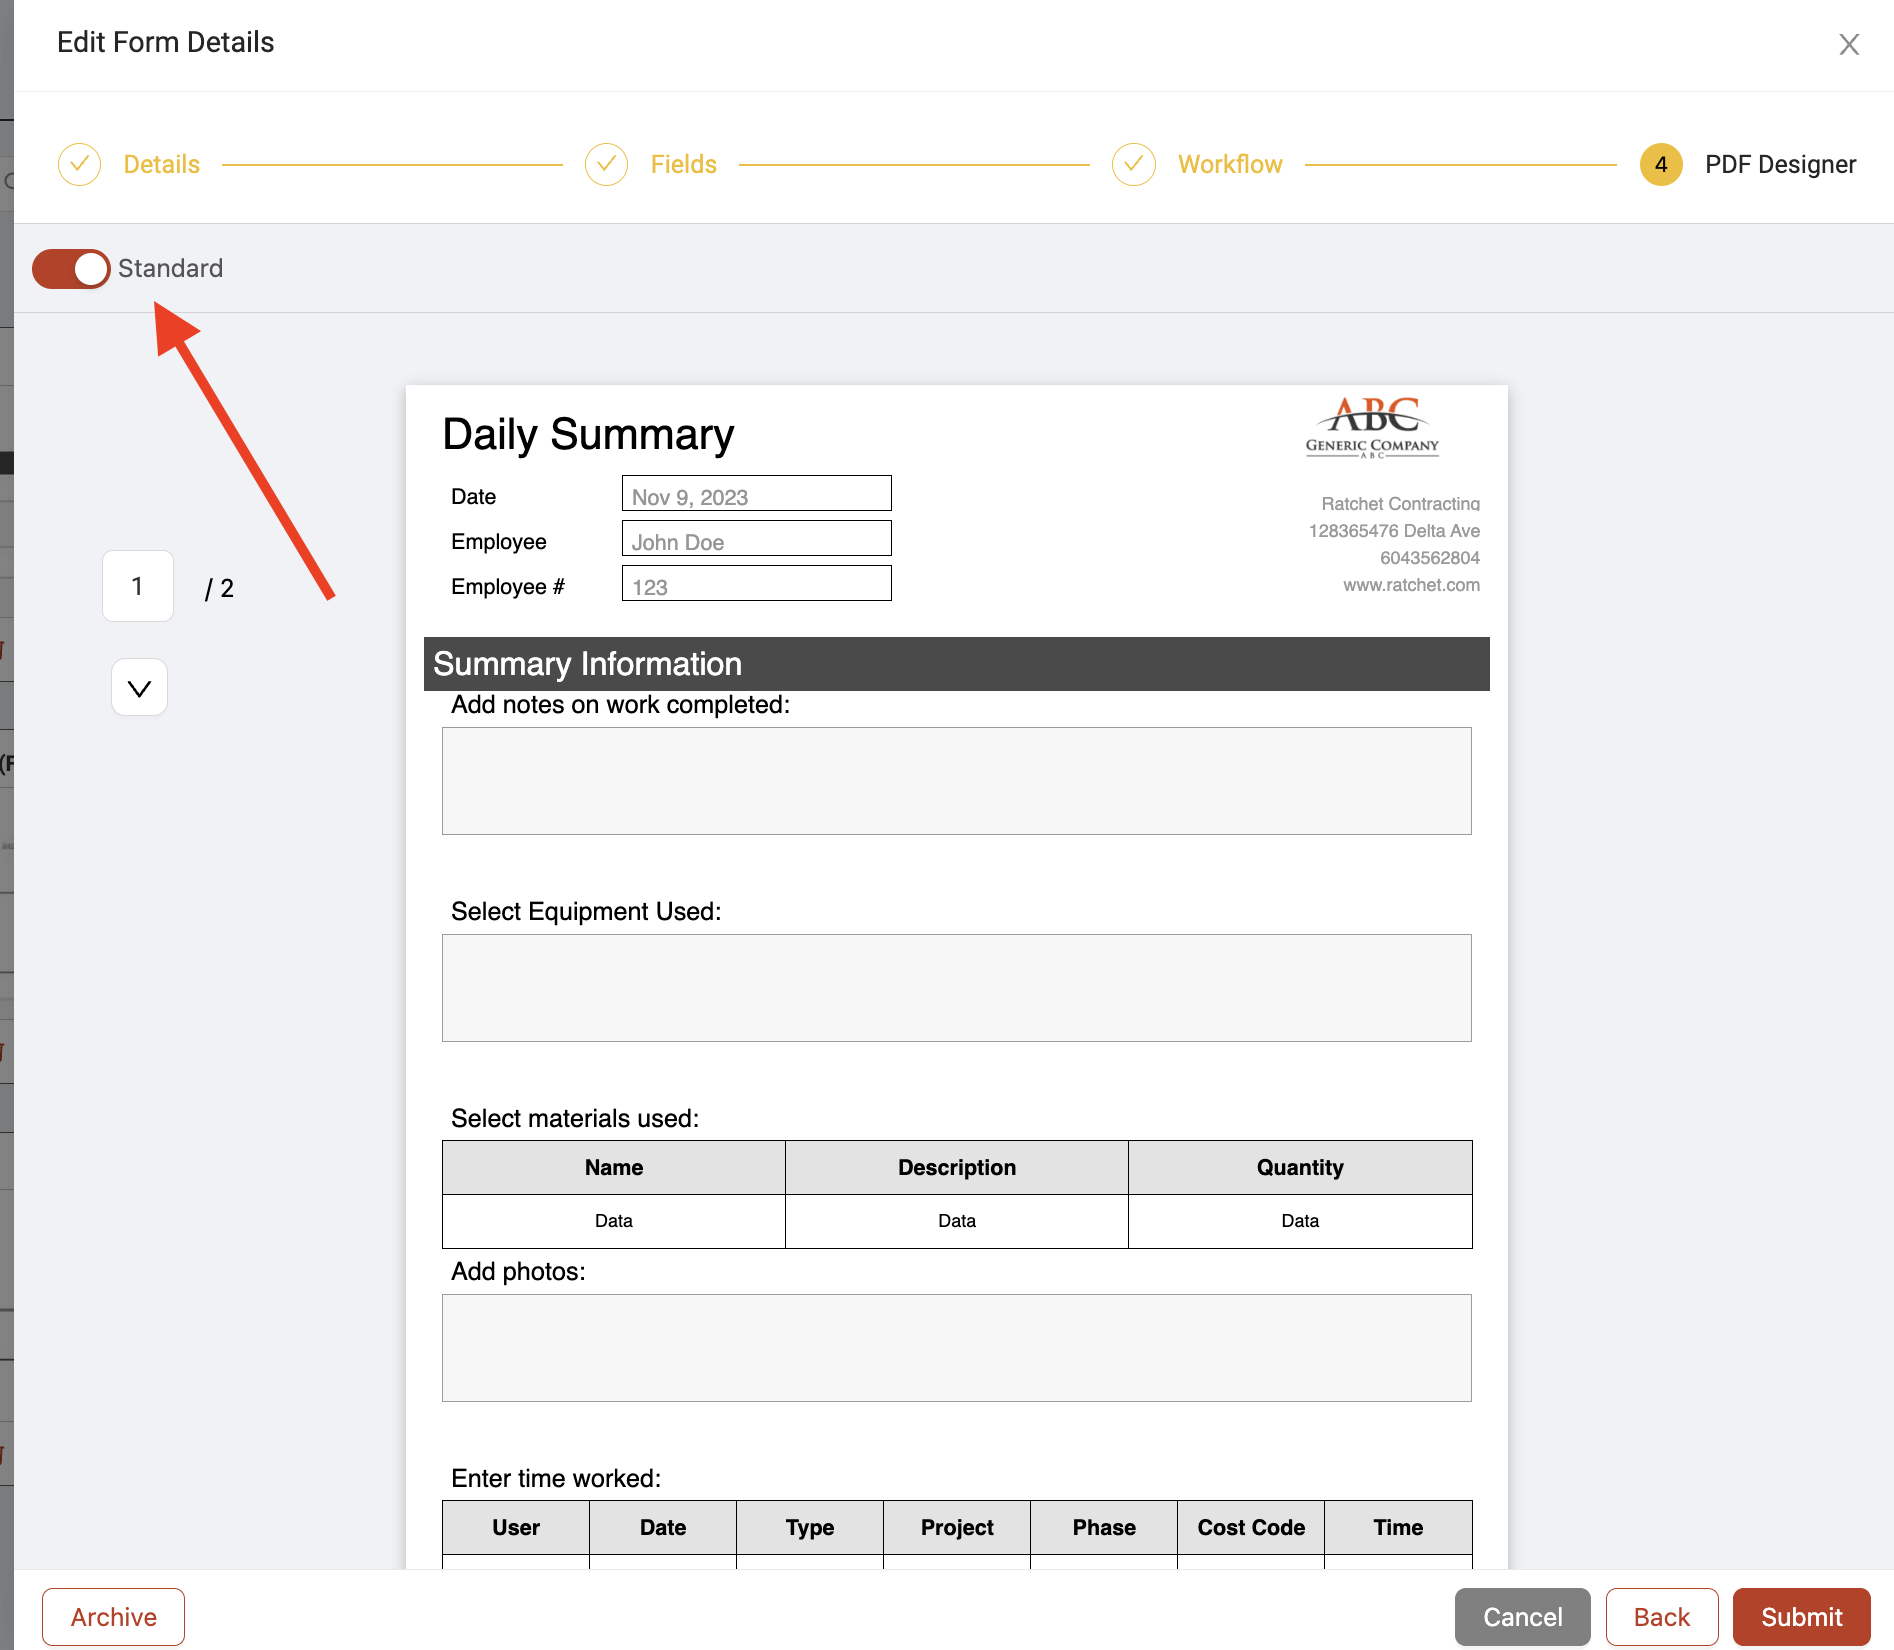
Standard PDF templates
Standard templates are auto-generated by Ontraccr and offer a fixed template format to organize all your form sections and fields into a simple PDF design. The standard template will follow the order of sections and fields as you've configured them in the 'Fields' section of the form template, so if you want to re-arrange any of them you can simply do so there.
The logo and company information in the standard template is automatically pulled from your company's 'General' settings.
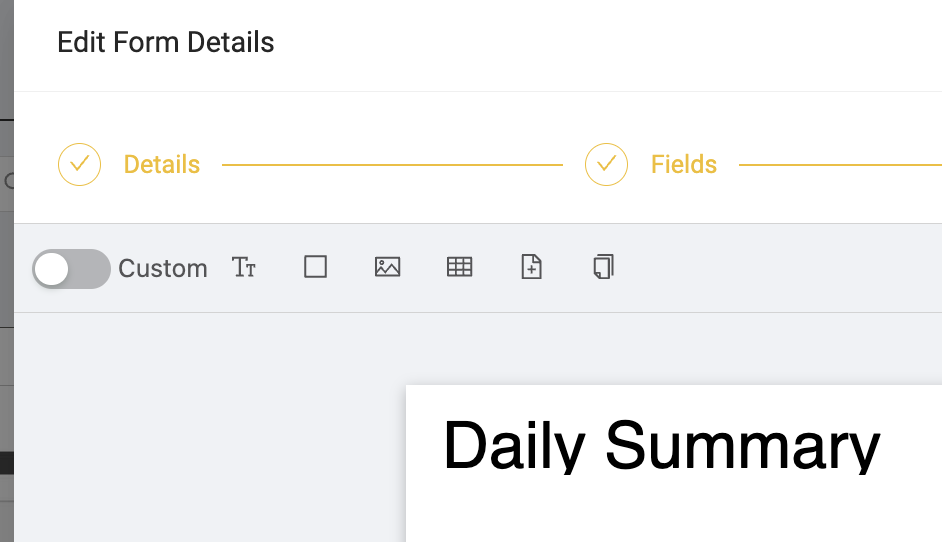
Custom PDF templates
Custom templates let you design every element in the PDF to match your exact needs by letting you modify the template using an interactive editor.
The toolbar at the top gives you access to the various tools and objects you can use in the custom template. This is where you can add objects like text, shapes, images, and tables as well as perform operations like add blank pages or copy existing pages. To add a new page, click either the ‘Add Blank Page’ or ‘Copy Page’ options in the toolbar. After doing so, you will see the new page added to your page controls on the left. To delete a page, click the delete icon in the top right corner of the page.
After adding objects into your template, you will be able to easily rearrange them by clicking and dragging the object within the template. Click in to any object to edit its properties. To delete any object, click the ‘delete’ icon in the top right corner of its configuration slider.
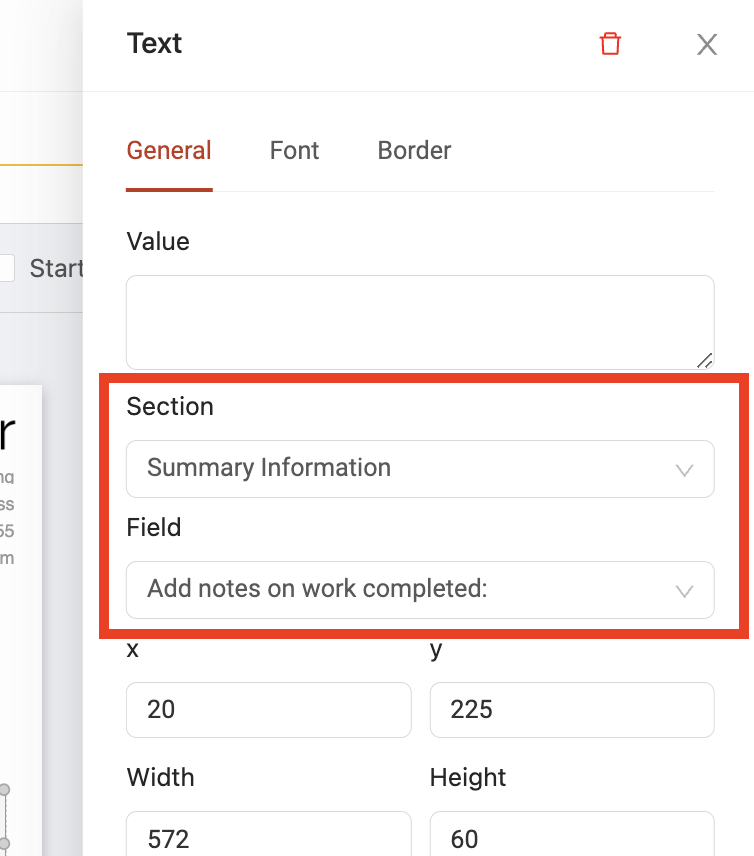
The text object is easily the most common object you will use in your templates, because text objects link to most of the various field types available for the form, such as with text fields, multiple choice, yes or no, calculations, attributes, and date & time fields.
If you want the text object to be linked to a form field, start by selecting which 'section' contains the specific form field you want to link to. Next, select the specific 'field' you want to link to in the form. After linking the text object to a field, this now means that the text object will always pull the data from the linked field in the form, regardless of what has been entered in the value field.
Configuring the PDF File Name
You can also customize the form's PDF file name easily. To customize a form's PDF file name, simply open the 'PDF Designer' in the form's workflow template and click the 'Edit' icon next to the 'File Name' field at the top of the page.

When customizing the file name, you can combine both text and variables. Variables will help name the file dynamically based on characteristics of the form such as the date the form was submitted, project, form author name, form name, form number, and more.
Creating a form from a template
Ontraccr also has a built-in Form Library which lets you import form templates from a menu of options for commonly used documents such as FLHAs, RFIs, Change Orders, Work Orders, Invoices, and more.
To access the form library, start by adding a new form. Click the ‘Import from Form Library’ button. Choose from the list of form options. Each option will show you a preview of the template’s workflow and PDF design as well as provide a set of instructions and best practices for how to easily adapt the form to your company’s unique use-case.
After importing a form template, you can make any modifications as needed to the form fields, workflow, or PDF design.
How to complete and approve forms
The Document > Forms > Manual page will show you which 'manual' forms you have access to (that is, a form template with a 'manual' trigger). This page has three sub-sections:
- Favorite: This is where you can view your favorited form templates to give you quicker access.
- Project: This page shows you any project-specific forms.
- Global: This is where you can access any of your company's global form templates.
To start completing any of these forms, simply click the name of the form to start entering information.
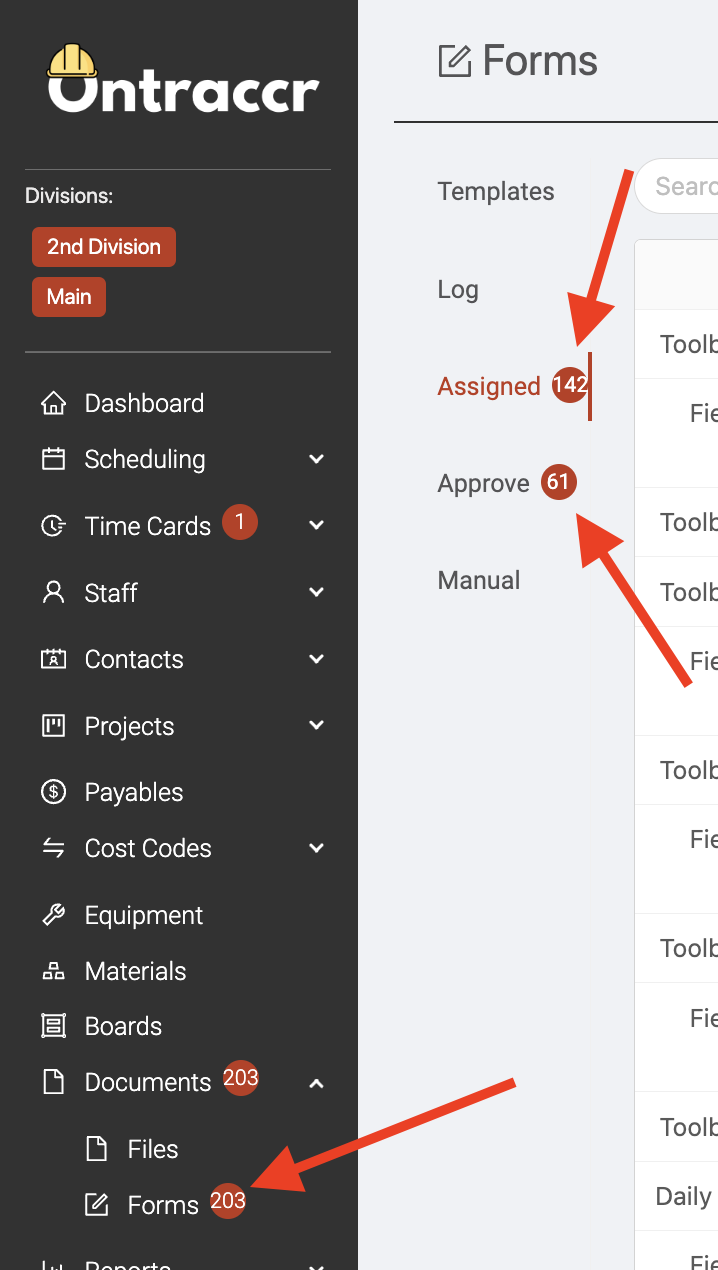
To access and work on any of your assigned forms (that is, any forms that have been assigned to you from a workflow), open the Documents > Forms > Assigned page to view and access all of your assigned forms.This is also where you can access all of your form drafts.
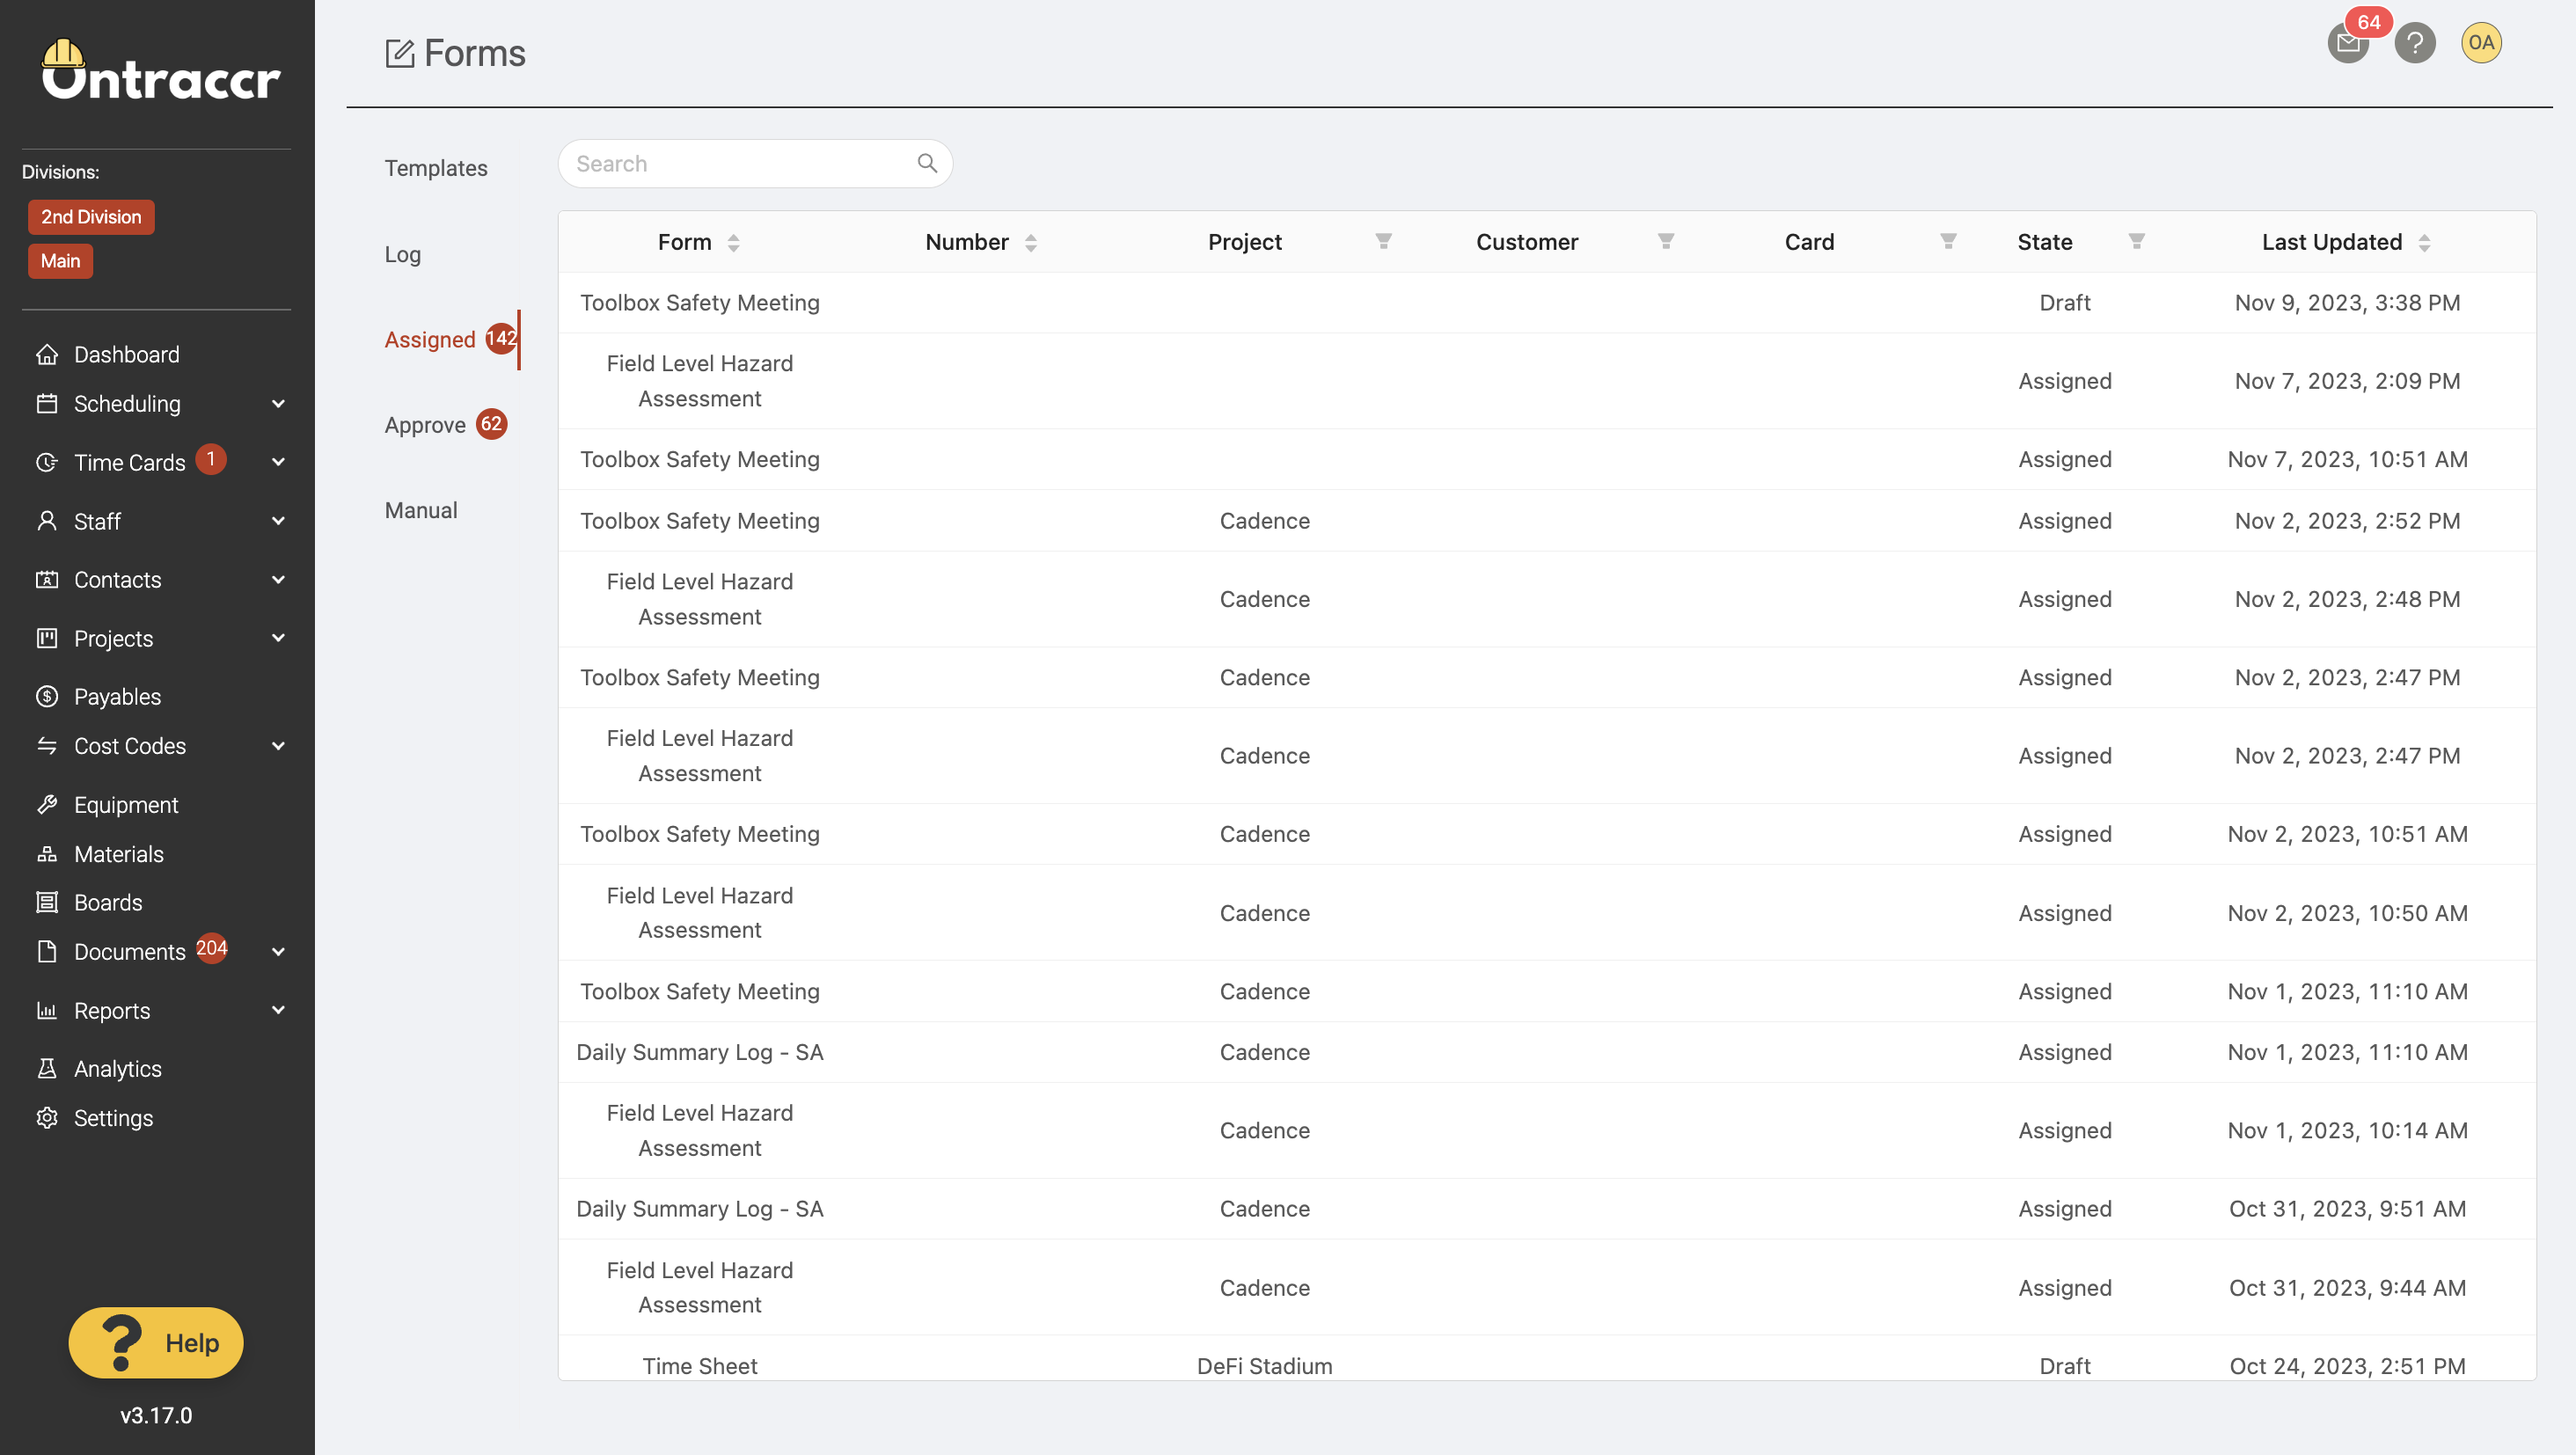
The Documents > Forms > Approve page will show you all the forms that are awaiting your approval. To approve or reject a form, simply click 'Approve' or 'Reject' next to the form. You can also approve/reject/edit a form by clicking on the form to view more details. Within the 'Fields' tab, you'll see the buttons in the bottom right corner as well.
Next to the Forms section header in the left menu, you will be able to see how many assigned forms are awaiting your completion and/or approval and the red badges next to the 'Assigned’ and 'Approve' page headers will show you the number of assigned or pending approval forms that are sitting in your queue.
How to view form data
All forms and documents in OnTraccr can be tracked and approved in real-time so you can see the full history of each form and ensure that each form is following the correct workflow.
Forms can be tracked in many ways in OnTraccr, but the central source of truth for any form is the 'Form Log'. This is where you will always be able to find any form you are looking for. You can access the Form Log in the Documents > Forms > Log page.
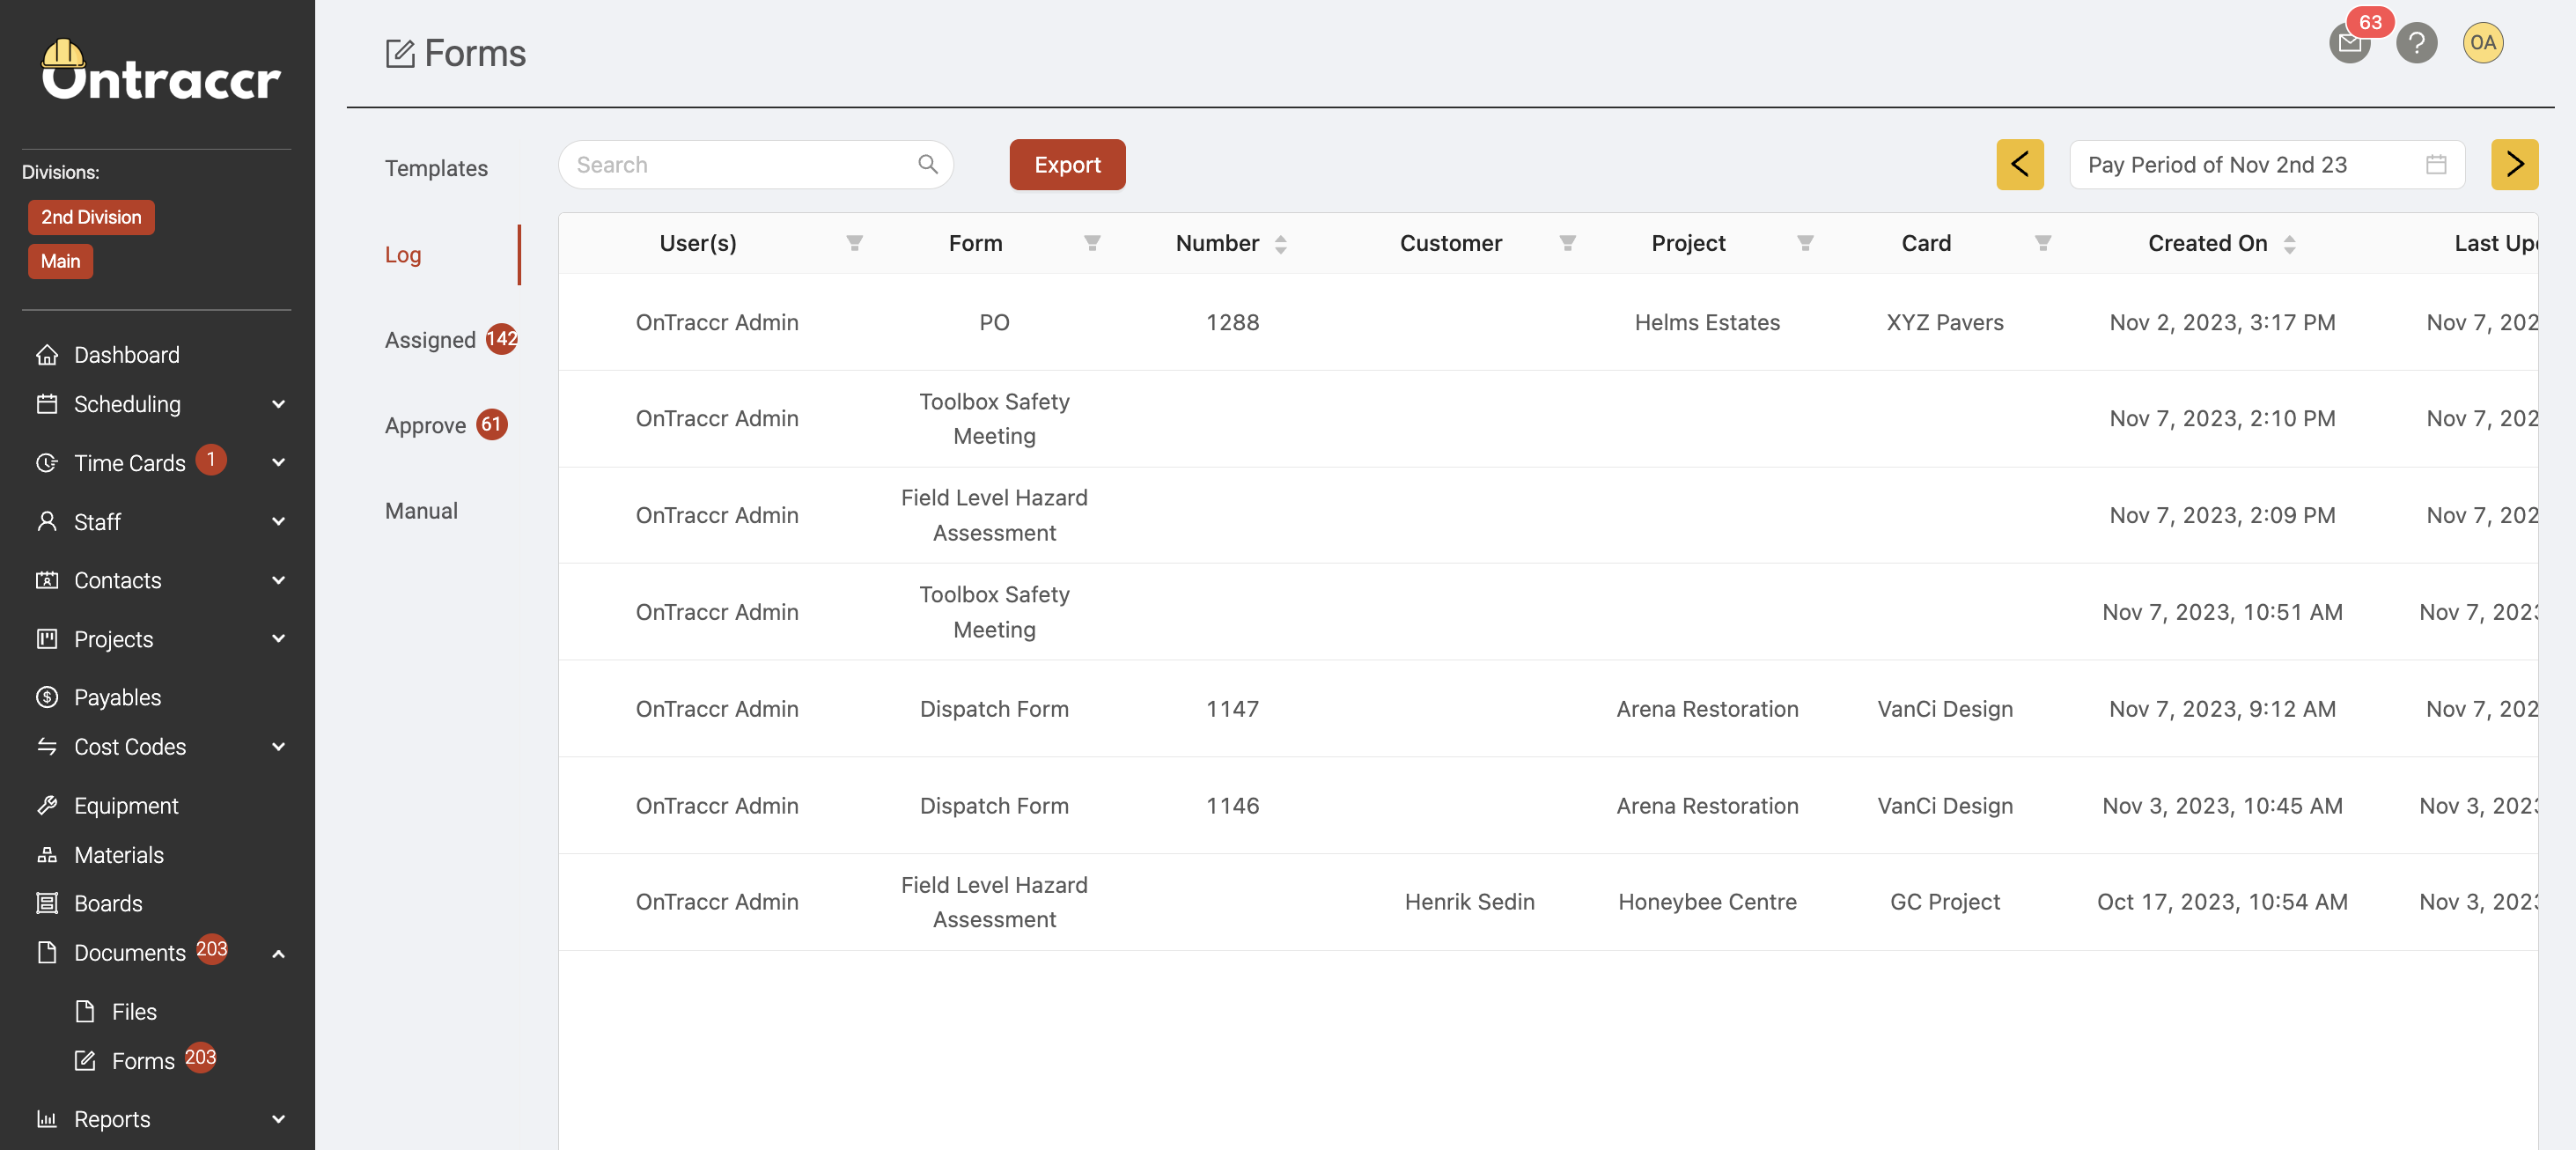
You can filter the form log in many ways to find the specific form(s) you're looking for. The search bar in the top left lets you search the contents of every form. You can use this to quickly search for any keywords that you are looking for, such as materials, employees, customers, or any other project details. By default, the form log will always show you all forms in the current pay period. But if you want to view different timeframes for your forms, you can navigate to the top right corner of the page to flip between pay periods or enter a custom date.
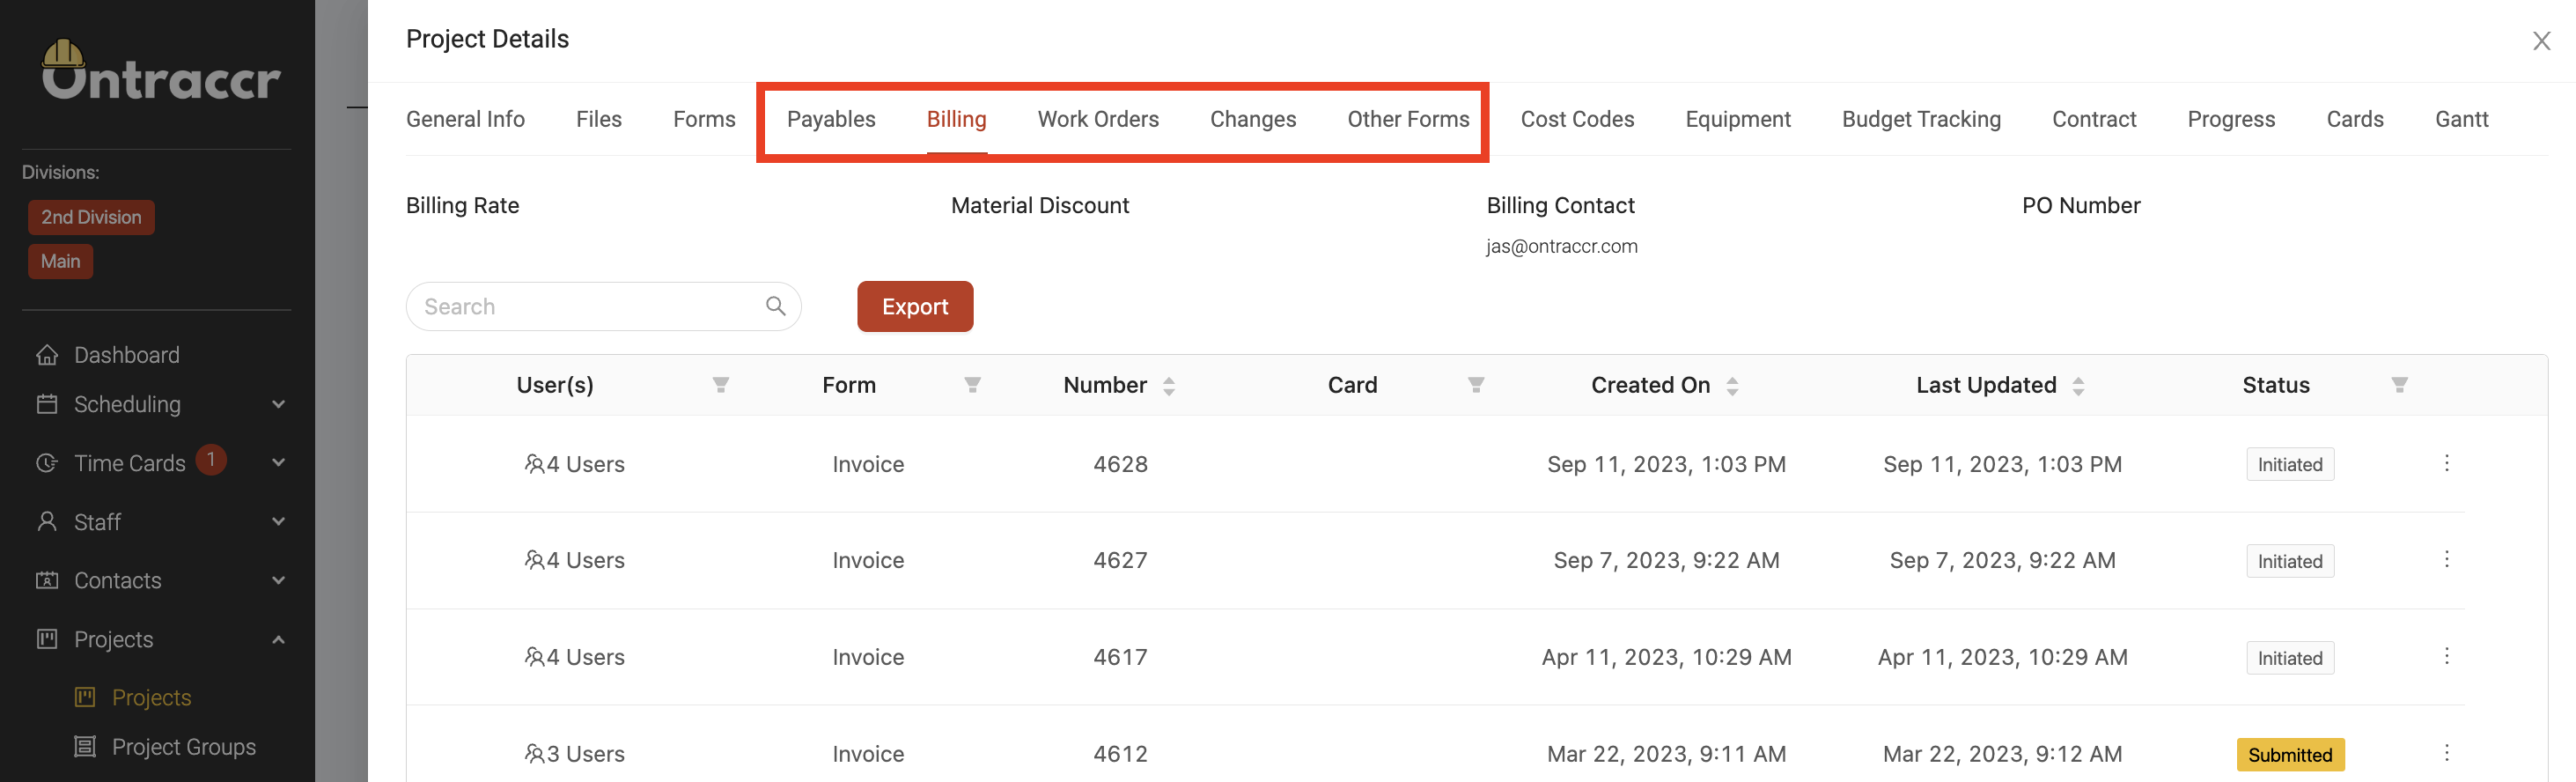
The Form Log is the master database for all company forms, but forms are also organized and accessible under the various profiles as well, such as project, customer, and equipment profiles. To view any forms for a profile, you can find separate tabs for commonly used forms such as work orders, billing, change orders. The ‘Other Forms’ tab will show any other types of forms or documents that have been processed for the profile.