
Custom timesheet exports
Ontraccr offers the ability for admins and managers to create fully custom time tracking reports that can be easily exported for any purpose, such as importing into another software.
Creating custom export templates
To create a custom export template, navigate to the new Settings > Time Tracking > Exports page. This is where you can always access and edit all your custom export templates.

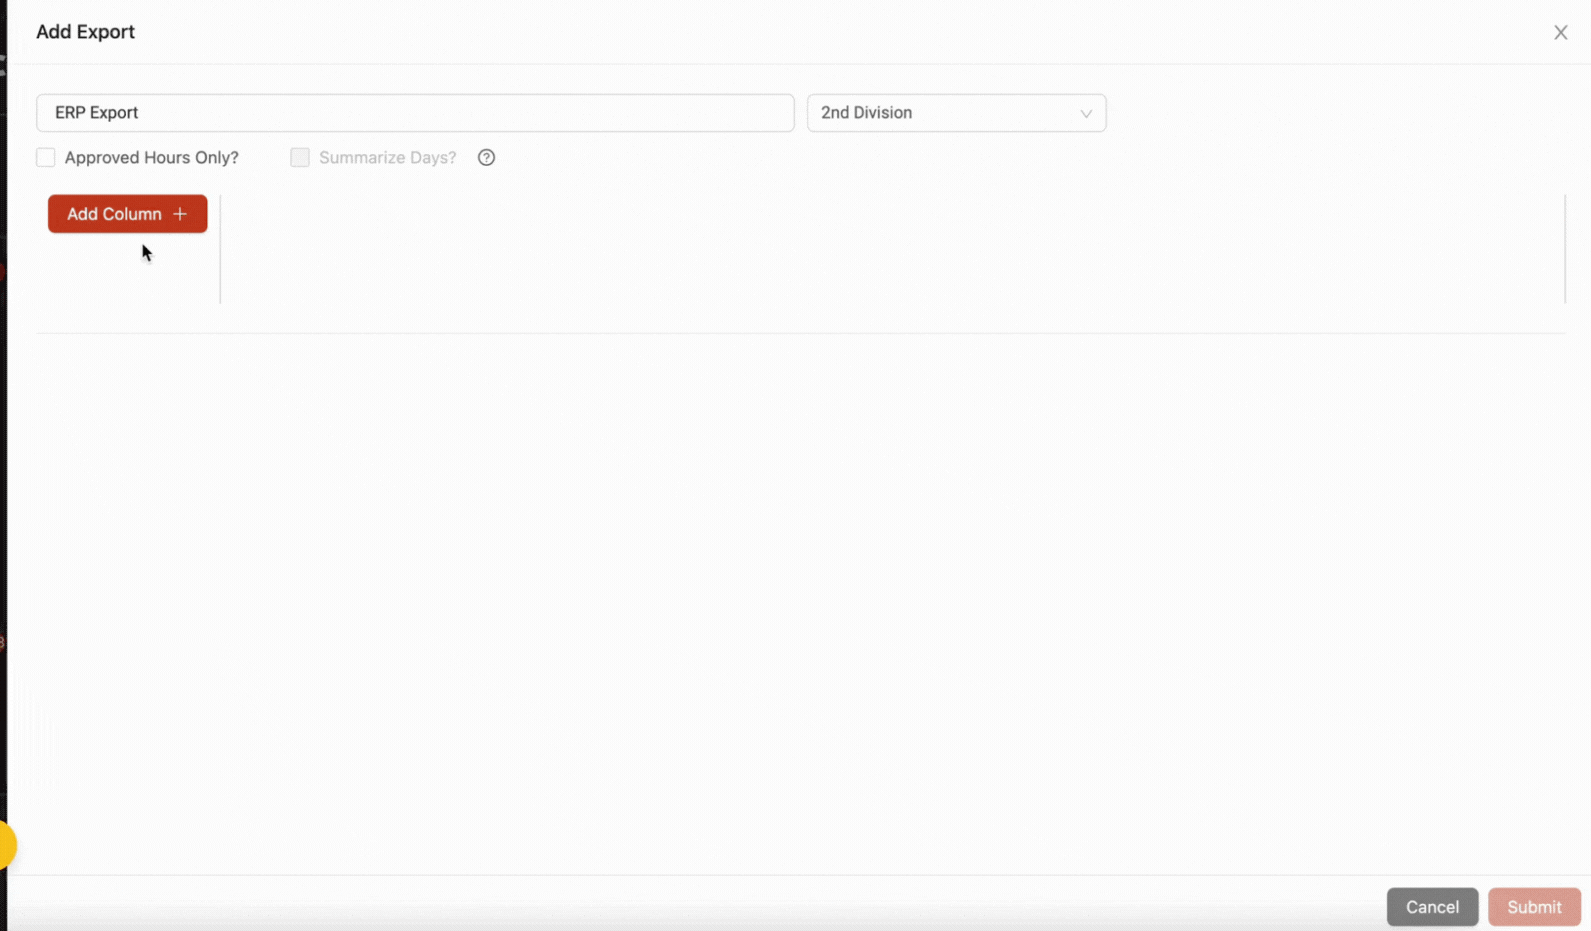
Click ‘Add’ to create a new custom export template.
Give the export report a name and, for companies with multiple divisions, select the division for which you'd like to create the custom export template.

Adding columns
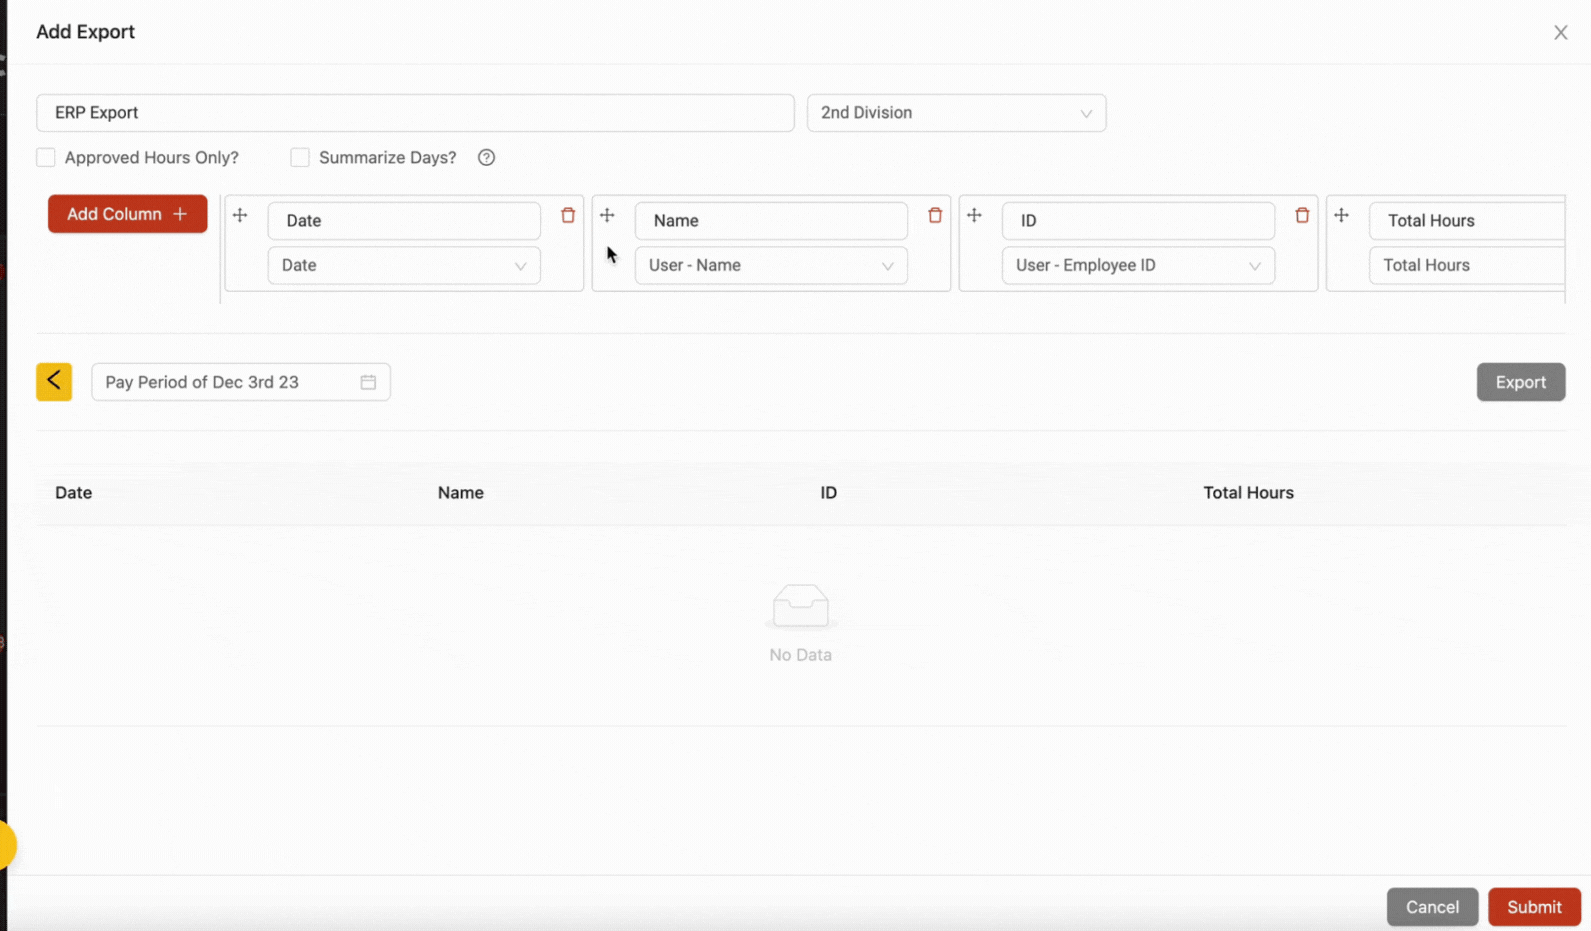
Click the ‘Add Column’ button to start designing the new report. Give each column a name and select which of the available data fields you want the column to display. The available fields will include both native and custom time card fields. As you add columns, the bottom of the export designer will show you a live preview of what the report will look like.
Columns can also be re-arranged in any order you’d like. Simply click the four-arrow icon next to the column name and drag to re-arrange it across the other columns.
Additional export settings & options
There are some additional options you can configure for your custom export templates.
Display approved hours only
By default, custom exports will show all time entry data, regardless of whether it's been approved or not. However, if you'd like the report data to only show approved time entries, simply enable the 'Approved Hours Only?' setting.

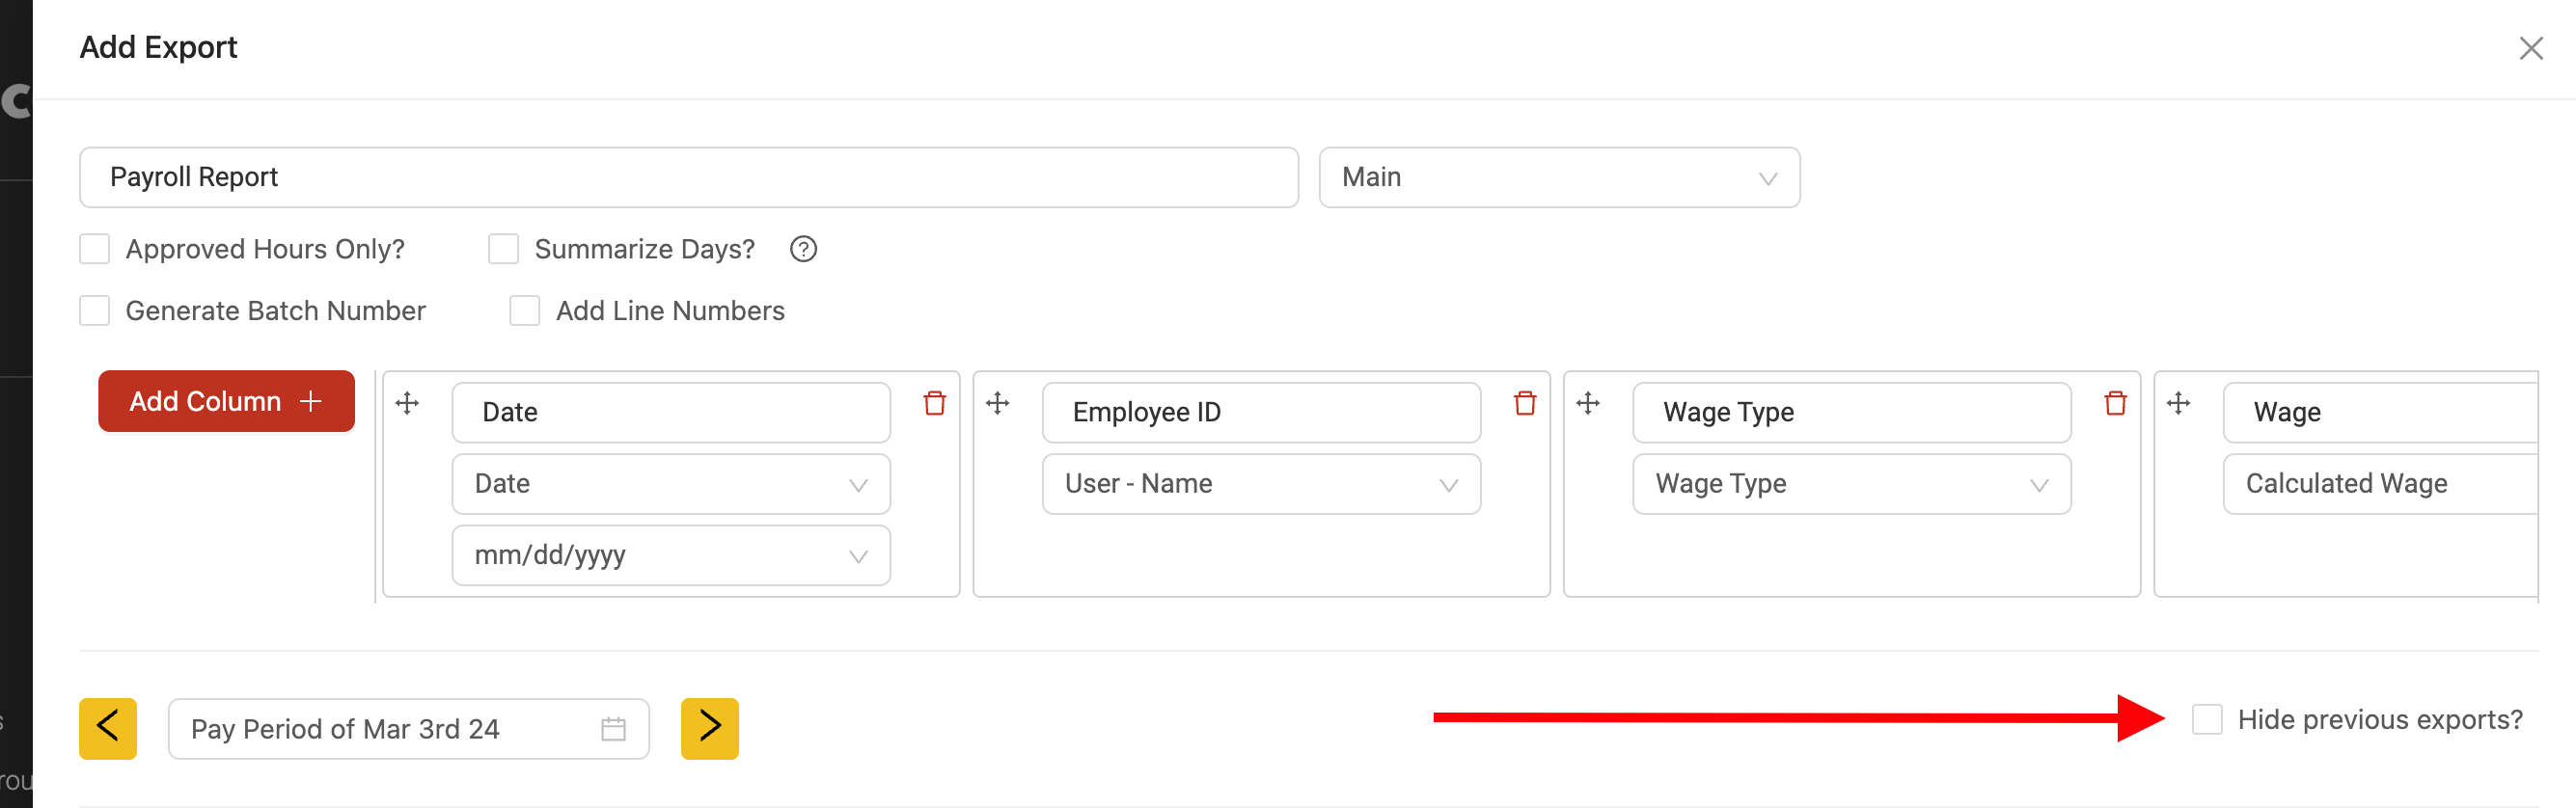
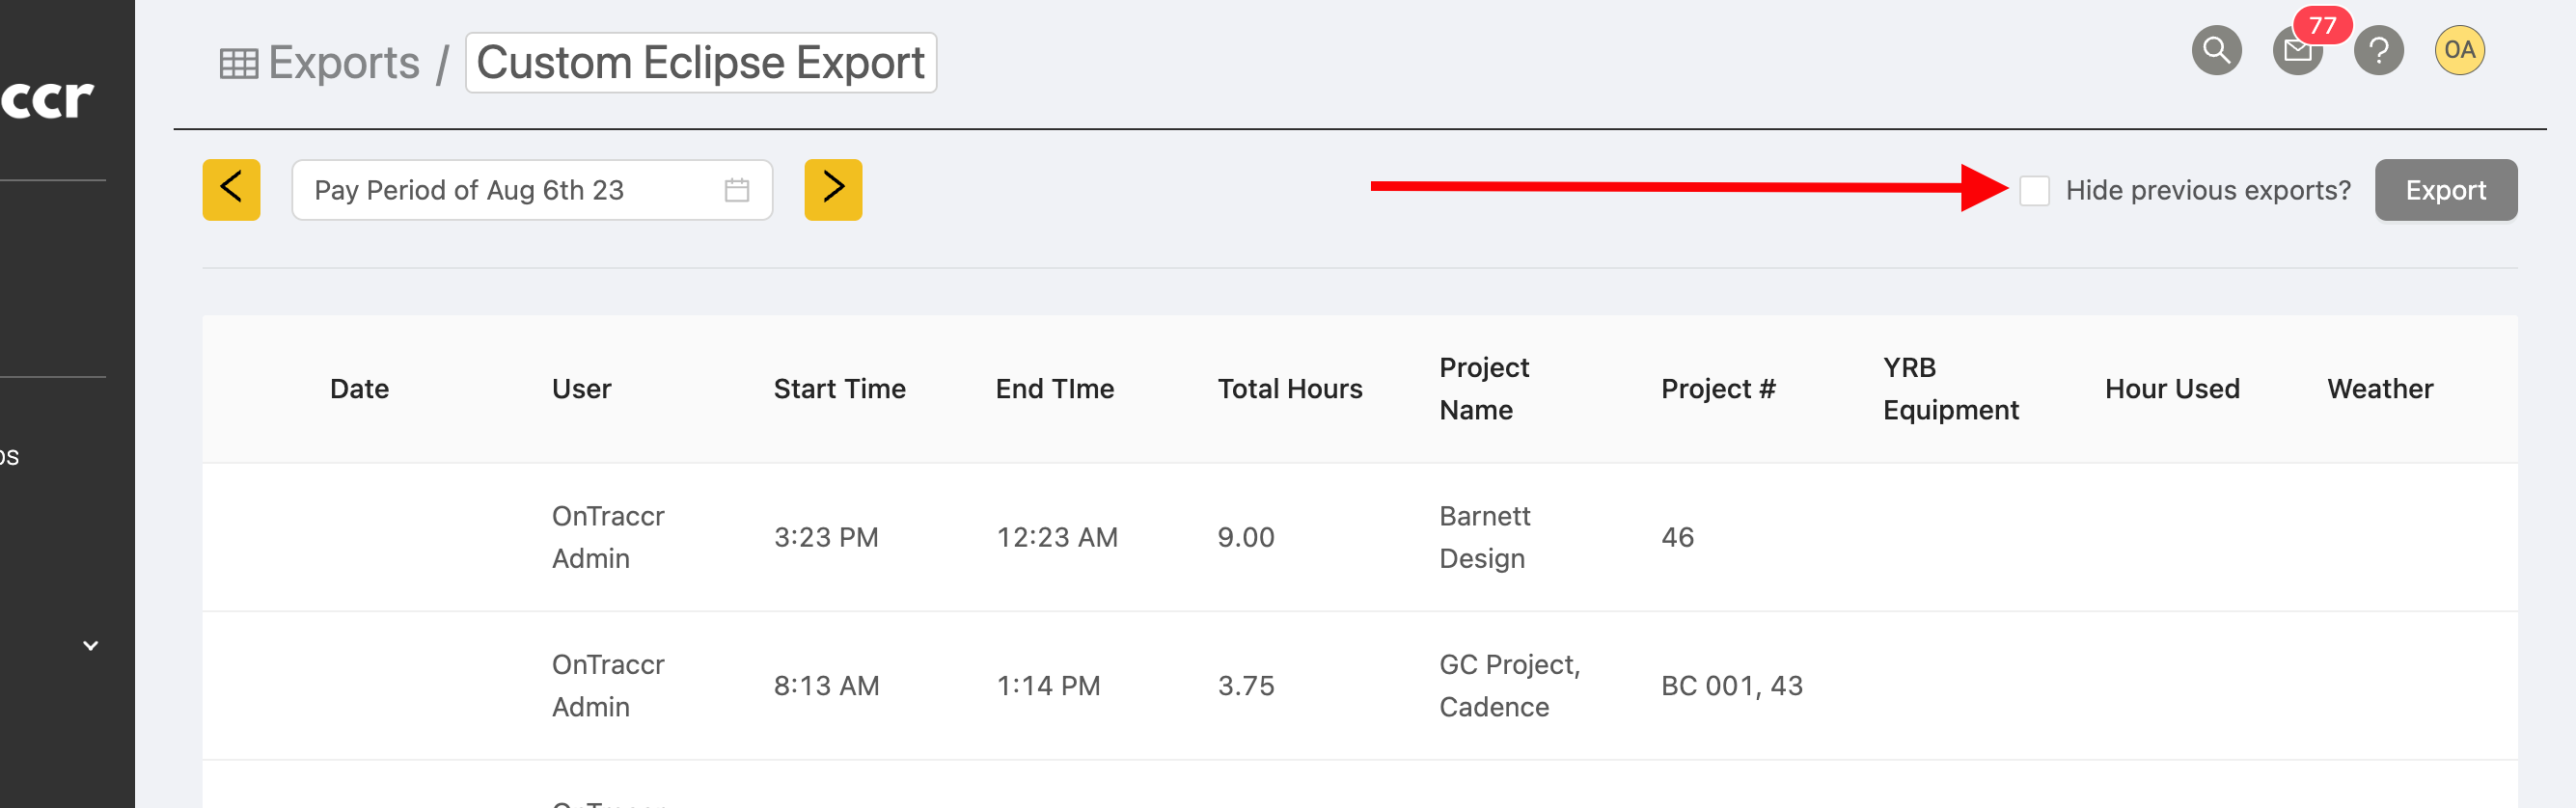
Option to Highlight/Filter Previously Exported Entries
By default, custom exports will show all time entry data in the configured timeframe, regardless of whether it has already been exported previously. However, if you'd like the export to exclude any previously export time entries, you can either configure this in the custom export profile itself so that the report will always default to hiding previously exported rows, or you can quickly toggle this when viewing any custom export report directly using the 'Hide previous export' option as shown below.
Combine same-day entries into one row
By default, custom exports will show each and every time entry as a separate row in the report, regardless of whether there were multiple time entries on the same day. For example, as shown below, you can see that each entry on the same day displays in a separate row.

However, if you'd like the report to combine multiple entries on the same day together into one row, enable the 'Summarize Days' setting.

This will then combine same-day entries into a single row instead.
Accessing and exporting custom export reports
Once your report is created and saved, you can access all the custom export reports via the Reports > Exports page.
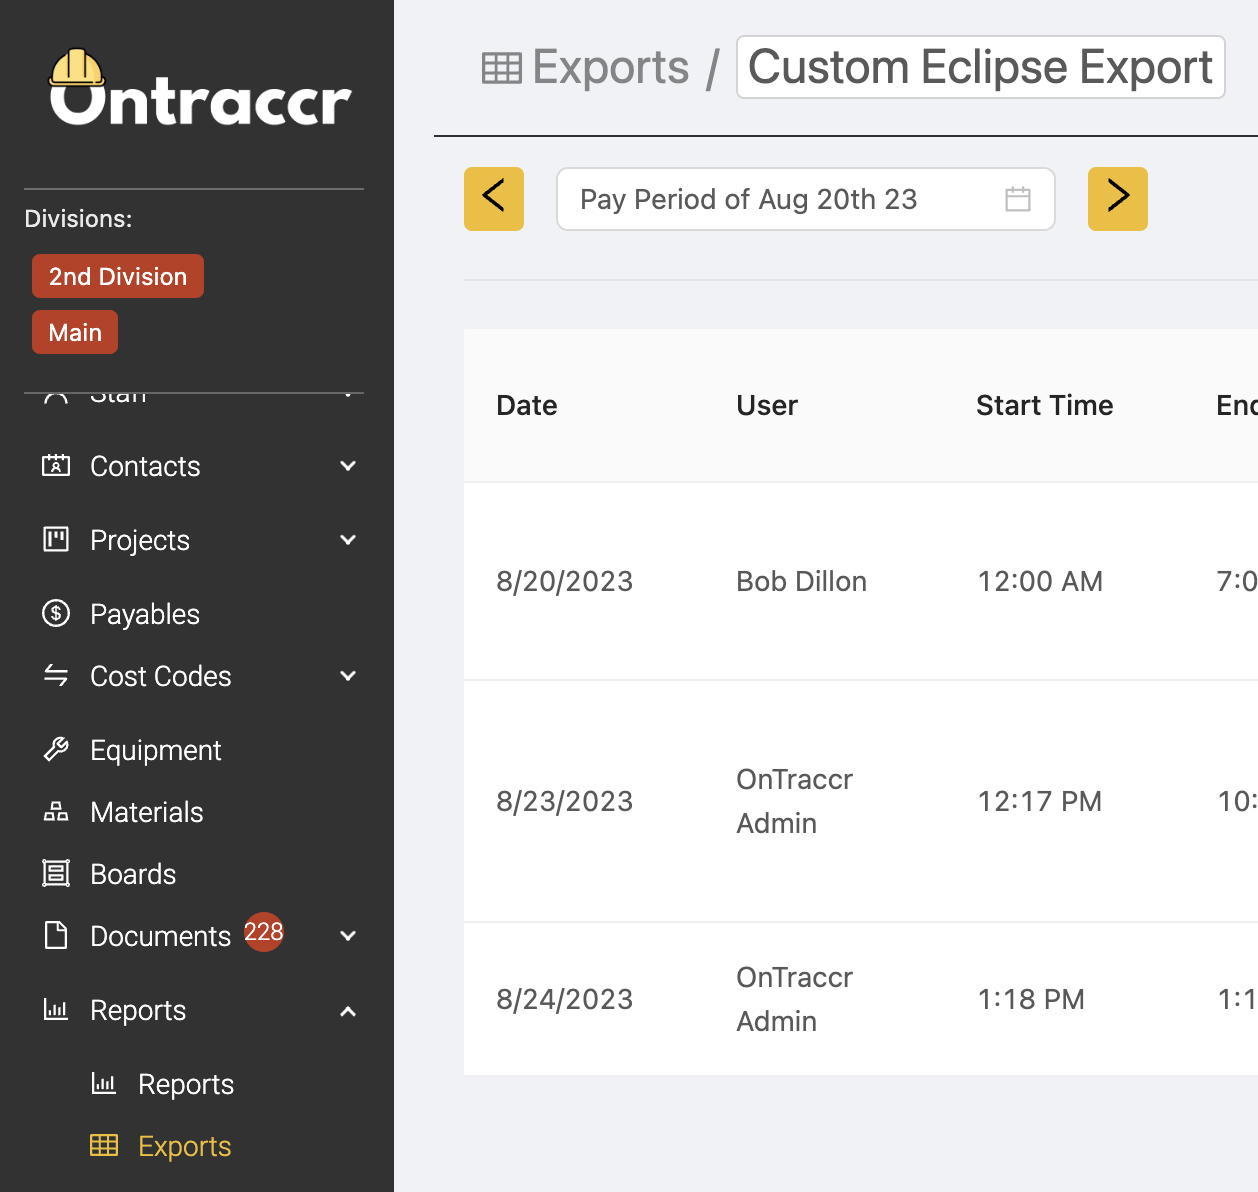
At the top of the page, you can click the name of the Report to switch to any of the other custom export reports.
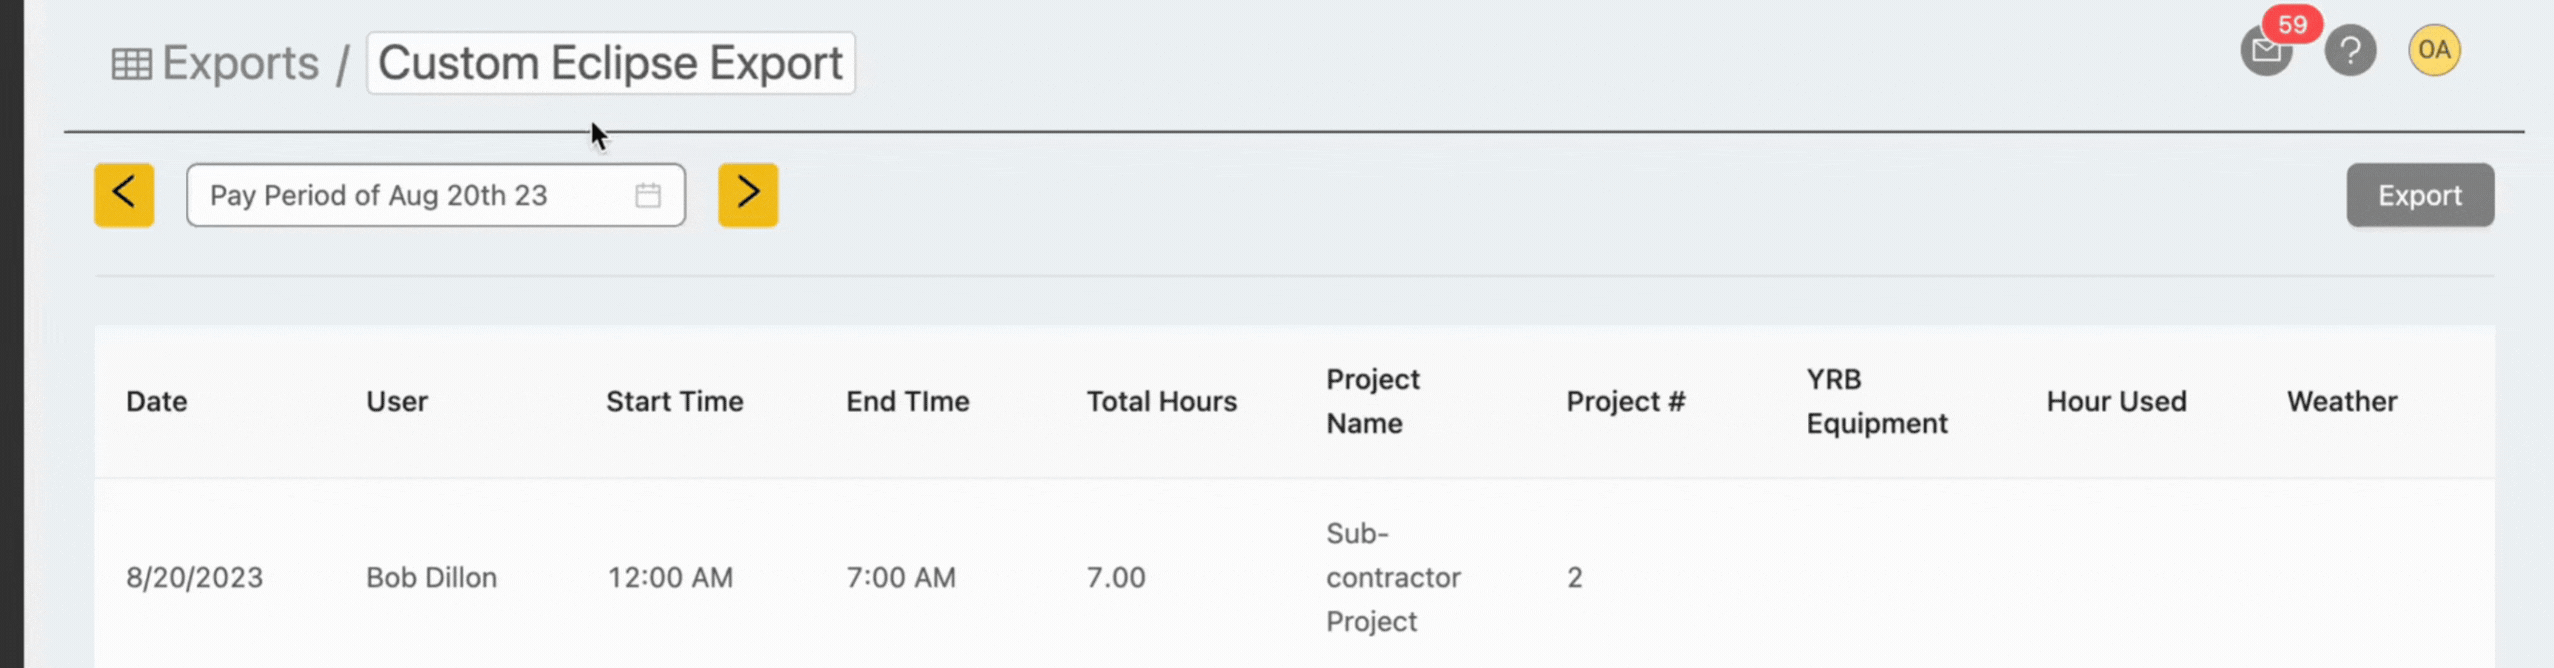
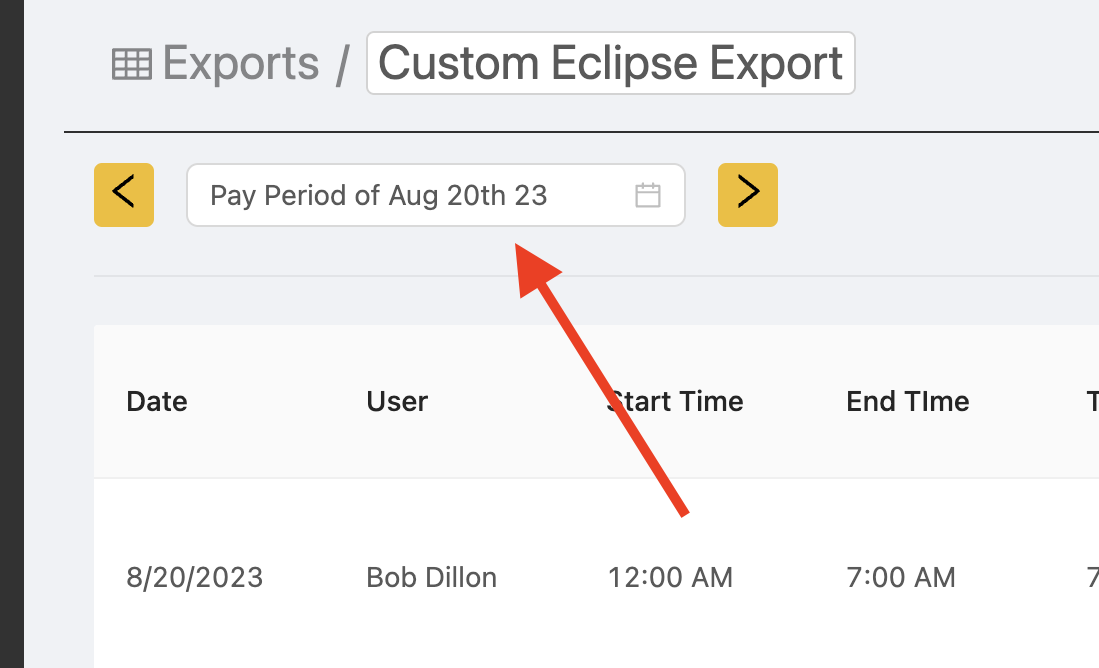
Use the date filter to filter your report by a date range.
Once you've filtered the report and the data you'd like to see, click the 'Export' button in the top right corner of the page to export a spreadsheet version of the report.
